

Often overlooked but a few tips I'm writing up for 996/997 onwards. Most of this I undertake with every wheel refurbishment we do.
Doing this could avoid the need for replacement which costs £150 for a full set,a nd protects against total failure and loosing a wheel.
The wheel bolts inherently suffer from bad corrosion:
-acid wheel cleaner as soon as they are washed
-lack of coating from factory
-bimetallic corrosion between steel head and alloy collar
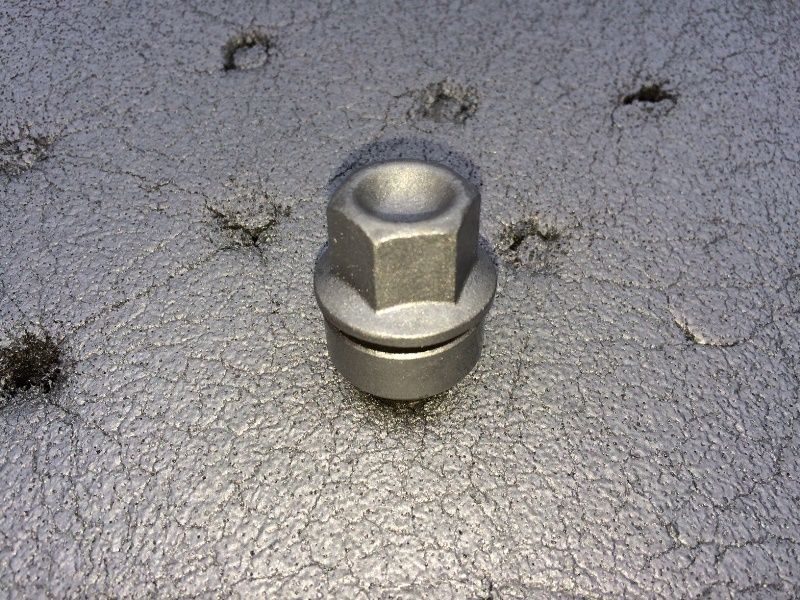
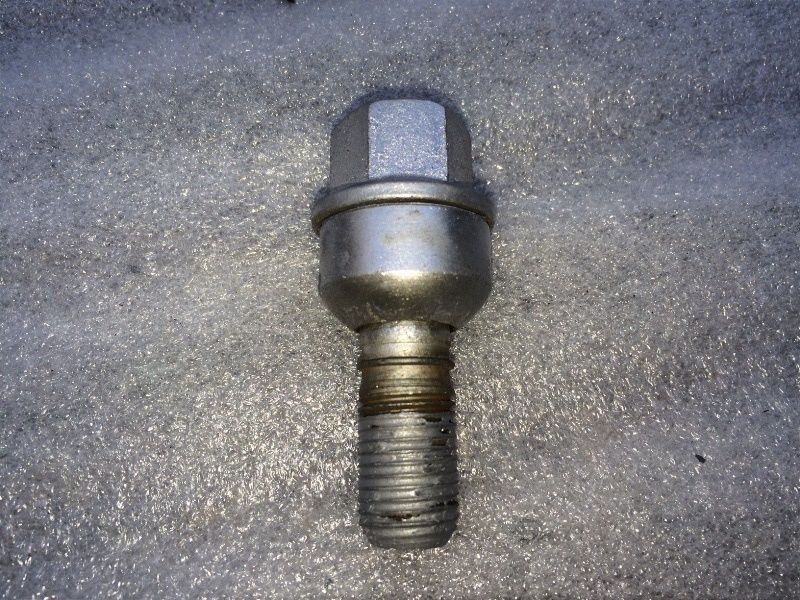
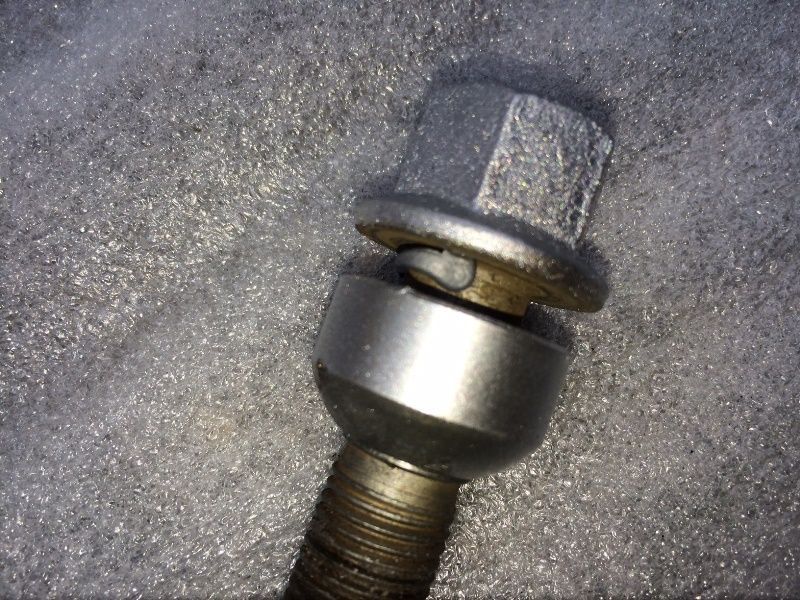
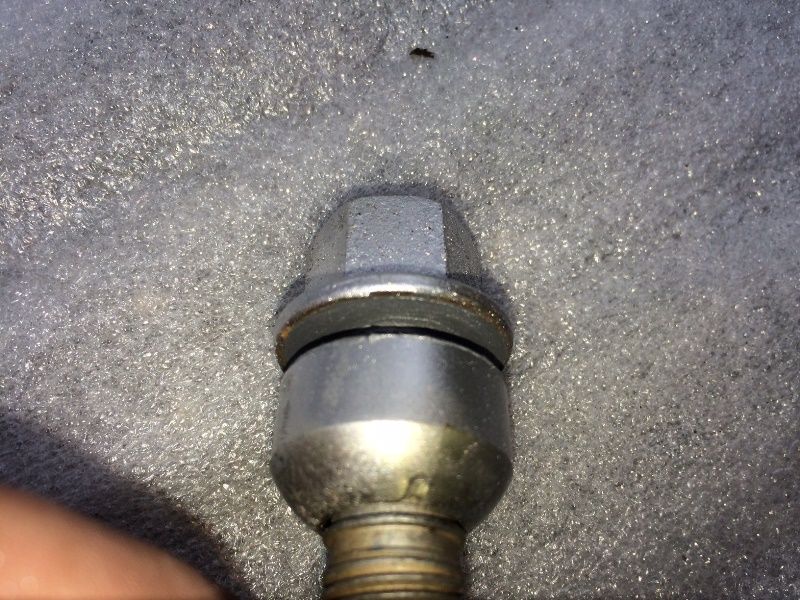
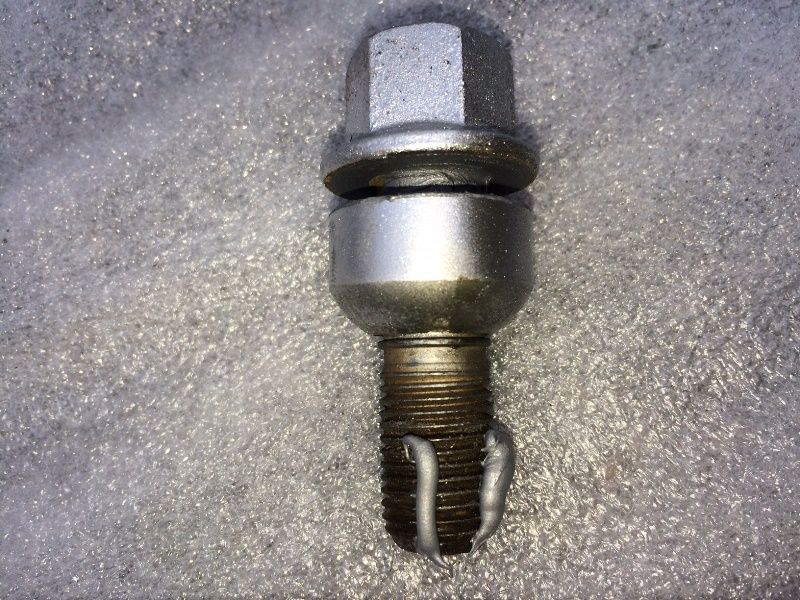
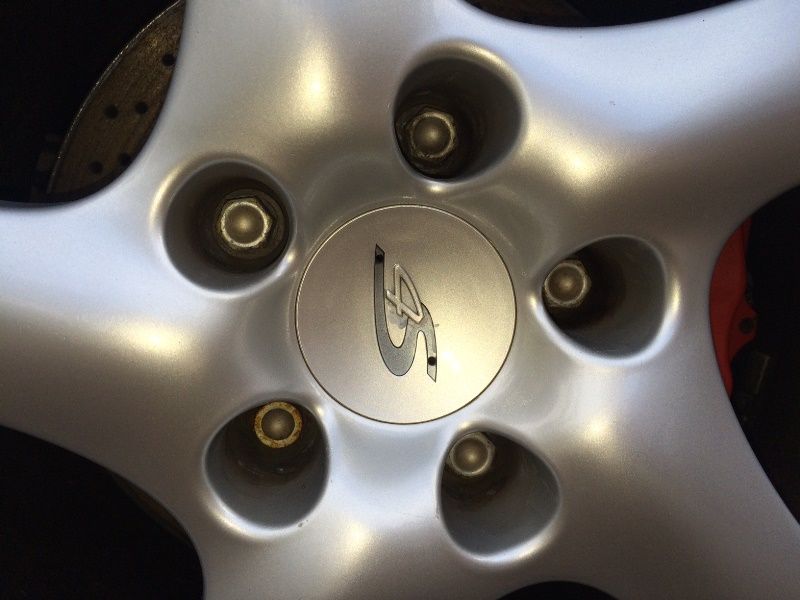
This is a picture of the various stages of corrosion and ultimate failure.
-collar is sintered alloy, hard on the outside, soft and vulnerable inside
-collar expands with corrosion meaning very tight over torqued bolts
-collar reacts with steel if not protected
-collar disintegrates and bolt falls out!

There are 2 essential jobs to do.
1. actually on the Porsche Service Bulletin but is very rarely undertaken, that is to grease with OPTIMOL TA (not copper grease) between the head and the collar. Optimol is temp resistent to 1100C and detergent resistant. The bolts get very warm with being next to and connected to the brakes, copper grease will just melt away on to your wheels.
This achieves:
-correct lubrication to allow correct torque when tightening. Any corrosion will lock the head and collar together and incorrect torque. You will find this is what causes the bolts to 'chatter' when tightening.
-prevents corrosion between the 2 surfaces which leads to failure
2. Paint the bolts including the collar. Do not use Hammerite type thick coatings NOR brush on. This leads to too much paint that looks inferior but will also chip and flake off too easily, leading to a harder job next time. Light coat sprayed on will suffice for a good few months and is easier to top up.
This achieves:
-fresher look
-resistance to rusting
-prevents wheel cleaner attacking surface of collar
PROCEDURE (note: reversal of above order 1 & 2)
Painting the bolts BEFORE lubrication
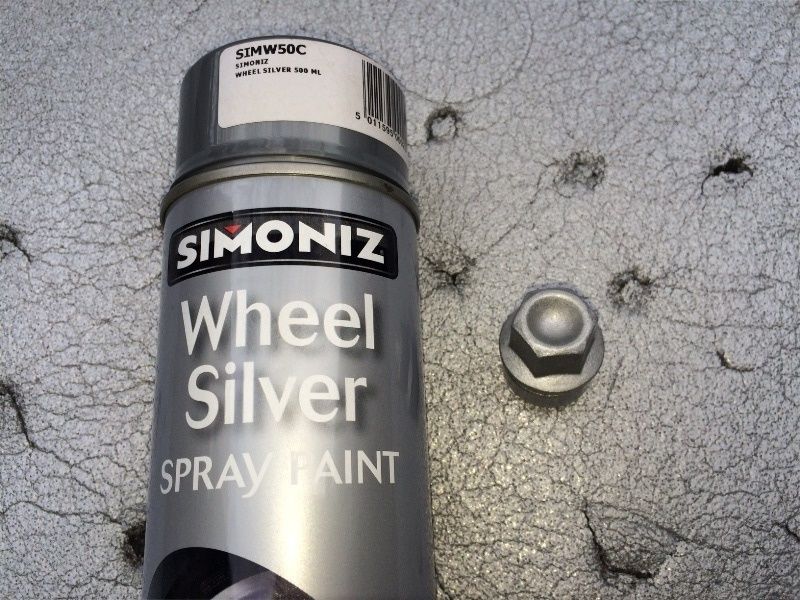
-products: Simoniz Wheel Silver/Cardboard
Remove all, or for ease without a jack, remove one or two from each wheel.
Clean/degrease/rub down lightly if inclined but NOT essential
Make holes through a piece of large cardboard
Warm paint can if necessary, shake thoroughly for 30 secs.
Lightly coat every side with light strokes and do not allow heavy build up. If necessary repeat once but do not overcoat as it will lead to flaking.
Ensure collar is painted too.
Allow to dry for 5 mins and remove from cardboard ready for next step.
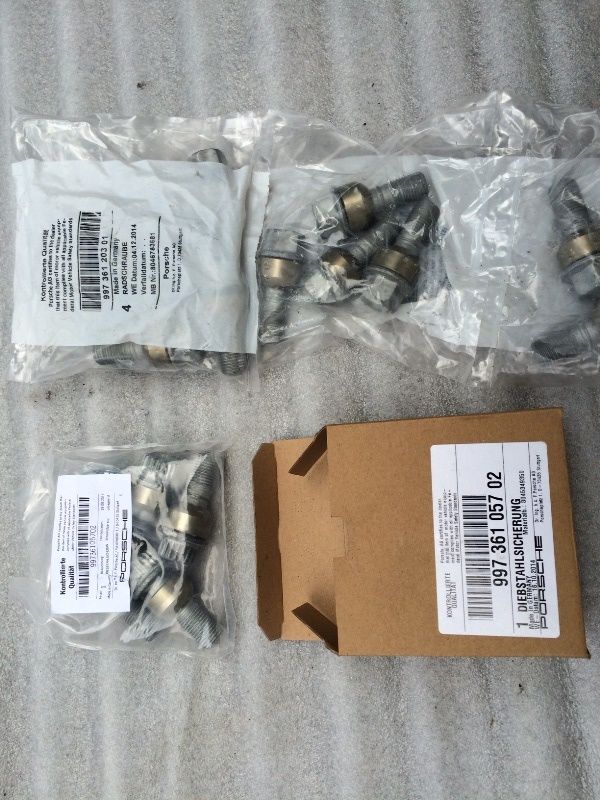
These are brand new bolts straight out of the pack. The same applies to these.
Lubricating the bolts AFTER painting
This is important as painting after grease will be problematic obviously, and leave you with greasy hands.
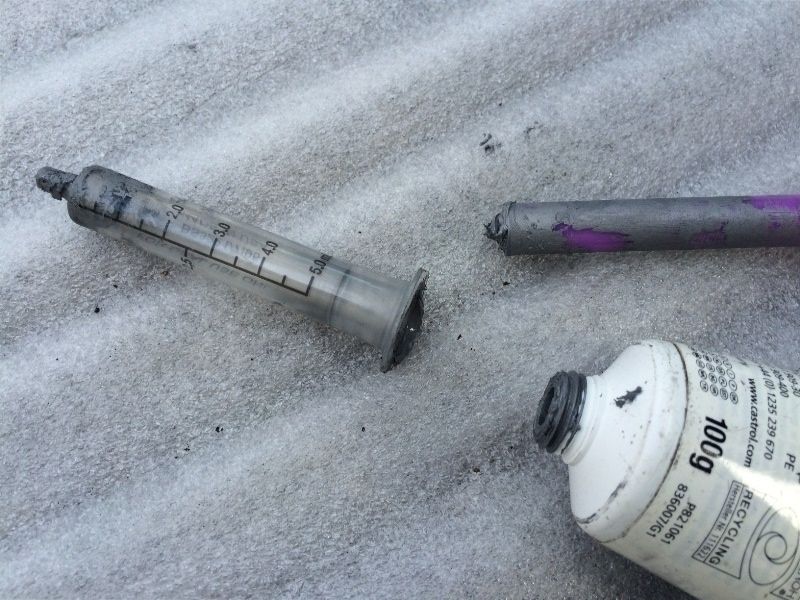
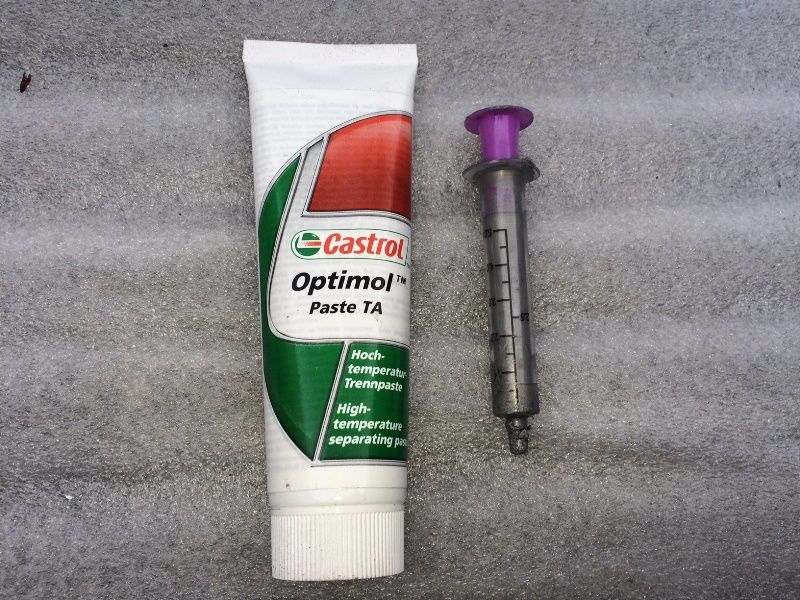
-Products required: Optimol TA paste/plastic syringe
I sell Optimol at very keen price on website or contact direct. http://www.exelwheels.co.uk/Accessories---Info.html
The syringe means more precise application and less wasteful.
Optimol comes in a tube which makes it easier to squeeze like toothpaste when you want to put in a syringe.
Take each bolt and separate the collar away from the head to make space for grease.
Only apply a very small amount about the size of a grain of long rice should do. You dont want it oozing out everywhere.
Then close the gap and twist gently to spread the grease evenly between the two surfaces. It will ooze out if you've used too much.
Here you can see a thin layer without overspill.
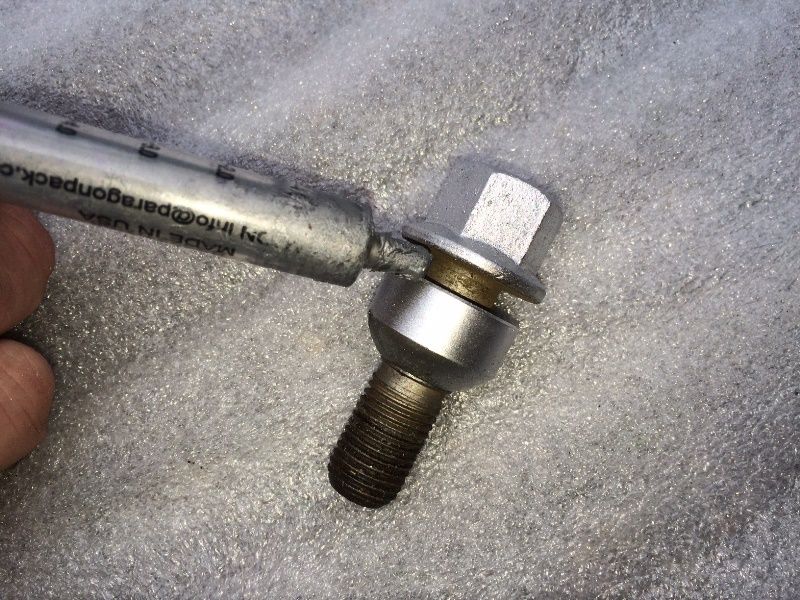
Next it is helpful if you grease the thread which will prevent seizure and rusting. The harder the bolts are too remove the more likely you/mechanic will cause damage to your nice wheels as well as ensuring correct torque. There are arguments for and against this practice, I am for.
A useful method is to apply 2 small lines ensuring it reaches to end.
Then take a tissue or paper napkin (save your cloths) and just twist in your fingers to spread evenly.
Finally re-insert into wheel and continue with rest.
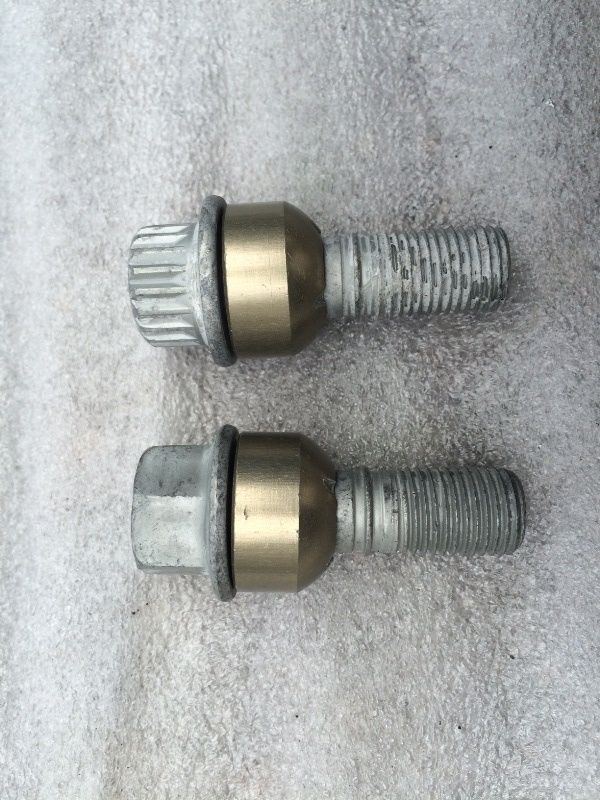
Just a few words on the security bolts.
The worst kind are the ones below on the left, the better ones on the right.
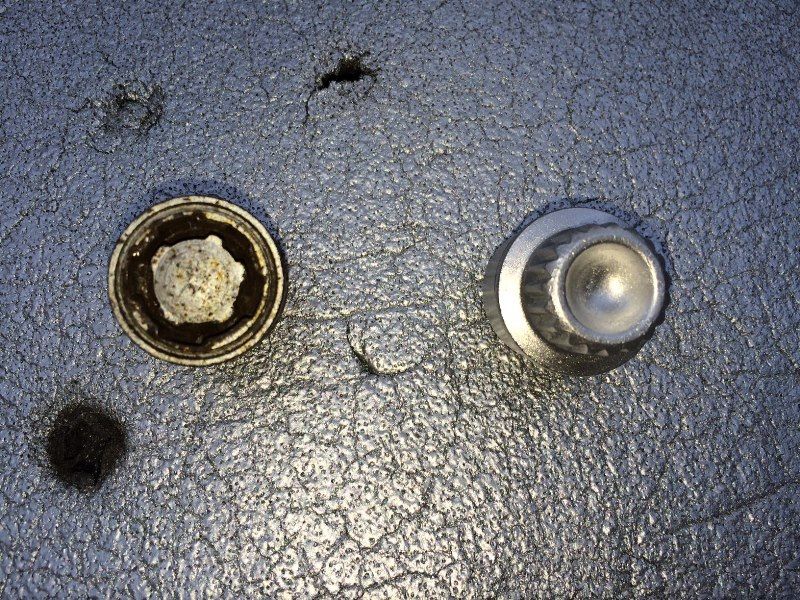
The reason is that the older type are prone to rusting up and this makes removal of the key, especially on deeper recessed wheels, very HARD! This is the one time you really risk chipping the wheel. Any paint in these increases the problem unless they are in good condition.
We supply these but if you are buying yourself make sure you buy as above part number for all standard 986/996/997 length bolts i.e. without running spacers (if extended bolts you need different part number).
Finally you are ready to refit and carry on with more. Torque to 130Nm which roughly equates to when you need to lock your elbow using a wrench.
BEFORE
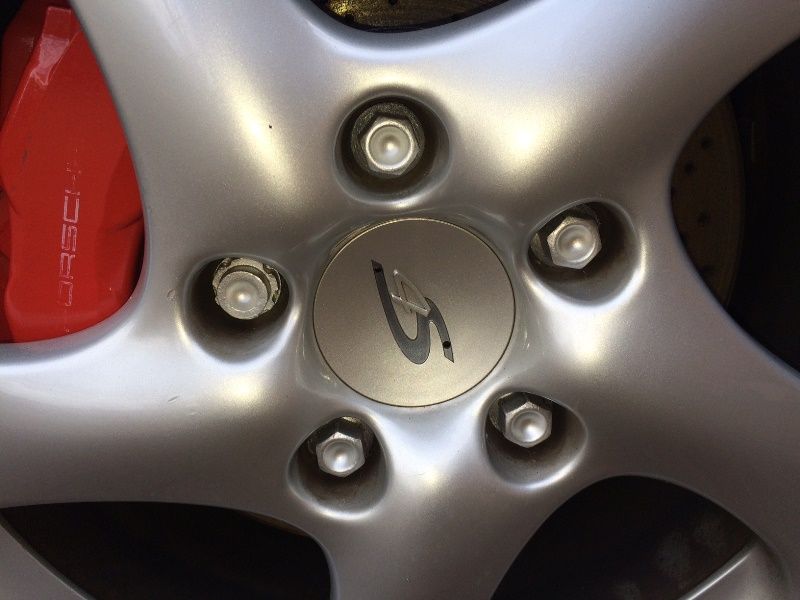
AFTER
Doing this could avoid the need for replacement which costs £150 for a full set,a nd protects against total failure and loosing a wheel.
The wheel bolts inherently suffer from bad corrosion:
-acid wheel cleaner as soon as they are washed
-lack of coating from factory
-bimetallic corrosion between steel head and alloy collar
This is a picture of the various stages of corrosion and ultimate failure.
-collar is sintered alloy, hard on the outside, soft and vulnerable inside
-collar expands with corrosion meaning very tight over torqued bolts
-collar reacts with steel if not protected
-collar disintegrates and bolt falls out!

There are 2 essential jobs to do.
1. actually on the Porsche Service Bulletin but is very rarely undertaken, that is to grease with OPTIMOL TA (not copper grease) between the head and the collar. Optimol is temp resistent to 1100C and detergent resistant. The bolts get very warm with being next to and connected to the brakes, copper grease will just melt away on to your wheels.
This achieves:
-correct lubrication to allow correct torque when tightening. Any corrosion will lock the head and collar together and incorrect torque. You will find this is what causes the bolts to 'chatter' when tightening.
-prevents corrosion between the 2 surfaces which leads to failure
2. Paint the bolts including the collar. Do not use Hammerite type thick coatings NOR brush on. This leads to too much paint that looks inferior but will also chip and flake off too easily, leading to a harder job next time. Light coat sprayed on will suffice for a good few months and is easier to top up.
This achieves:
-fresher look
-resistance to rusting
-prevents wheel cleaner attacking surface of collar
PROCEDURE (note: reversal of above order 1 & 2)
Painting the bolts BEFORE lubrication
-products: Simoniz Wheel Silver/Cardboard
Remove all, or for ease without a jack, remove one or two from each wheel.
Clean/degrease/rub down lightly if inclined but NOT essential
Make holes through a piece of large cardboard
Warm paint can if necessary, shake thoroughly for 30 secs.
Lightly coat every side with light strokes and do not allow heavy build up. If necessary repeat once but do not overcoat as it will lead to flaking.
Ensure collar is painted too.
Allow to dry for 5 mins and remove from cardboard ready for next step.


These are brand new bolts straight out of the pack. The same applies to these.


Lubricating the bolts AFTER painting
This is important as painting after grease will be problematic obviously, and leave you with greasy hands.
-Products required: Optimol TA paste/plastic syringe
I sell Optimol at very keen price on website or contact direct. http://www.exelwheels.co.uk/Accessories---Info.html
The syringe means more precise application and less wasteful.
Optimol comes in a tube which makes it easier to squeeze like toothpaste when you want to put in a syringe.


Take each bolt and separate the collar away from the head to make space for grease.
Only apply a very small amount about the size of a grain of long rice should do. You dont want it oozing out everywhere.


Then close the gap and twist gently to spread the grease evenly between the two surfaces. It will ooze out if you've used too much.
Here you can see a thin layer without overspill.

Next it is helpful if you grease the thread which will prevent seizure and rusting. The harder the bolts are too remove the more likely you/mechanic will cause damage to your nice wheels as well as ensuring correct torque. There are arguments for and against this practice, I am for.
A useful method is to apply 2 small lines ensuring it reaches to end.

Then take a tissue or paper napkin (save your cloths) and just twist in your fingers to spread evenly.
Finally re-insert into wheel and continue with rest.
Just a few words on the security bolts.
The worst kind are the ones below on the left, the better ones on the right.

The reason is that the older type are prone to rusting up and this makes removal of the key, especially on deeper recessed wheels, very HARD! This is the one time you really risk chipping the wheel. Any paint in these increases the problem unless they are in good condition.
We supply these but if you are buying yourself make sure you buy as above part number for all standard 986/996/997 length bolts i.e. without running spacers (if extended bolts you need different part number).
Finally you are ready to refit and carry on with more. Torque to 130Nm which roughly equates to when you need to lock your elbow using a wrench.
BEFORE

AFTER

")


")


