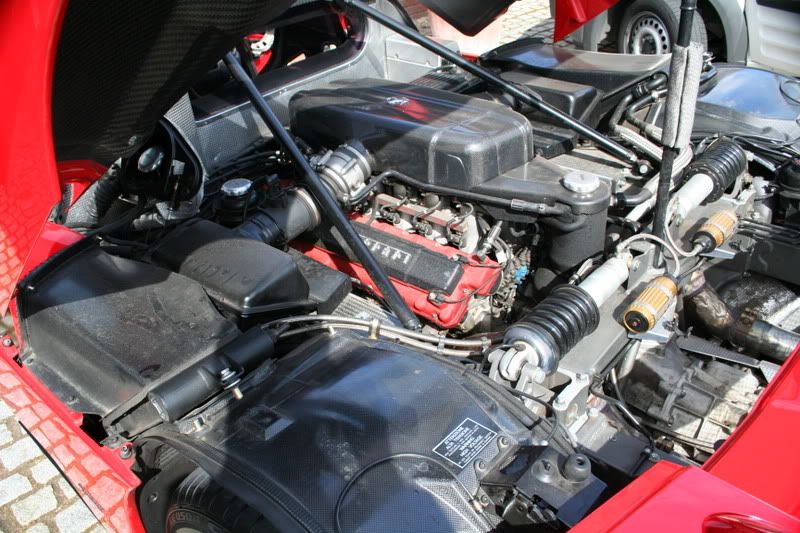
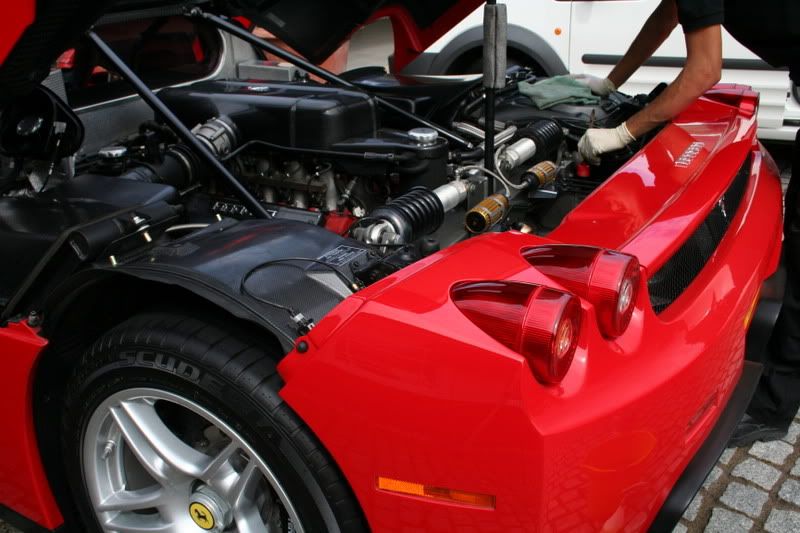
Engine
Above is a before picture of the V12 transplant, pushing over 660BHP from the 6 litre engine and is probably the most desirable privately owned Enzo in the world. This Enzo's engine hasn't ever been cleaned before. This was back breaking work and took me over 5 hours to get the engine up to my standard. It was thoroughly cleaned, including all pipes, clips, and any other accessible components. All rubbers and plastic were then sealed and protected.
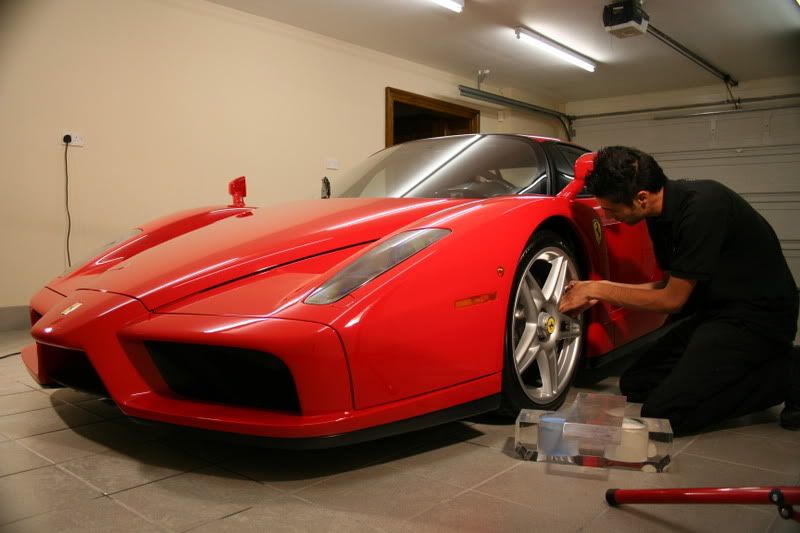
An image of myself during the cleaning process:
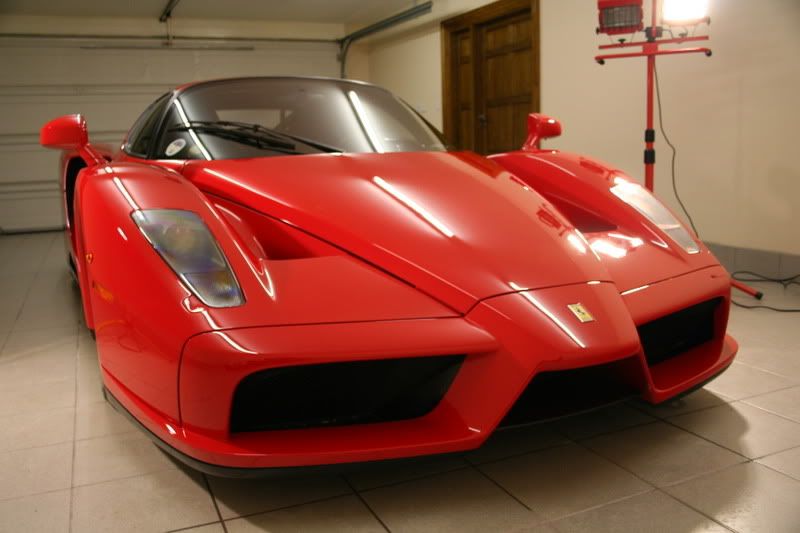
After the full cleansing process:
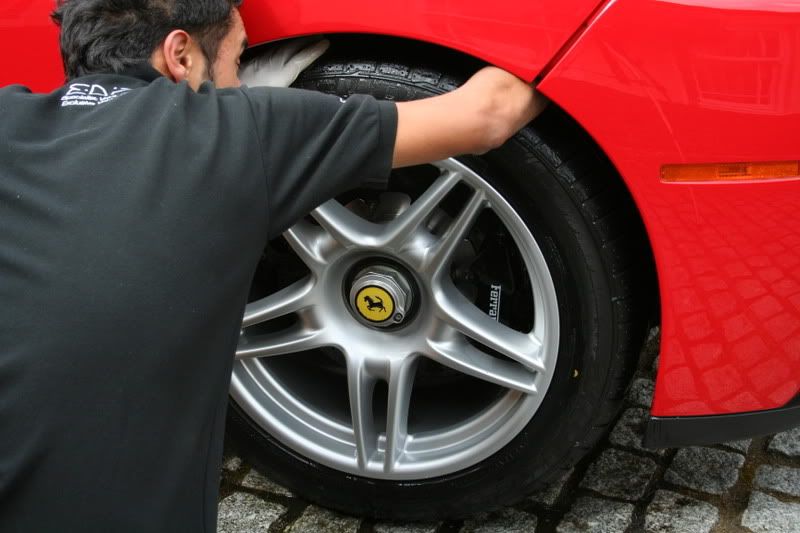
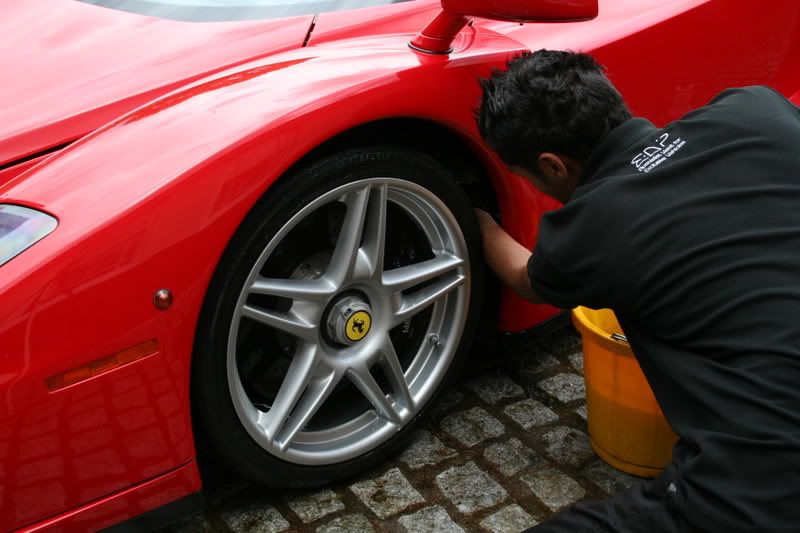
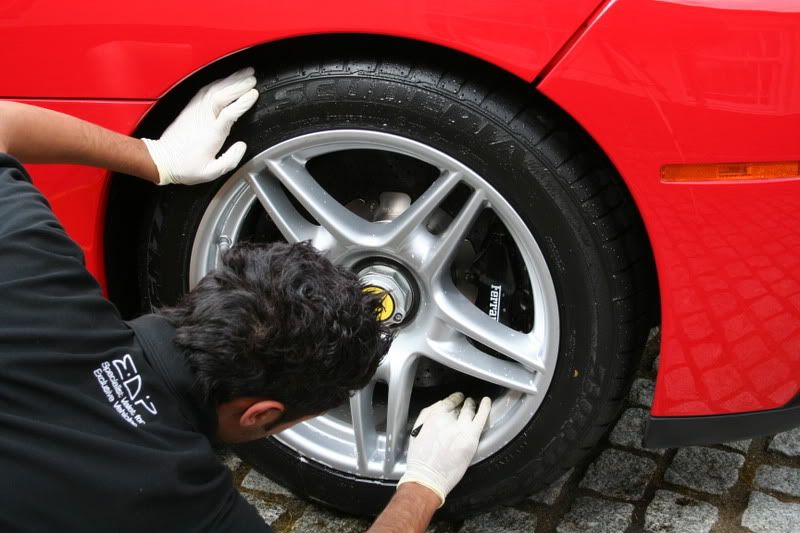
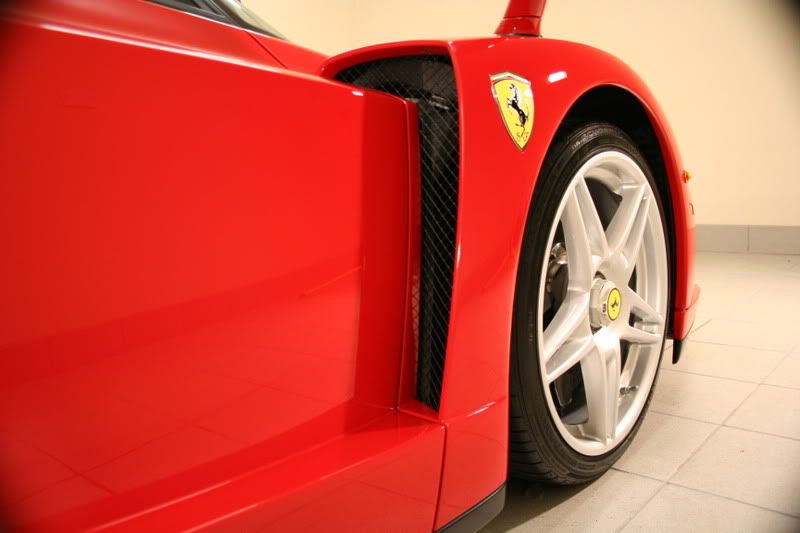
Wheels, Brakes & Arches
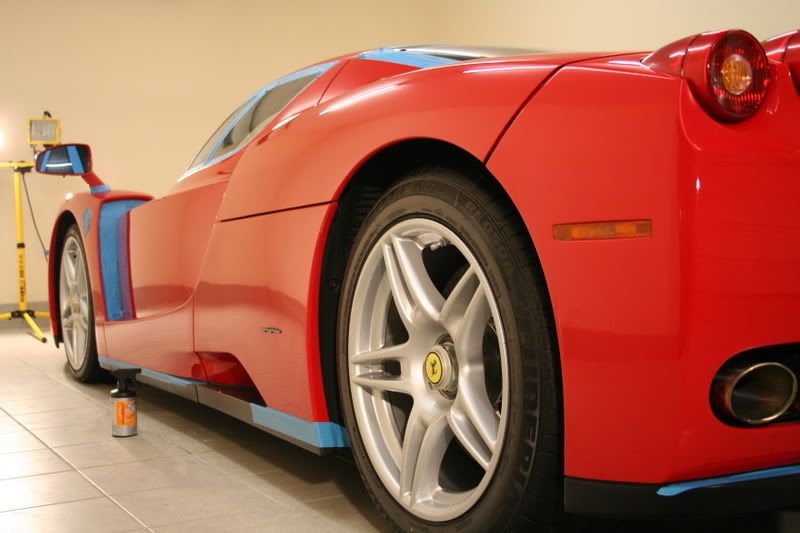
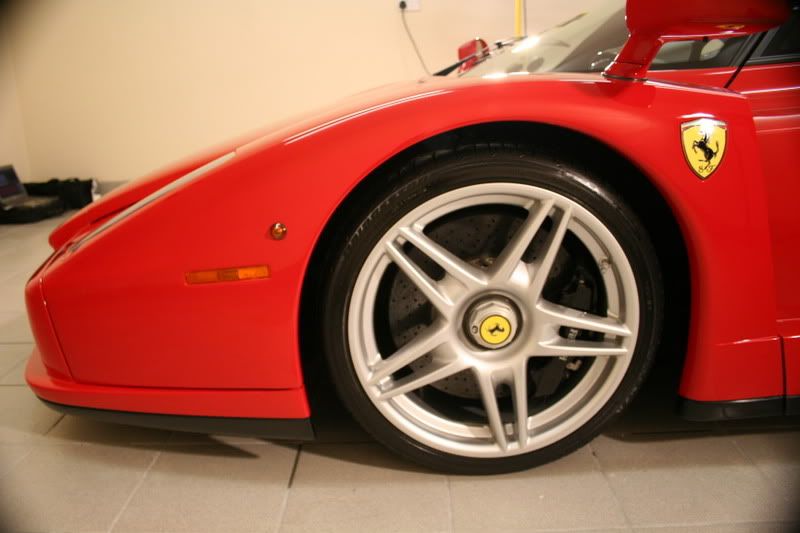
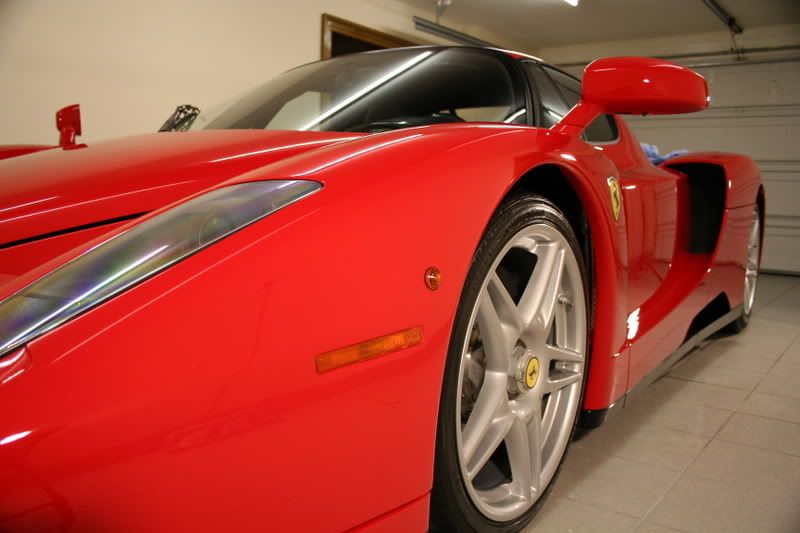
The Enzo runs 19 inch wheels as standard and they are wrapped in Bridgestone rubber. The brakes are 6 pot Brembo's with carbon ceramic discs.
The arches were thoroughly scrubbed by me and my skinny arms assisted me well.
I use a specific bucket solely for the wheels and arches alone.
The wheels and Brembo callipers were cleaned with a safe wheel gel cleaner in conjunction with a tar remover.
EDP Car Wash
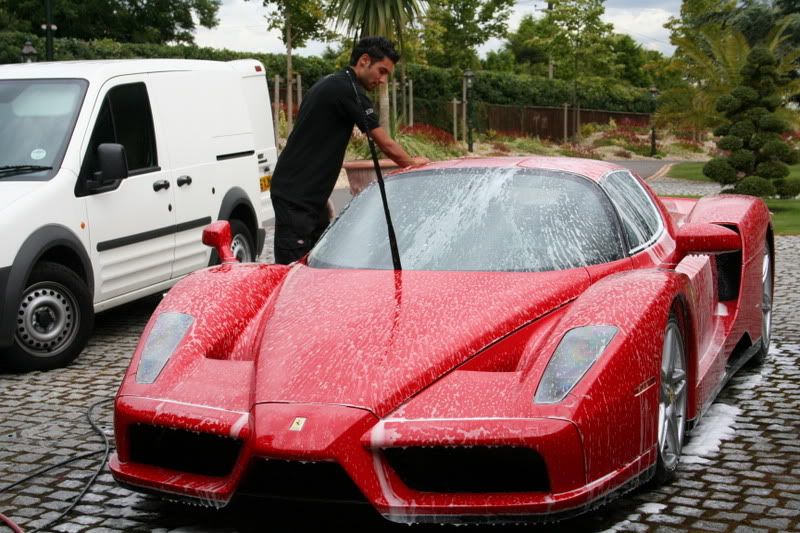
The car was washed with Zaino Z-7. In my opinion one of the best shampoos and I will be selling this product shortly. A genuine lambs wool wash mitt is also used.
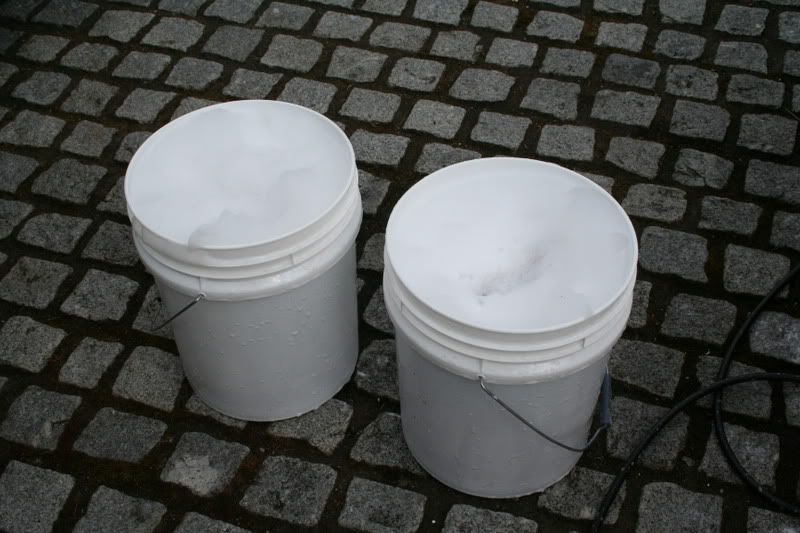
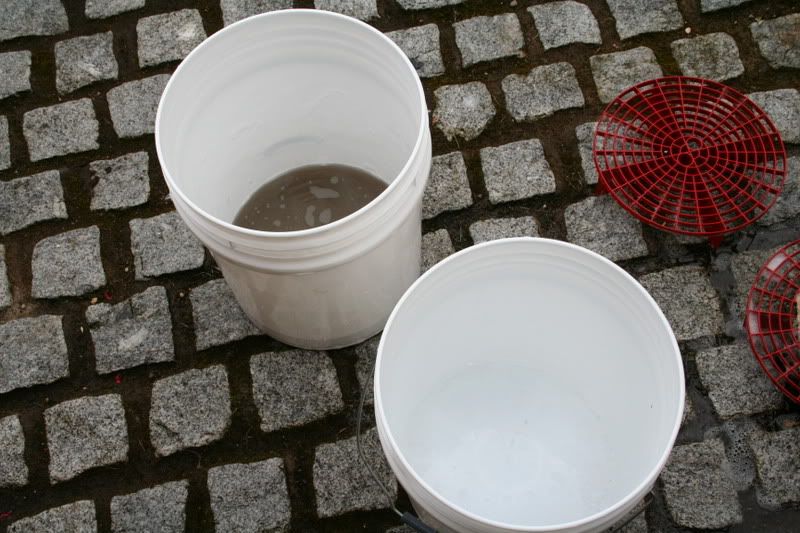
As you can see, two buckets were used as well as both buckets containing Grit Guards at the bottom. I also stock these buckets and will be available for purchase shortly.
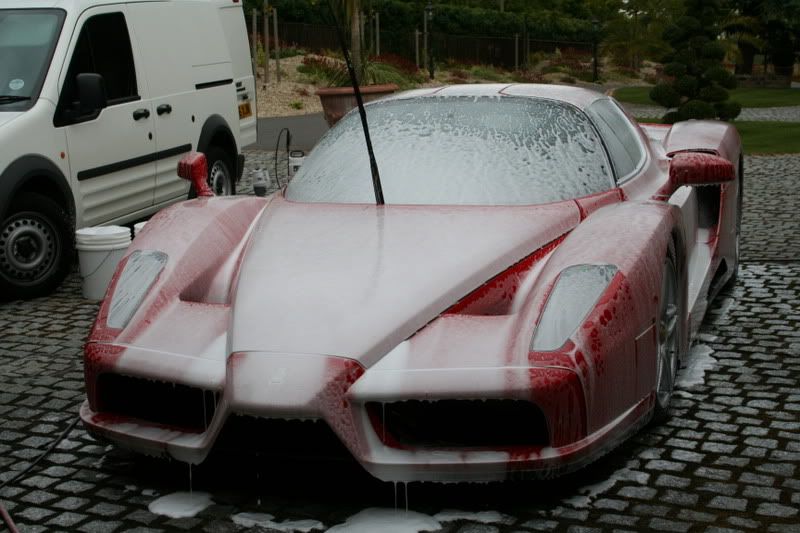
The Enzo was also foamed using a foam gun. This aids the wash process and is a brilliant tool. These will also be available from my self in the next week or so. The car is left to soak with the foam mix, and then rinsed off.
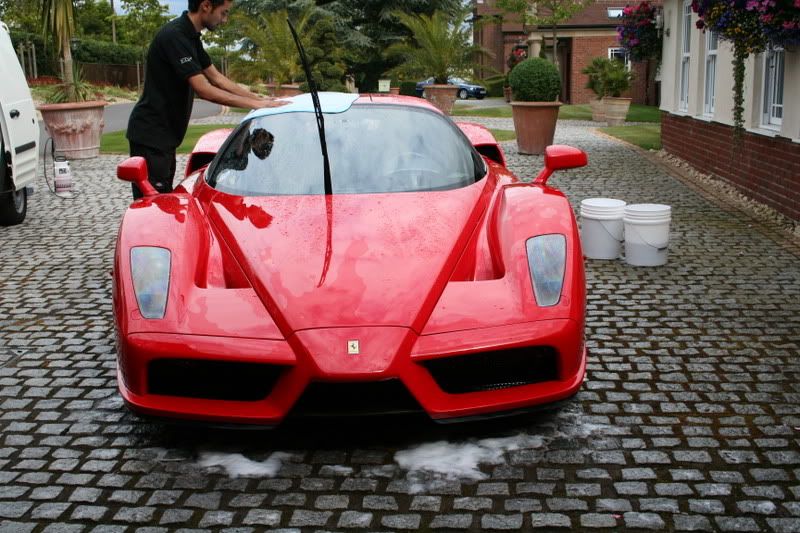
After this the car is re-foamed before the standard EDP wash technique.
Once given the final rinse, the car is pat dried using microfibre drying towels. Again, these are available from my self.
Above you may have noticed I mentioned using two buckets. An image below illustrates why using two buckets is important when washing your 911. One bucket is used to rinse the lambs wool wash mitt out; where as the other bucket is used to re-shampoo the mitt. In this process, you are minimising the chances of scratching your pride and joy.
The dirty watered bucket is the rinse bucket. I emptied out most of the water in the buckets to help show this.
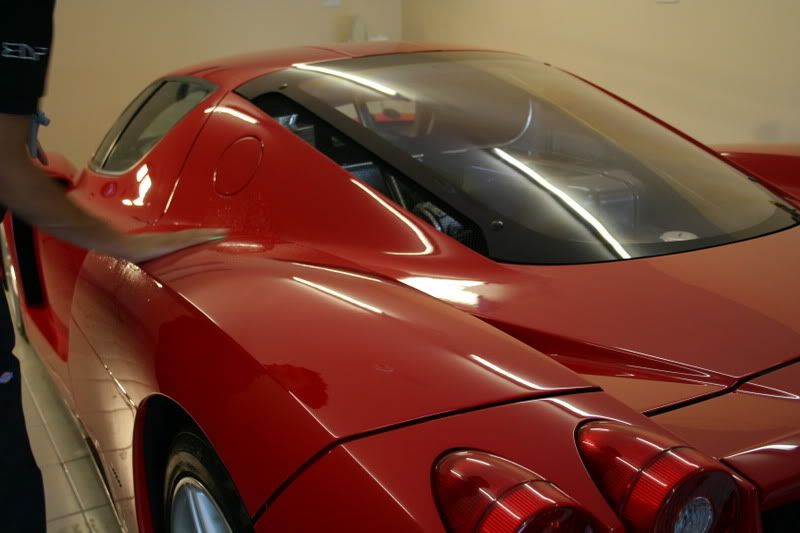
Claying:
Once the Enzo had been dried, I brought the car in. The car bodywork and windows were then. I used a Sonus clay bar on this occasion along with my own formulated lubricant.
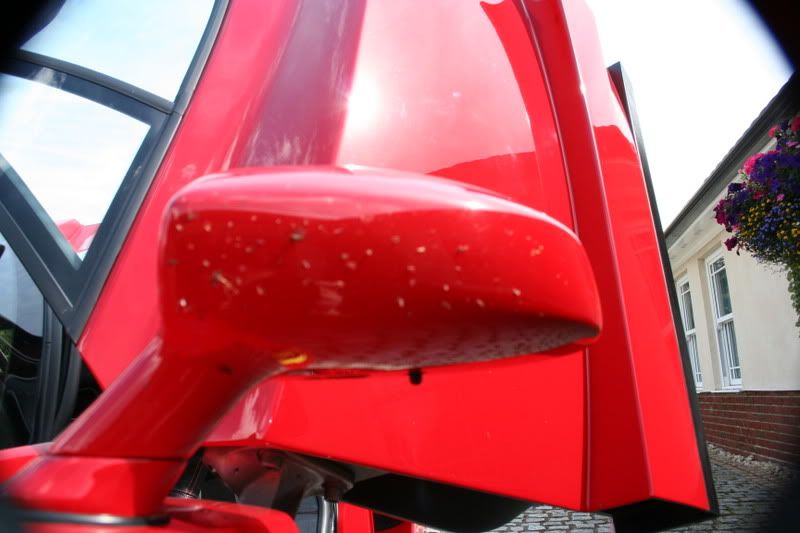
After the claying session, the car's paint was thoroughly inspected. Just because this vehicle is worth a seven figure sum does not mean the paint is perfect, in fact it's nothing like it should be.
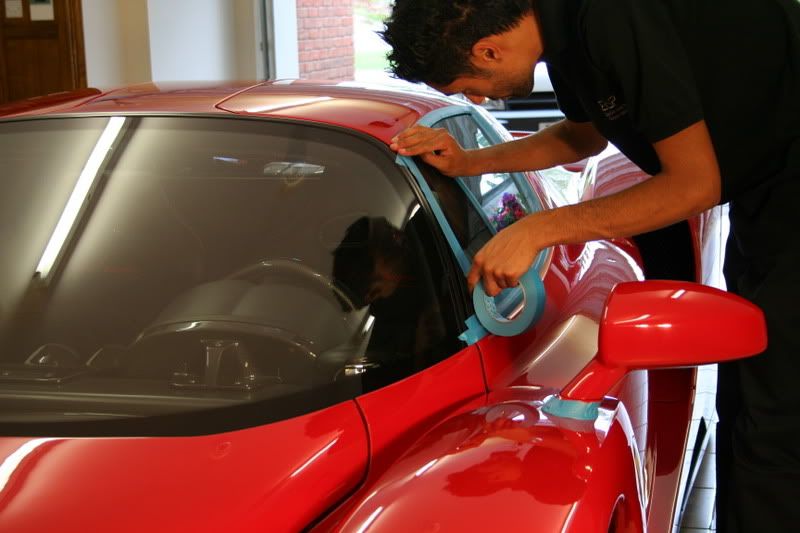
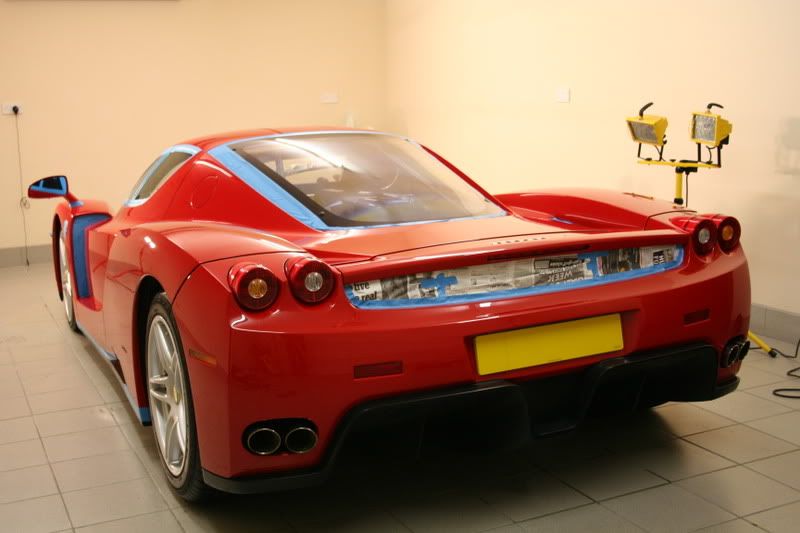
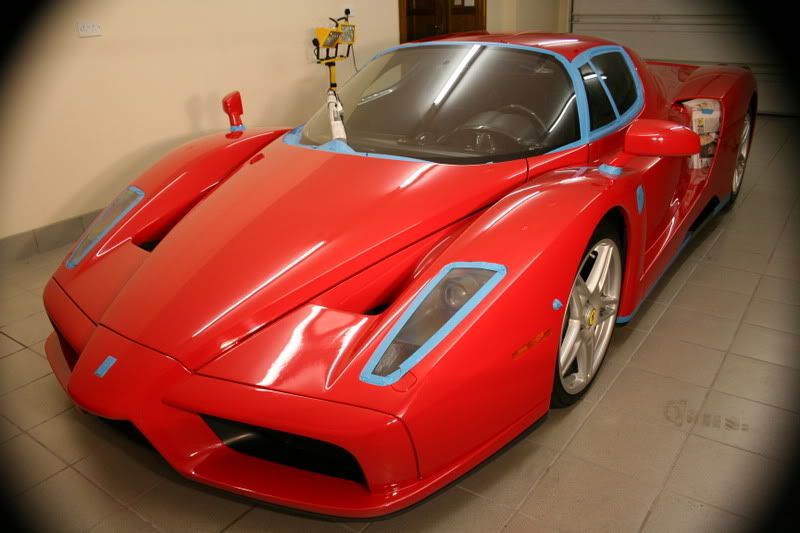
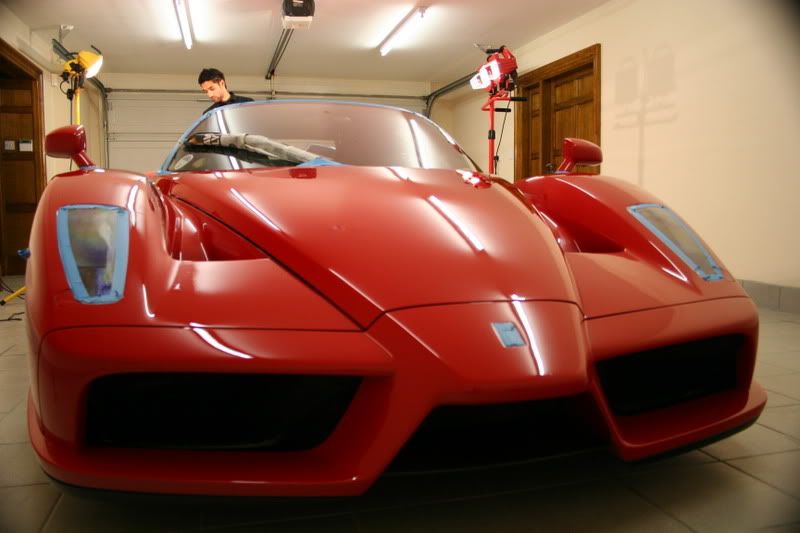
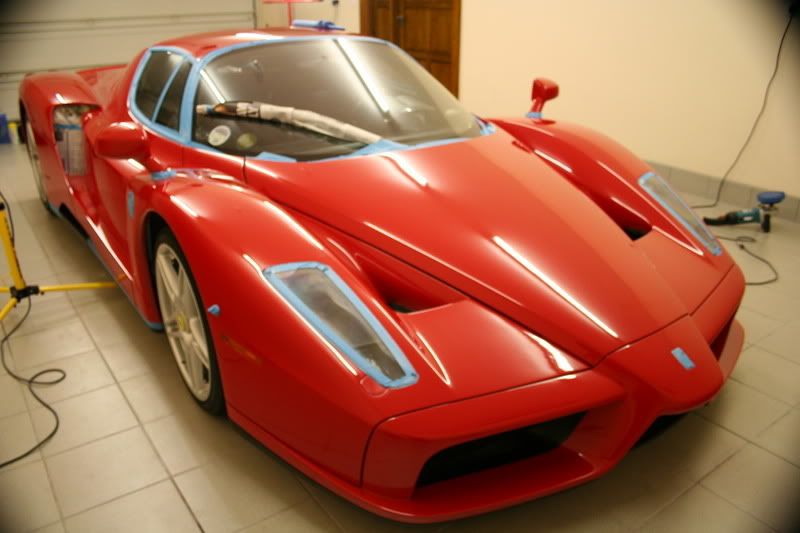
Masking:
After the paint inspection, the vehicle was then masked up using a specific low strength adhesive tape.
These types of cars always take longer to mask up properly. All intakes were also carefully covered.
After all the masking has been completed, it's time to start the paint correction process.
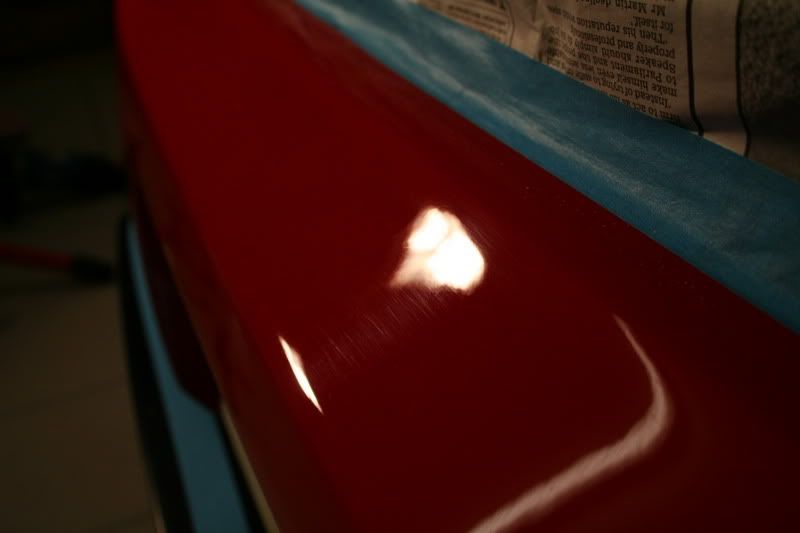
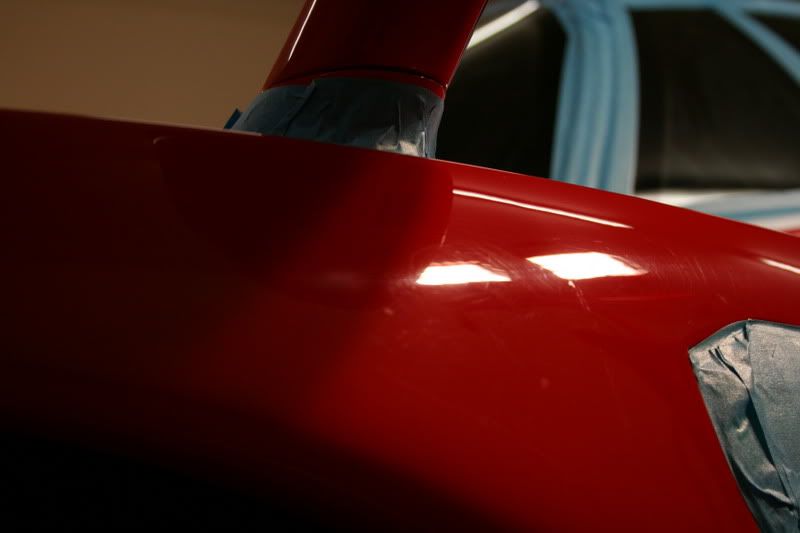
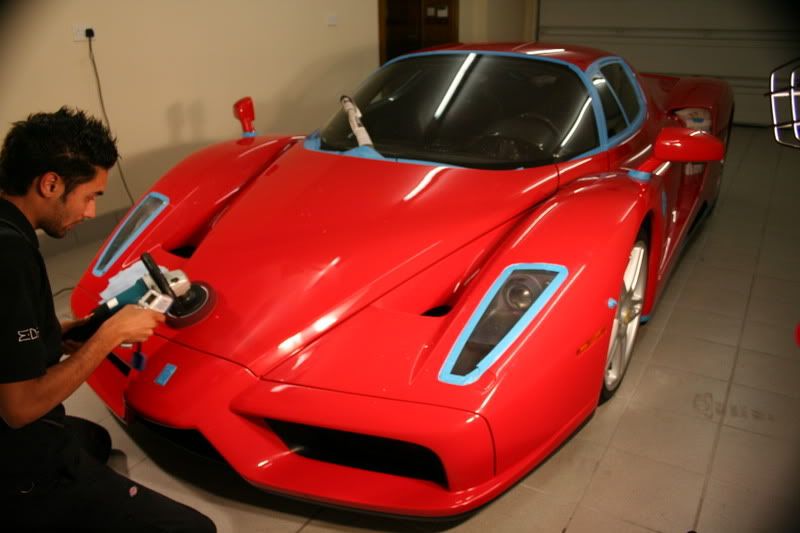
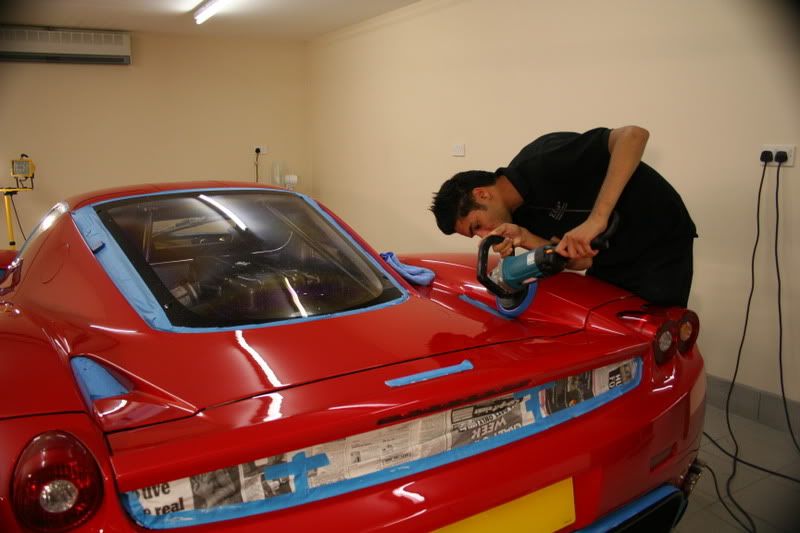
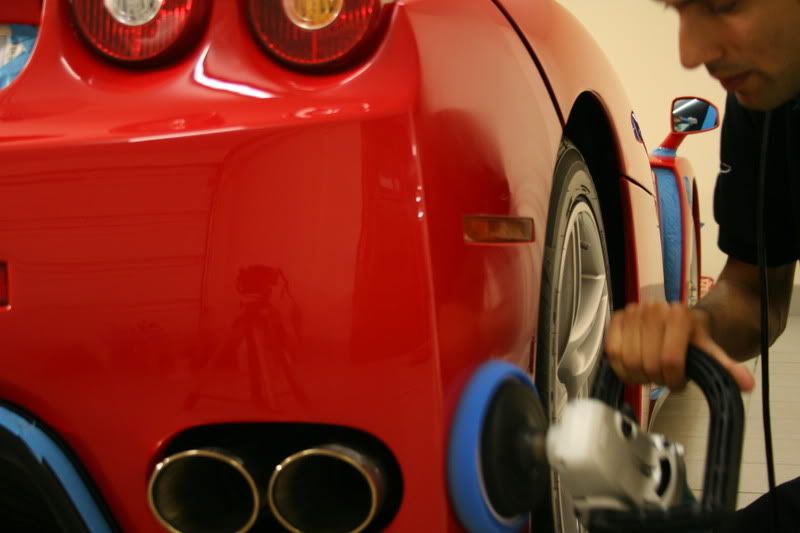
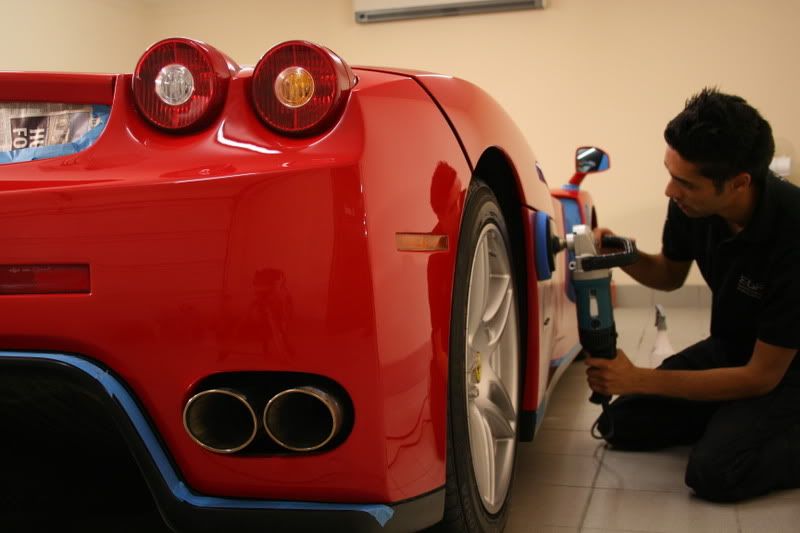
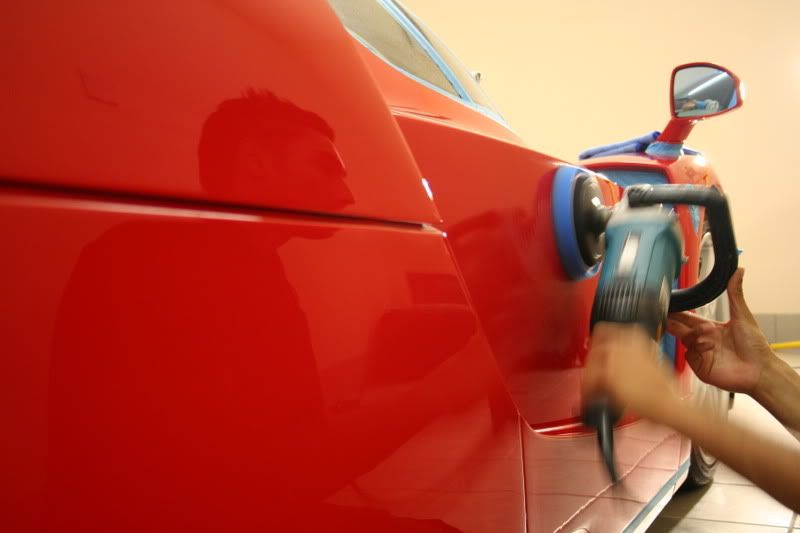
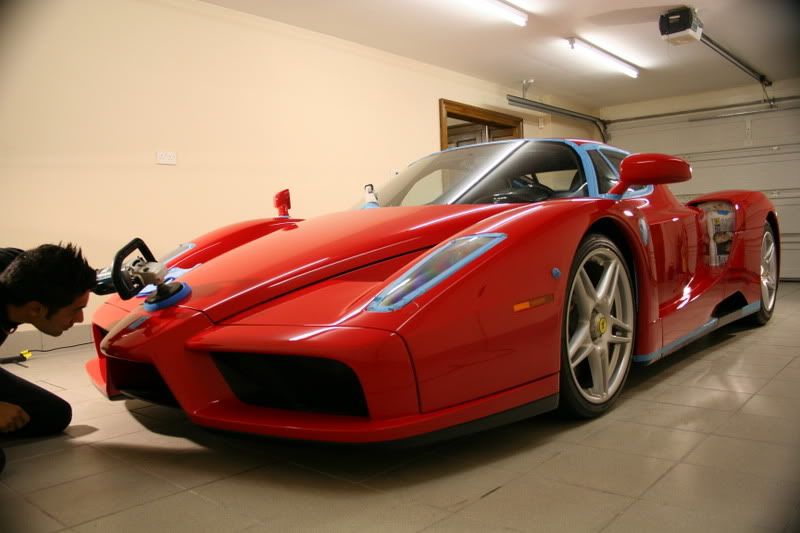
Paint Correction:
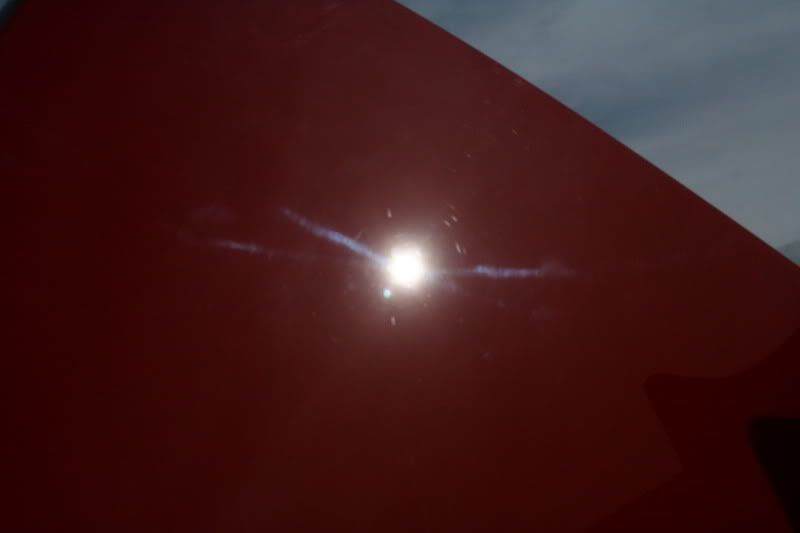
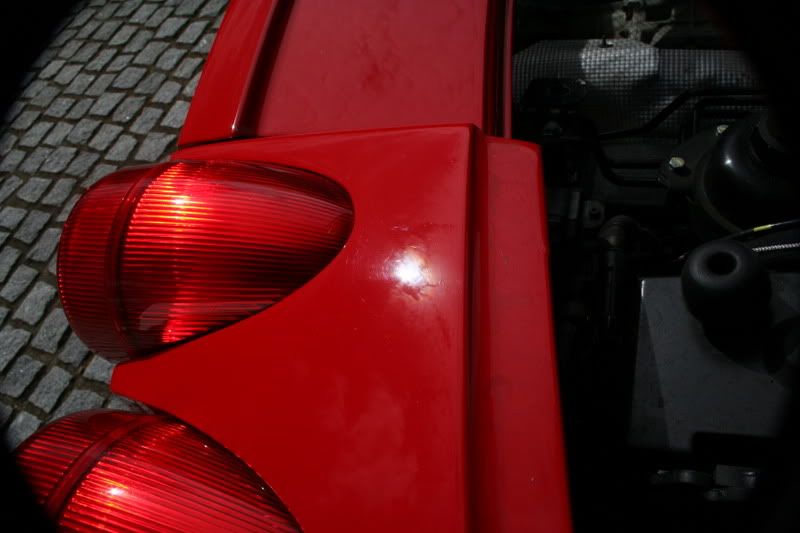
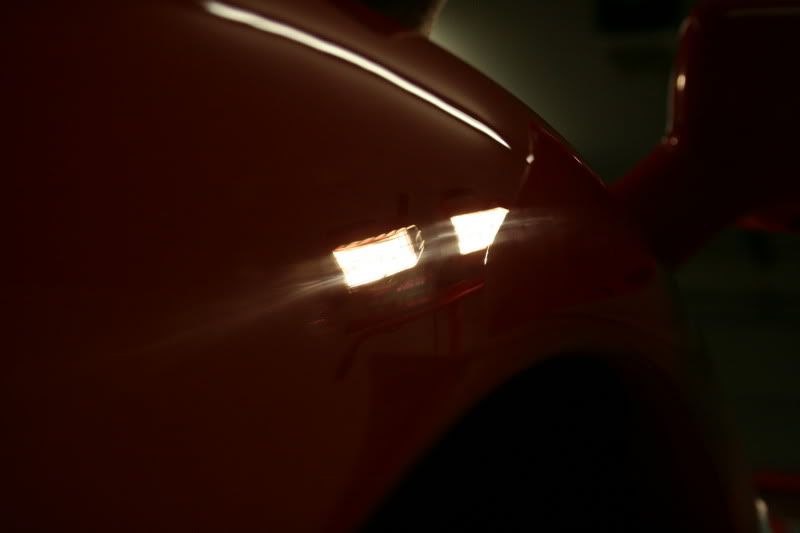
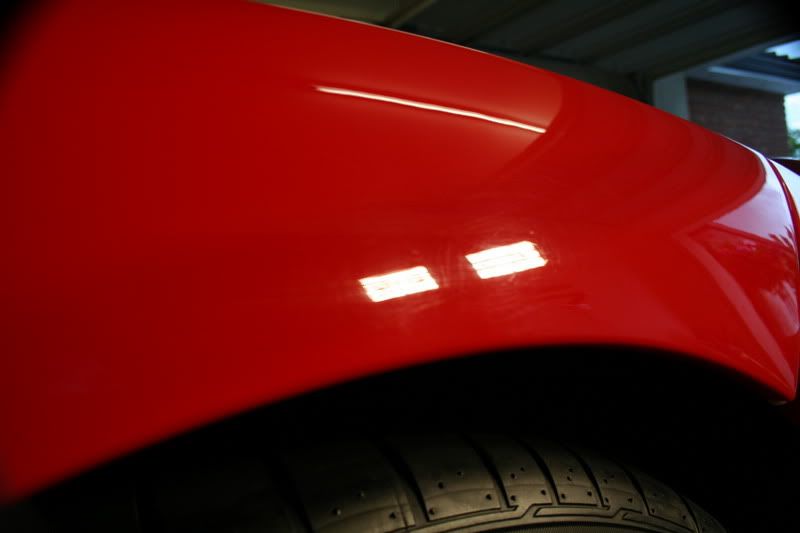
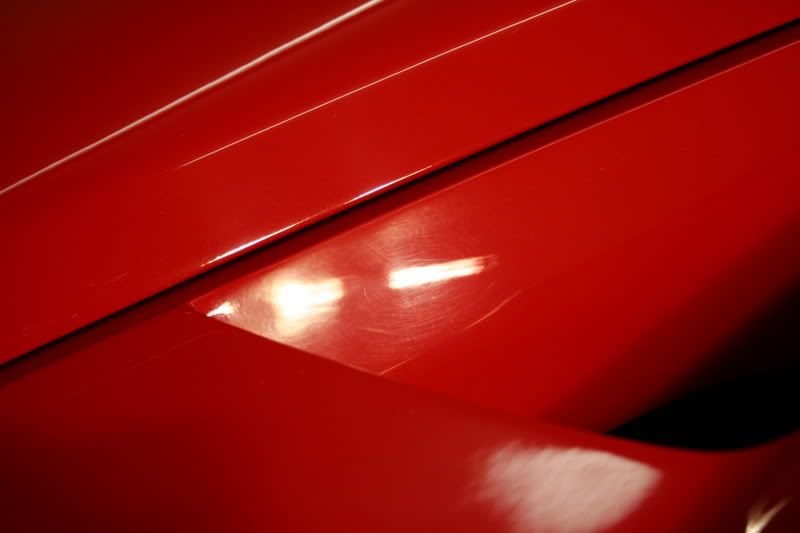
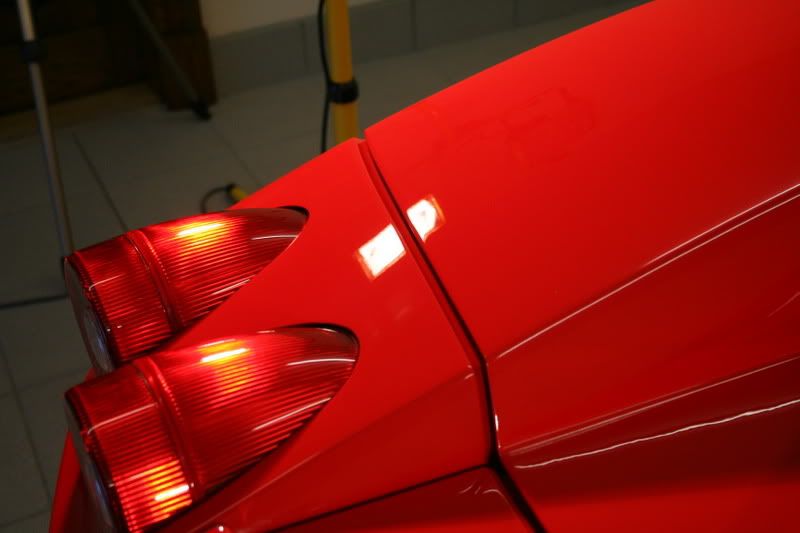
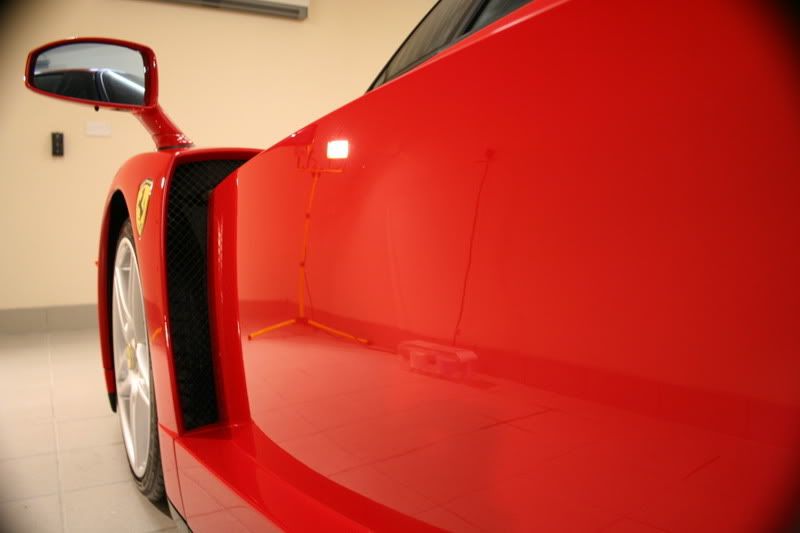
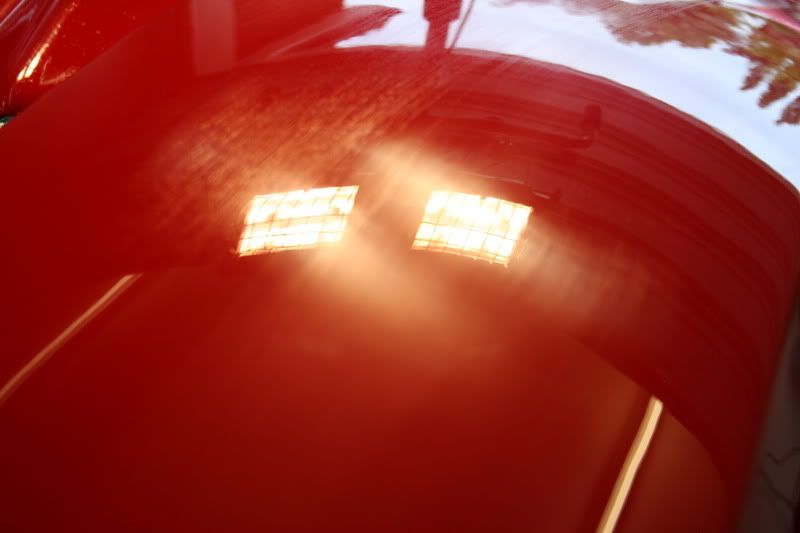
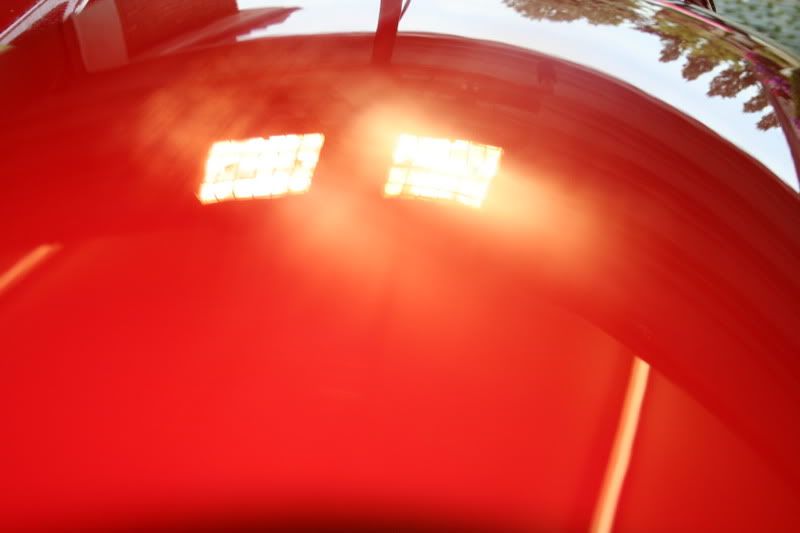
Below are some pictures showing the various scratches in the paintwork.
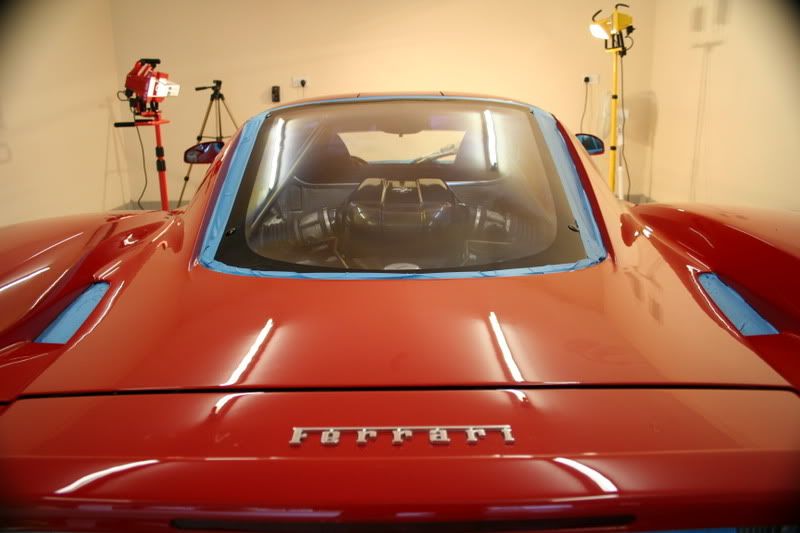
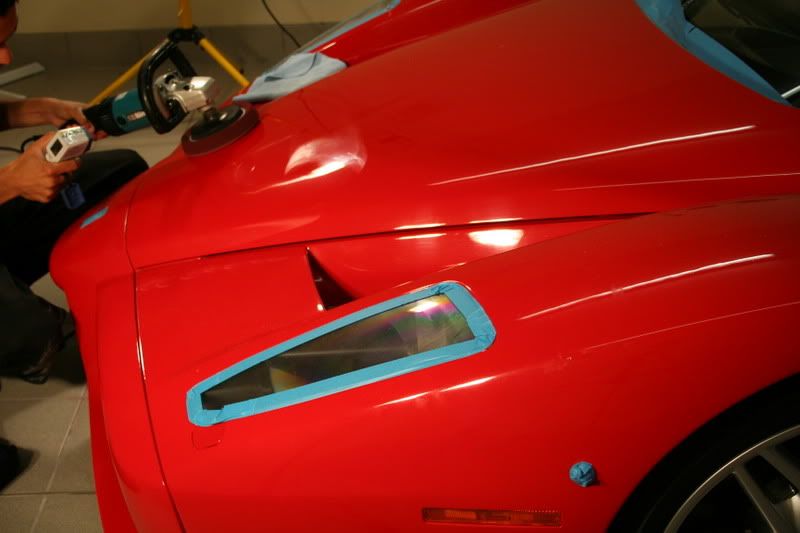
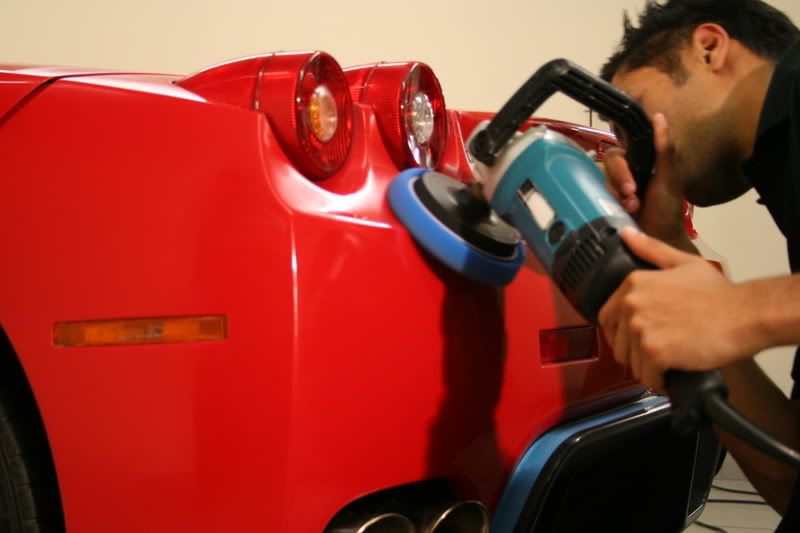
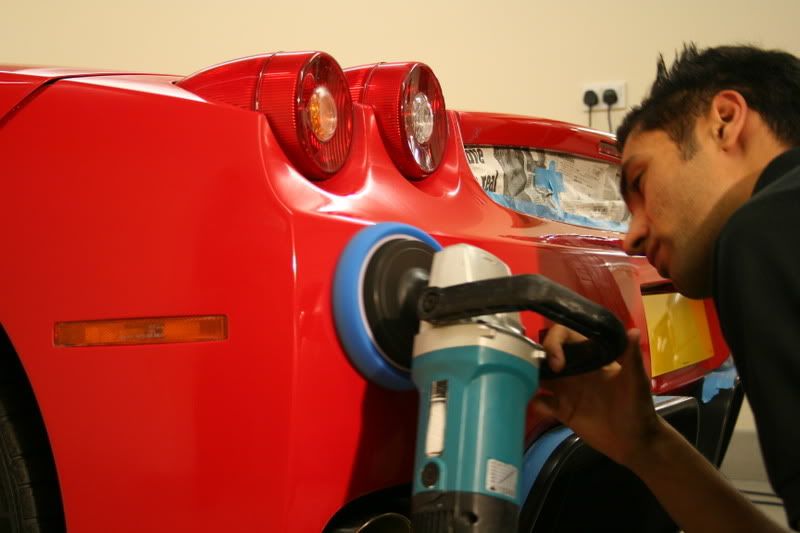
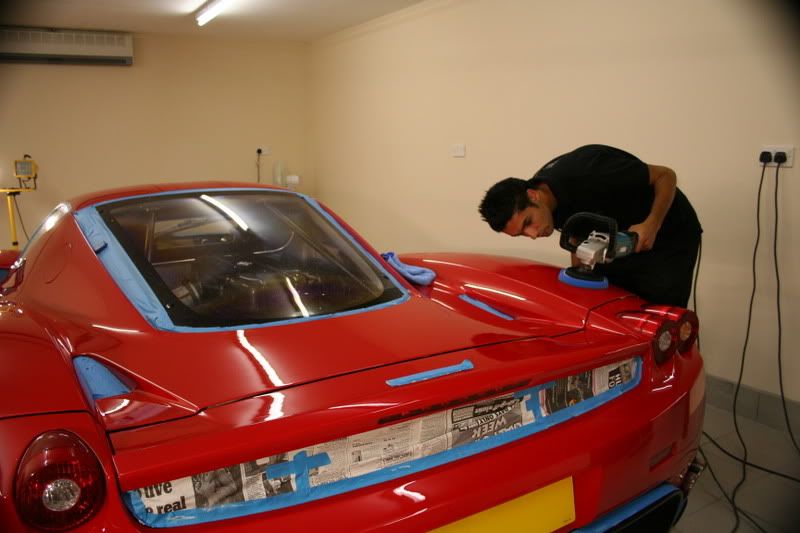
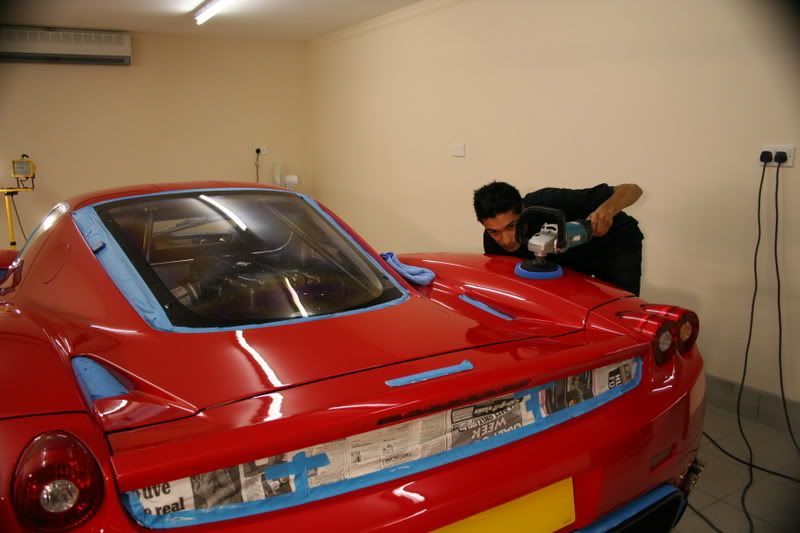
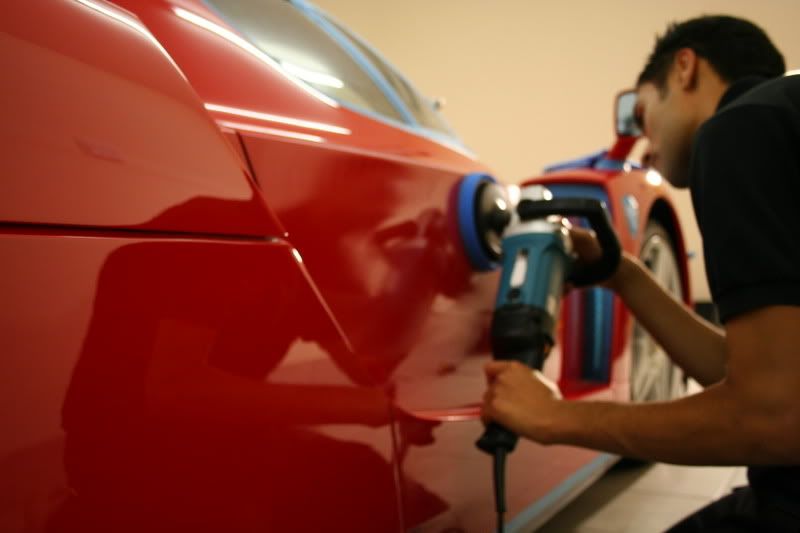
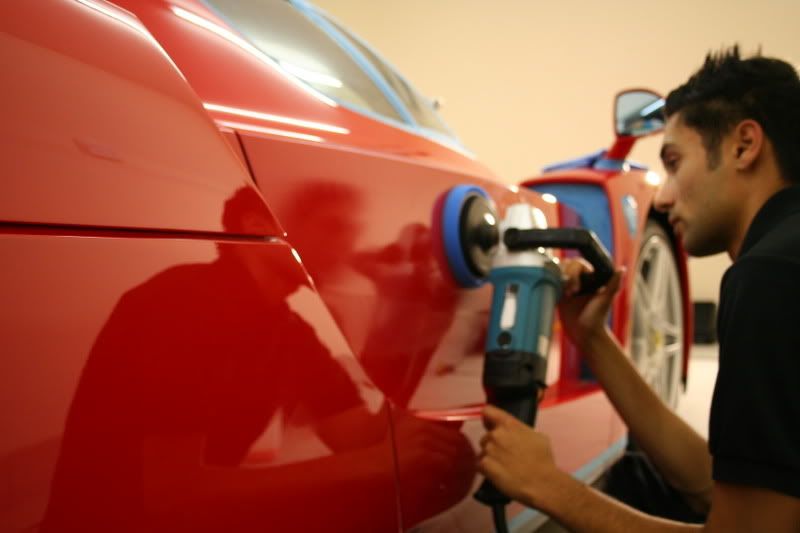
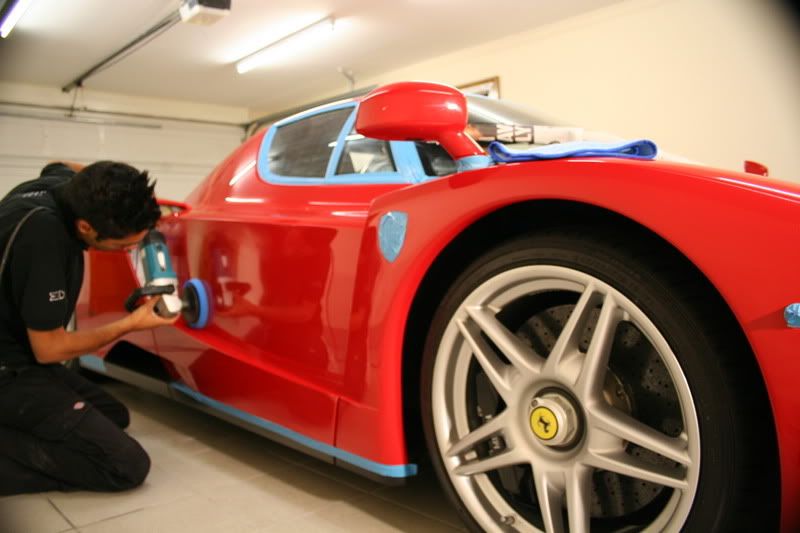
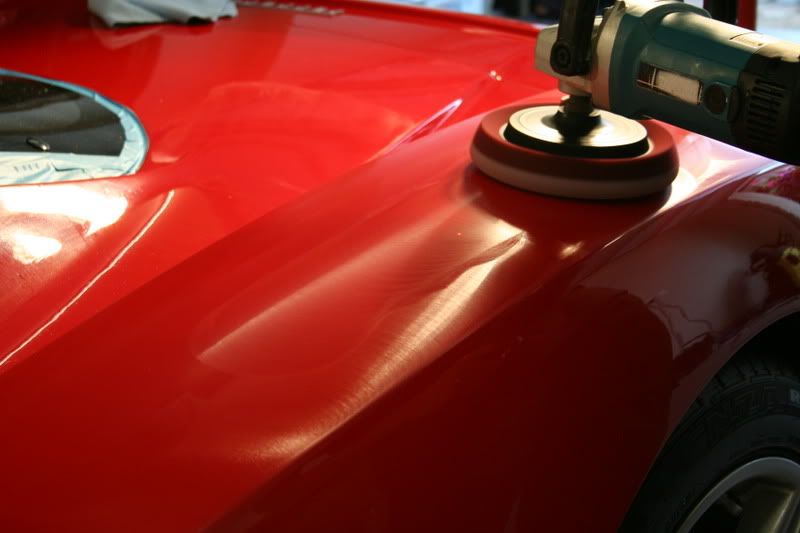
During the Paint Correction process:
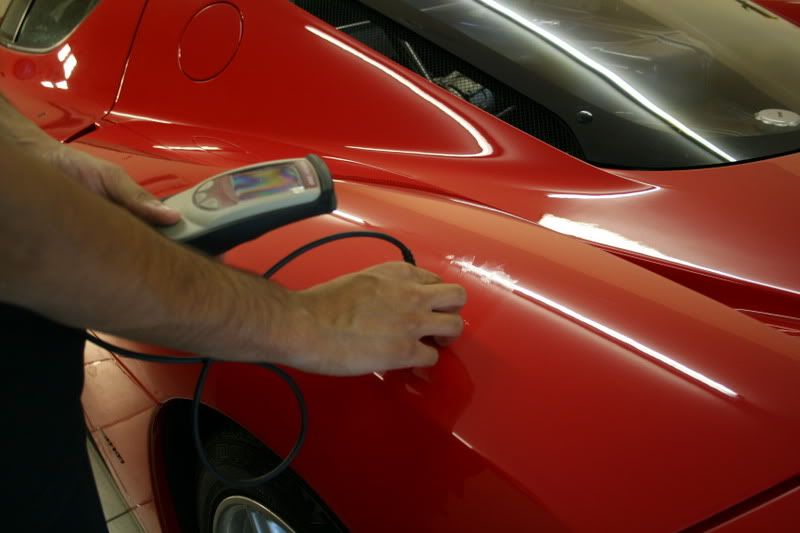
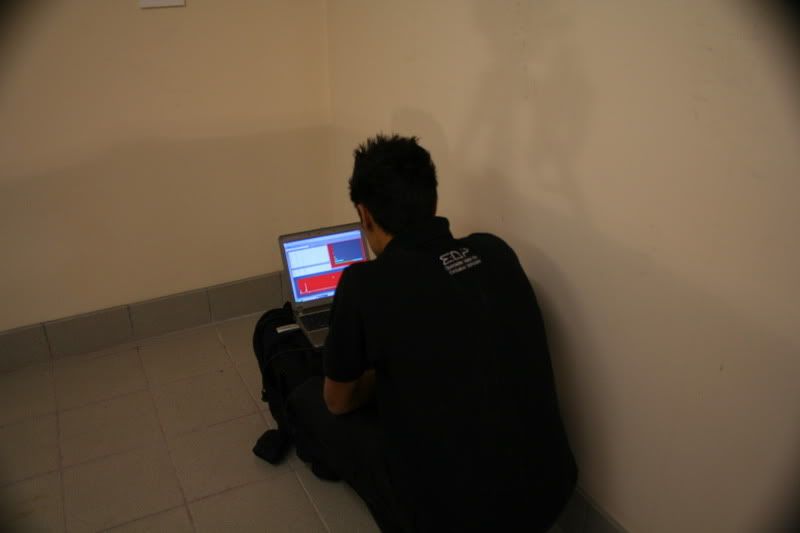
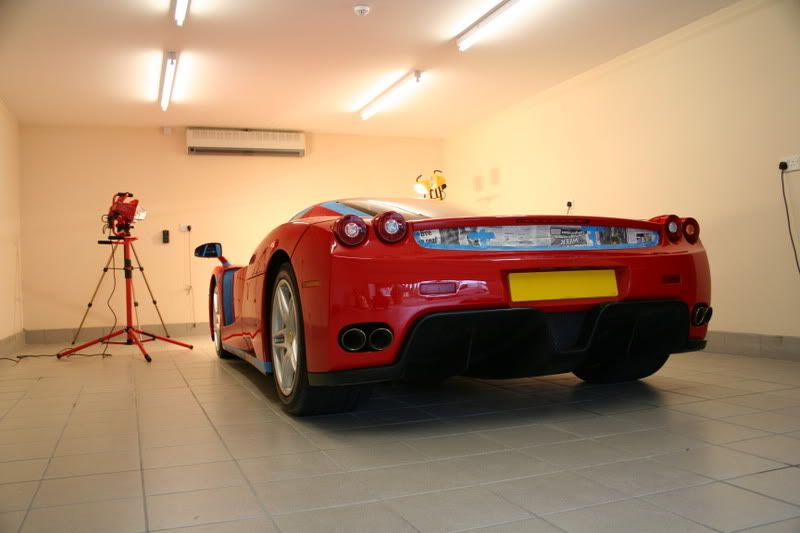
Paint readings downloaded and evaluated:
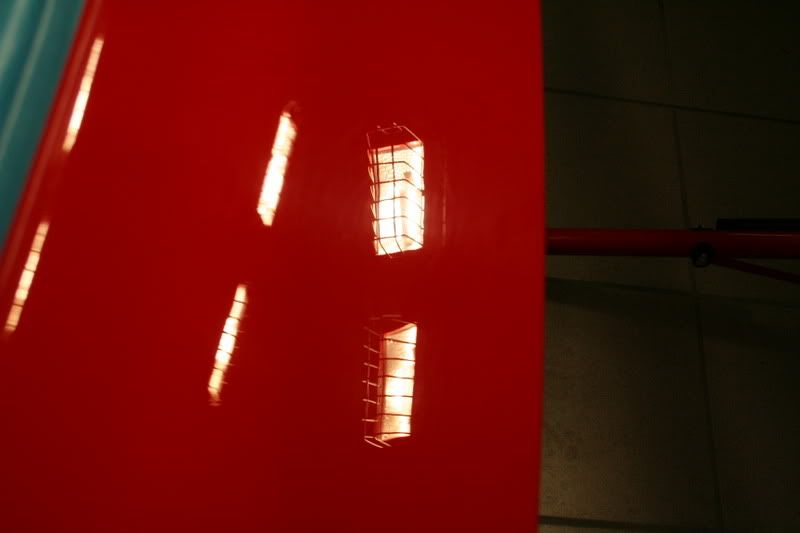
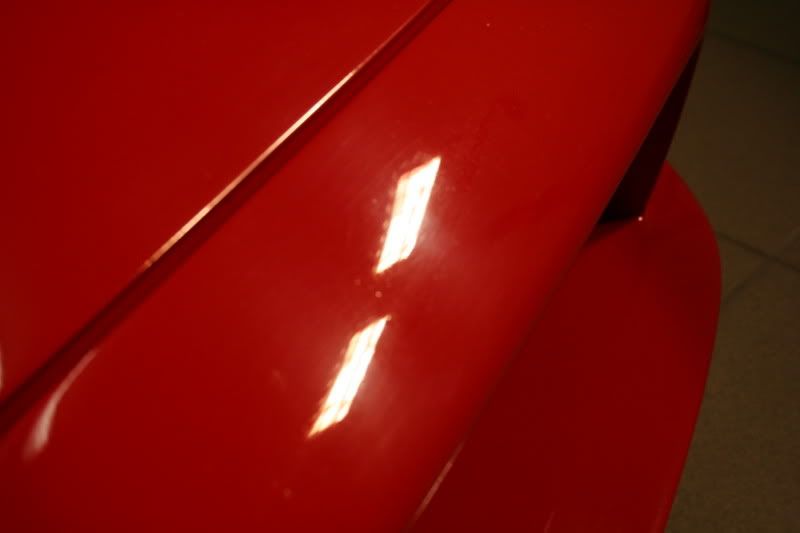
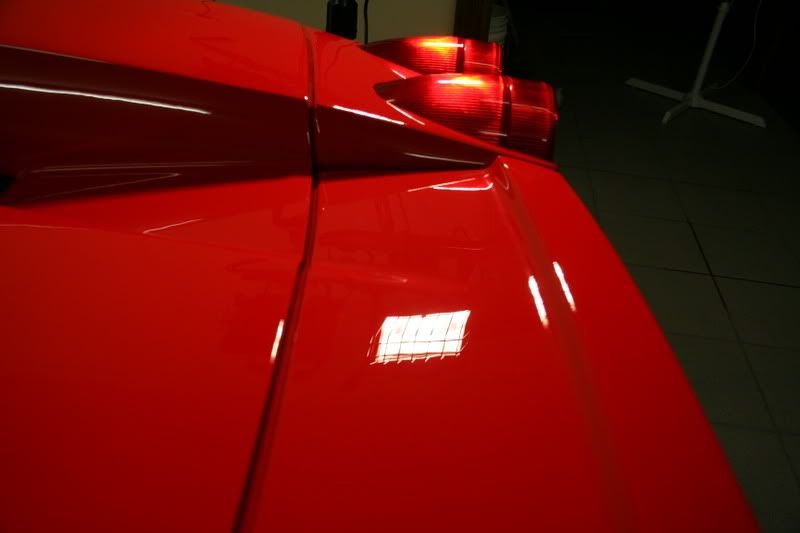
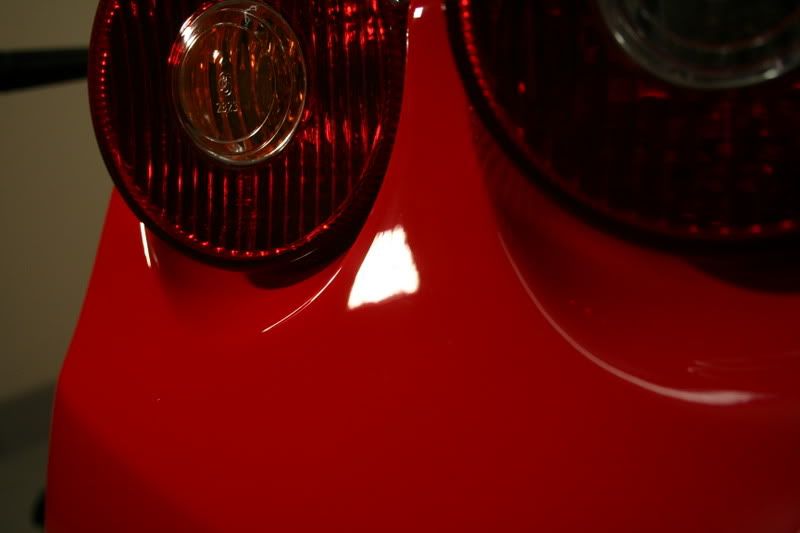
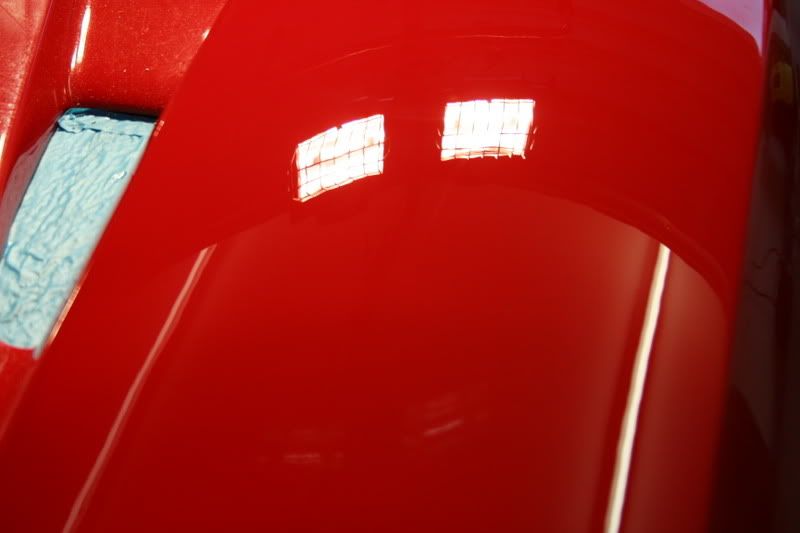
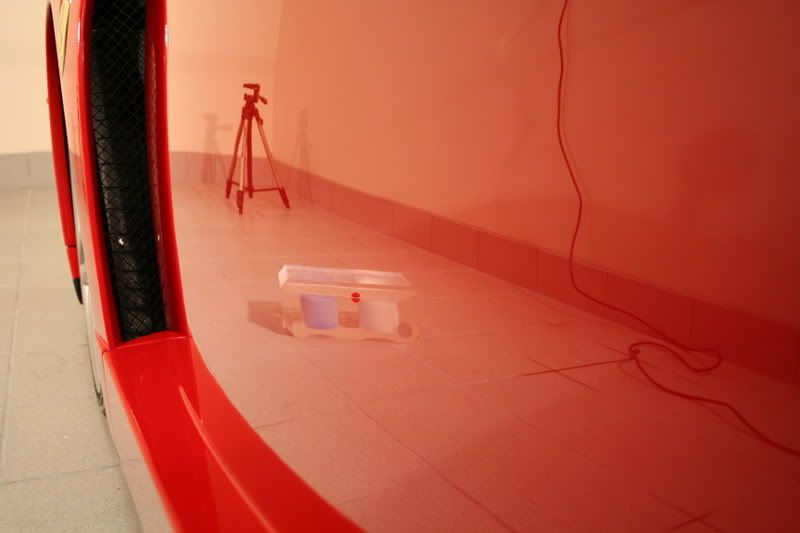
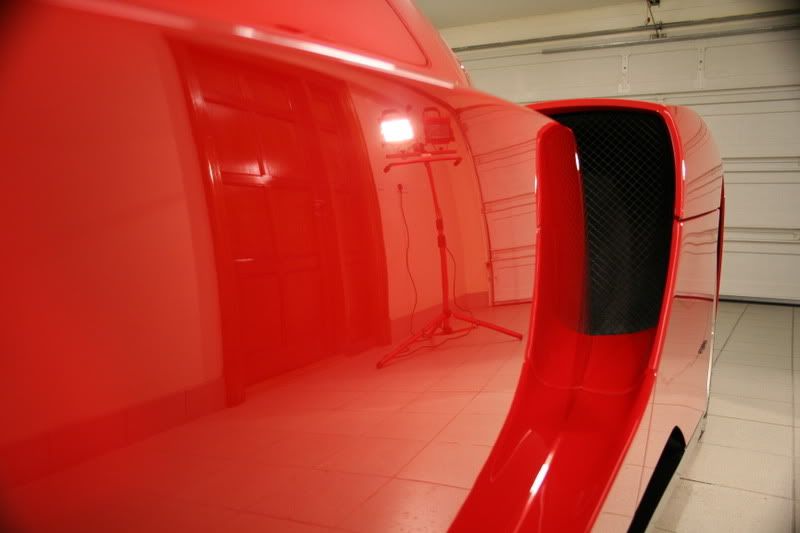
No more scratches and blemish free. Paintwork is now crystal clear:
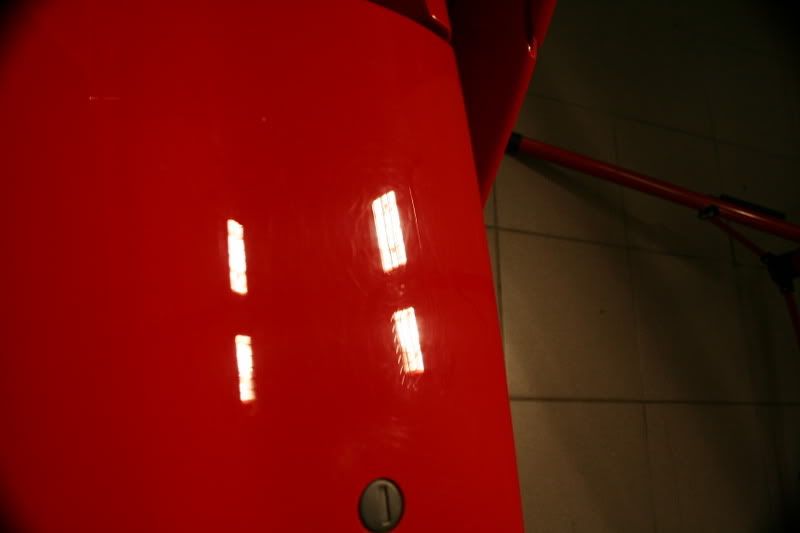
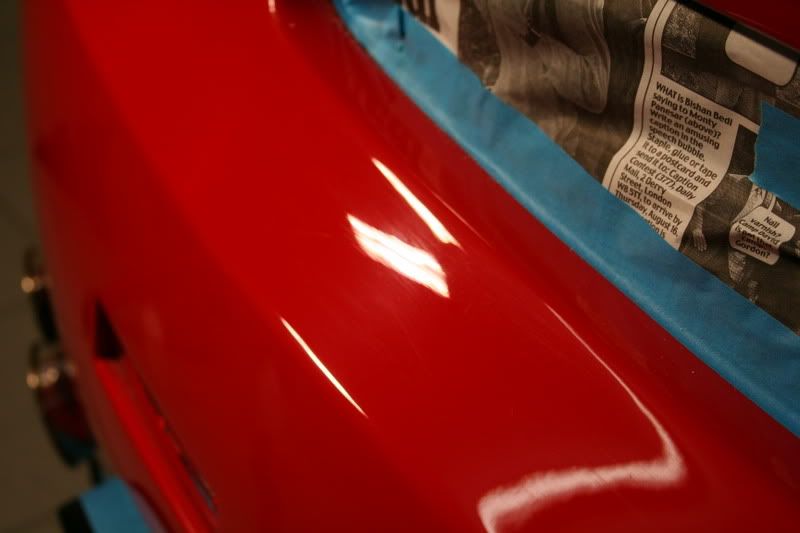
Wet Sanding:
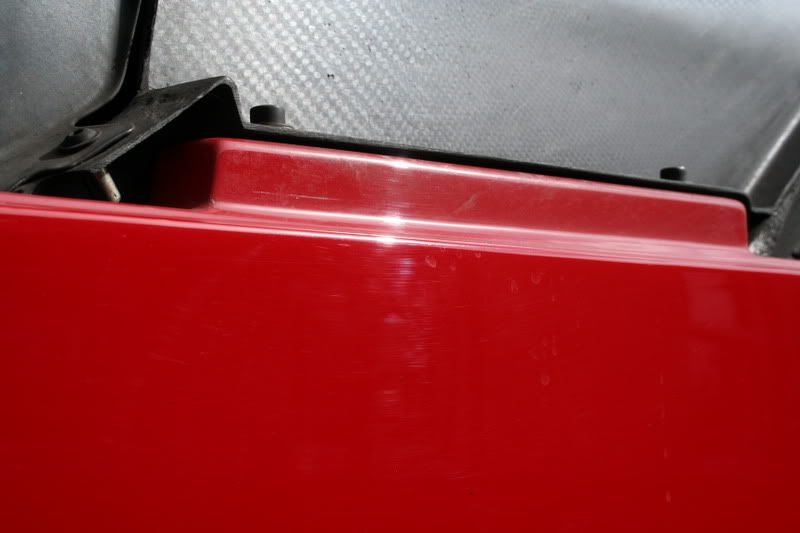
On one certain section of the Enzo, there was a deep scratch in the paintwork. On this section, I had to sand the paintwork down to remove the defect.
It is imperative to take great care in this process. If I sand too deep, the whole panel will then need to be repainted.
You can see the scratch still present through the sanding marks here:
After some further sanding, the scratch has disappeared:
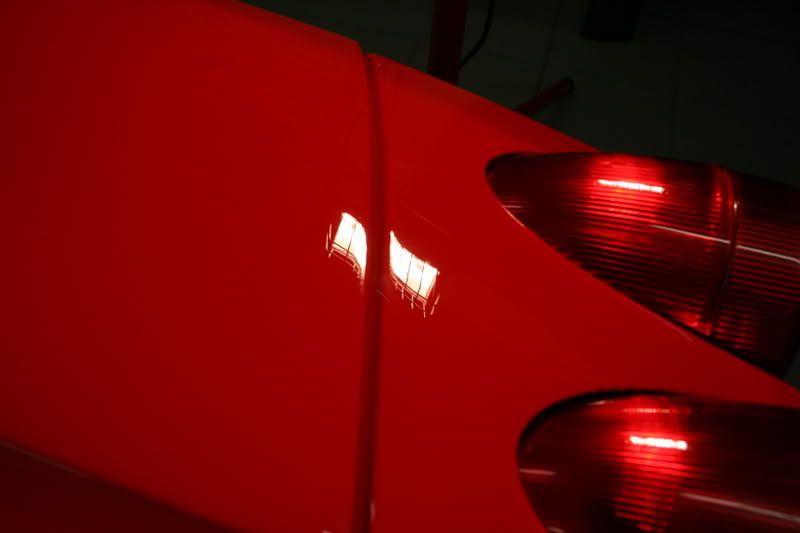
Paintwork Correction Completed:
EDP Wash No. 2:
After all the paintwork correction, the vehicle was then brought back outside and washed again. The masking tape is also removed at this point.
Pre-Wax Cleanse:
The Enzo is now ready for the Zymol HD-Cleanse.
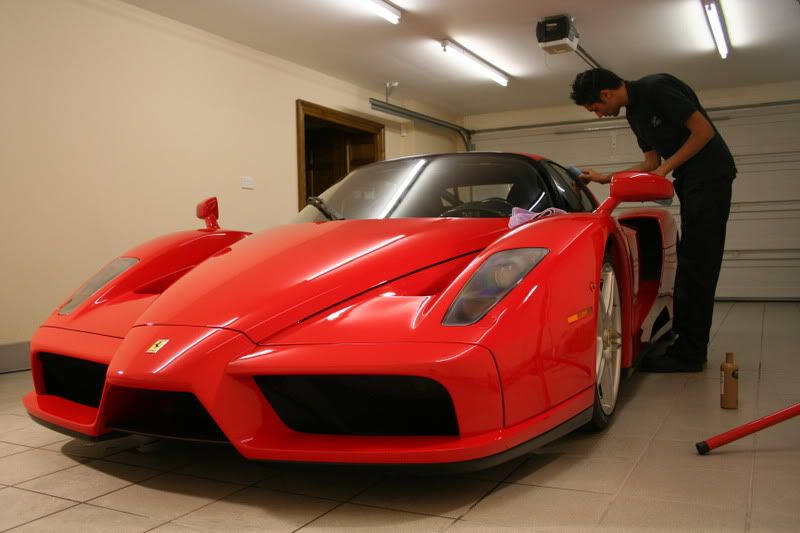
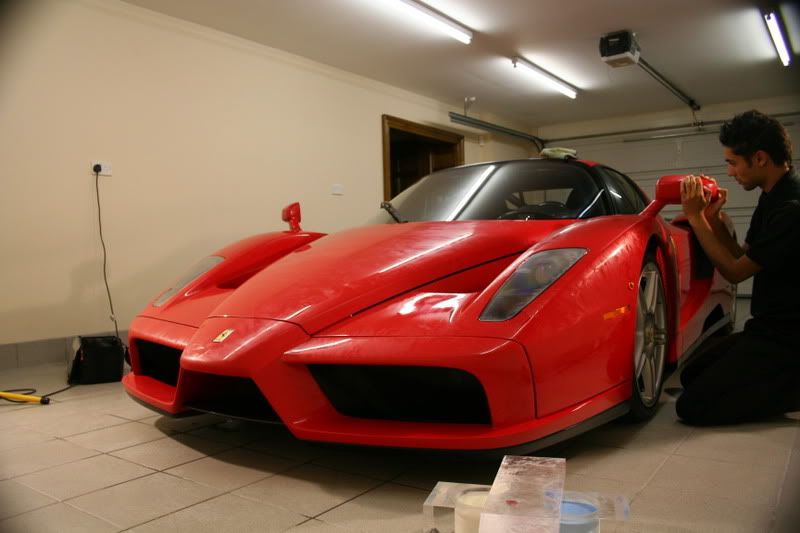
Zymol Royale Treatment:
After the HD-Cleanse application, the Enzo was ready for the £7k wax. I coated the Enzo with Zymol Royale.
The wheels and brakes were also Royale'd:
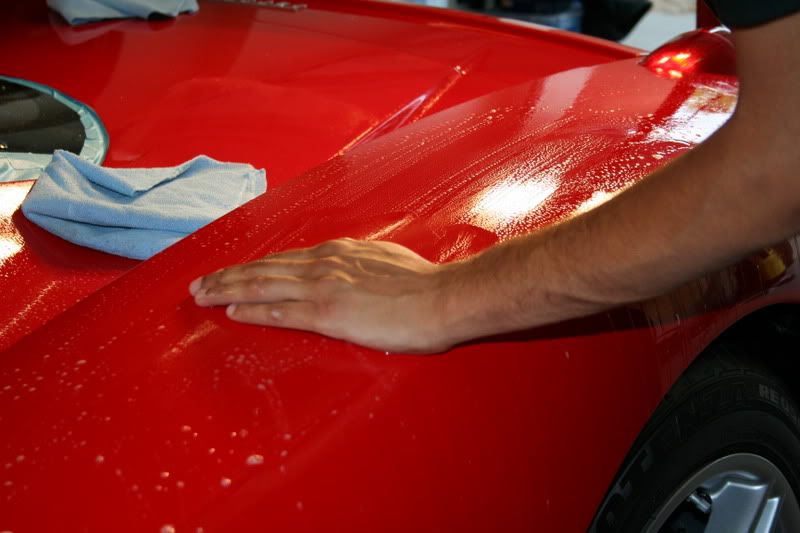
Once the wax had been left to cure, it was then buffed off by my self. All the trim and tyres were also treated.
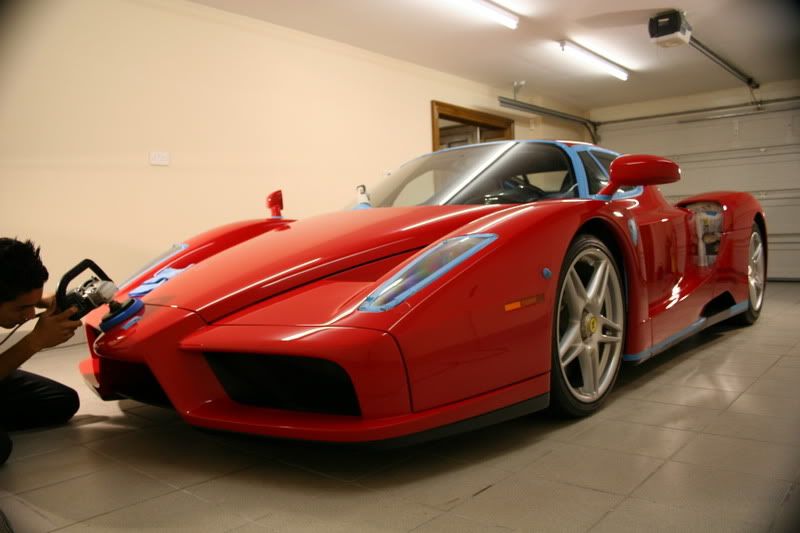
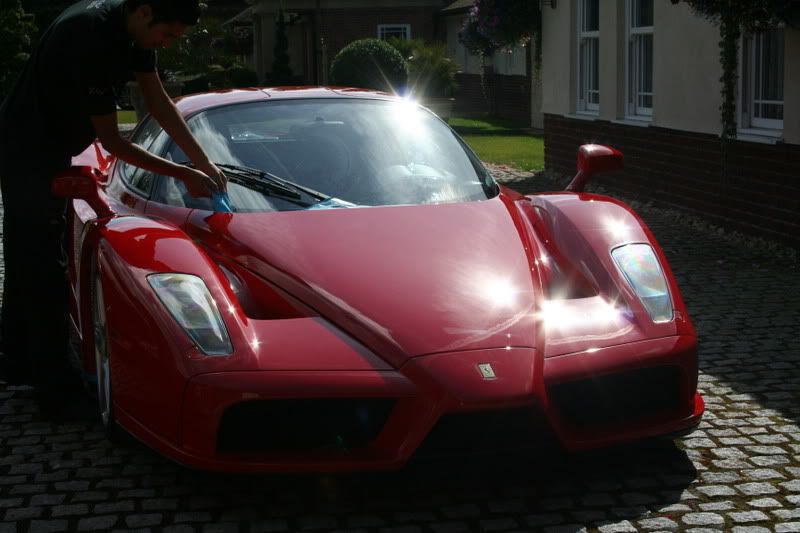
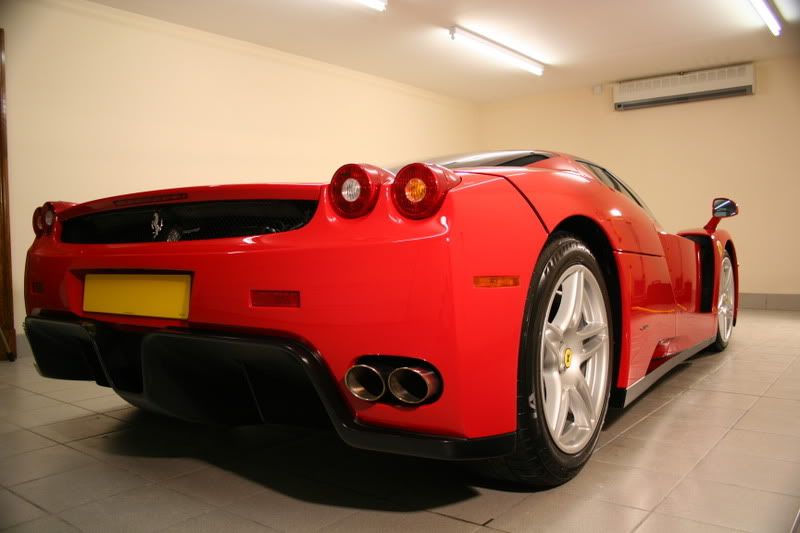
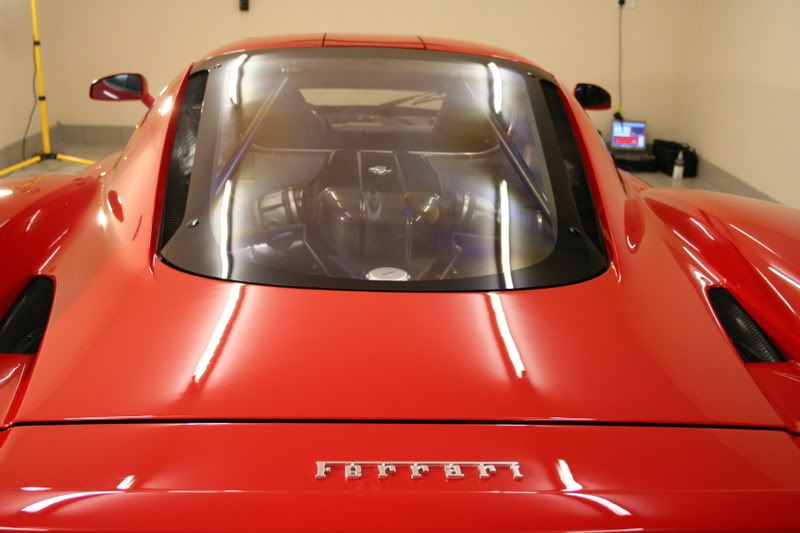
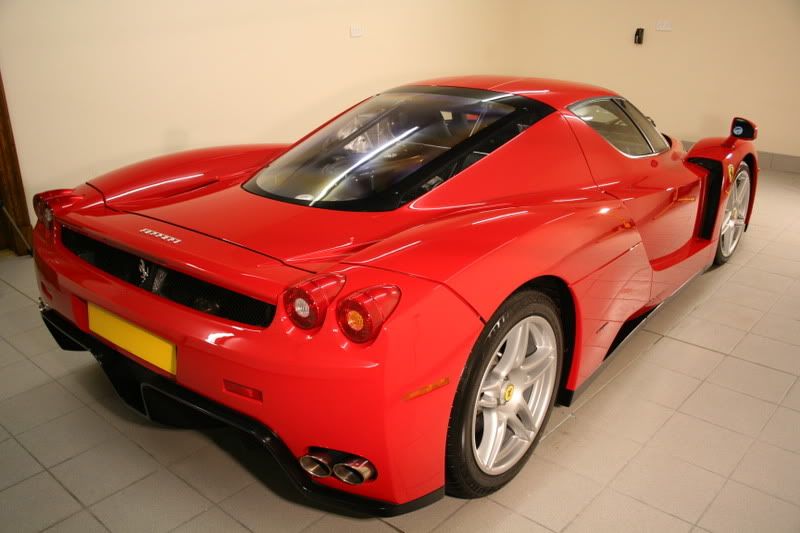
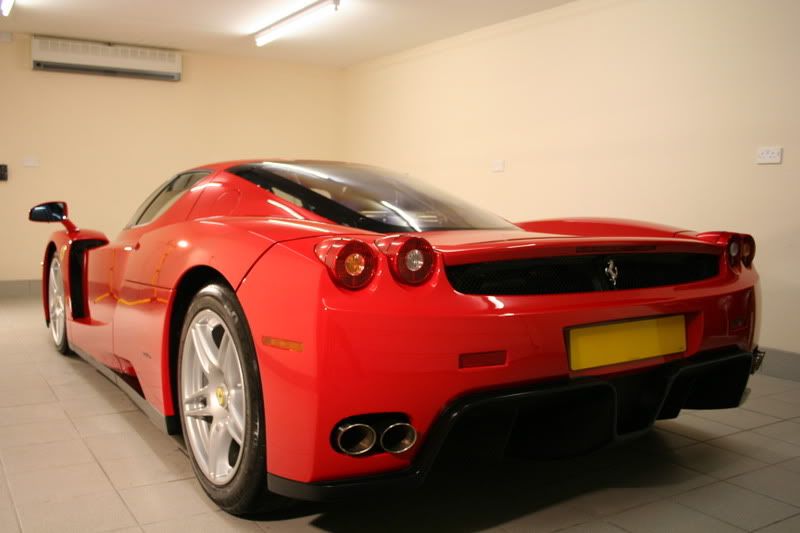
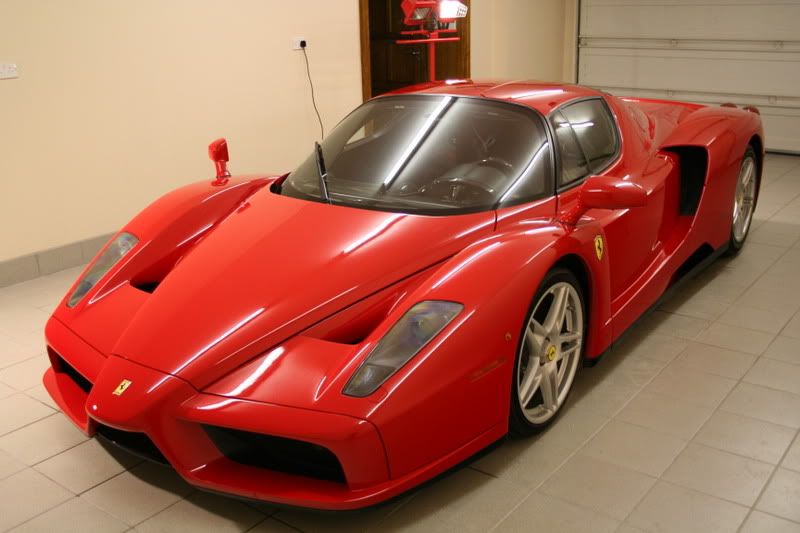
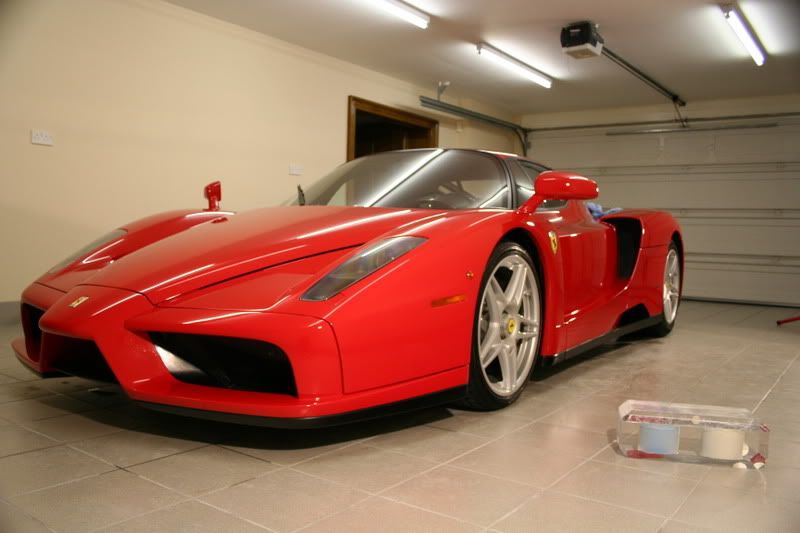
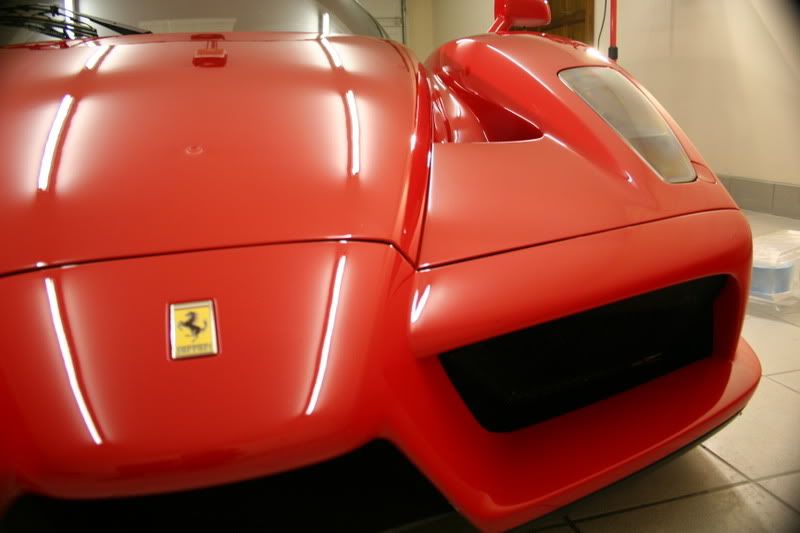
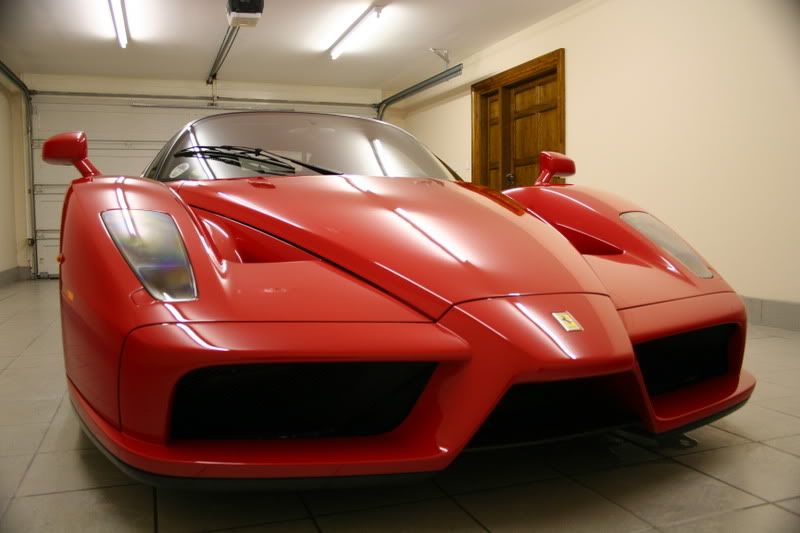
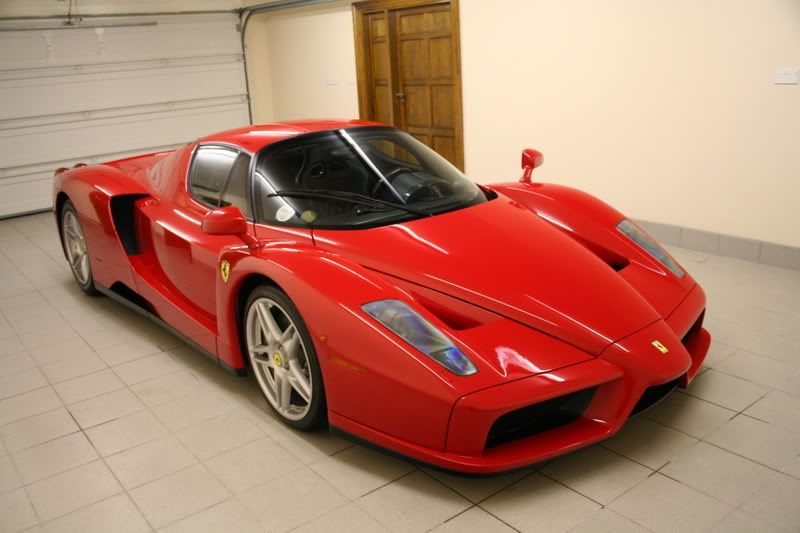
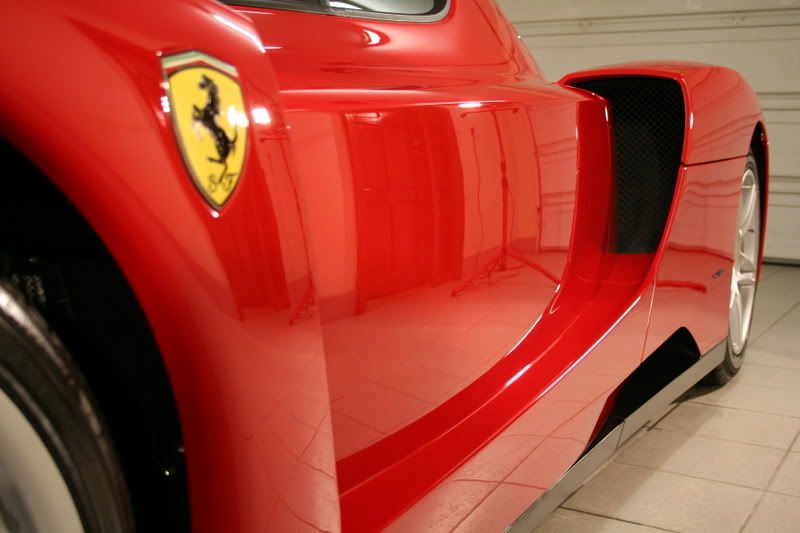
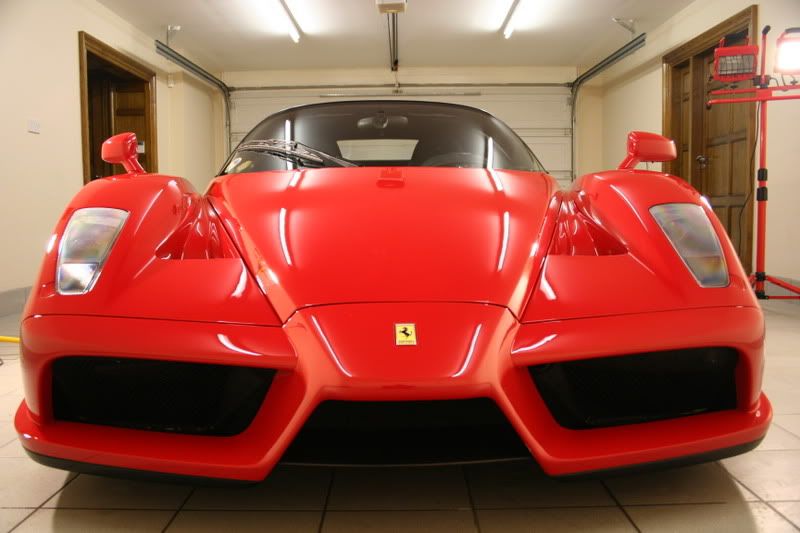
Completed Ferrari Enzo Paint Correction and Royale Detail:
Below are the finished vehicle pictures.
Thank you for looking and my apologies for taking so long to write up this thread.
Regards
G
p.s There will be more Hyper car threads, I just need to find time to upload images etc!


 Porsche 991: 2011-2019
 Porsche 997: 2004-2012
 Porsche 996: 1997-2005
 Porsche 993: 1993-1998
 Porsche 964: 1989-1993
 Porsche Carrera 3.2: 1983-1989
 Porsche Carrera SC: 1977-1983
 Porsche 930 Turbo: 1975-1989
 Porsche Early 911: 1964-1977

 Porsche Carrera GT
 Porsche GT1
 Porsche 959

") Porsche Macan : 2013-
Porsche Macan : 2013-
 Porsche Panamera : 2009-
 Porsche Cayman: 2005-
 Porsche Cayenne: 2003-
 Porsche Boxster: 1997-

 Porsche 968
 Porsche 944
 Porsche 924
 Porsche 914
 Porsche 912
 Porsche 904
 Porsche 550
 Porsche 356 Speedster
 Porsche 356

