

MisterCorn
Fuji
- Joined
- 8 Jan 2011
- Messages
- 9,411
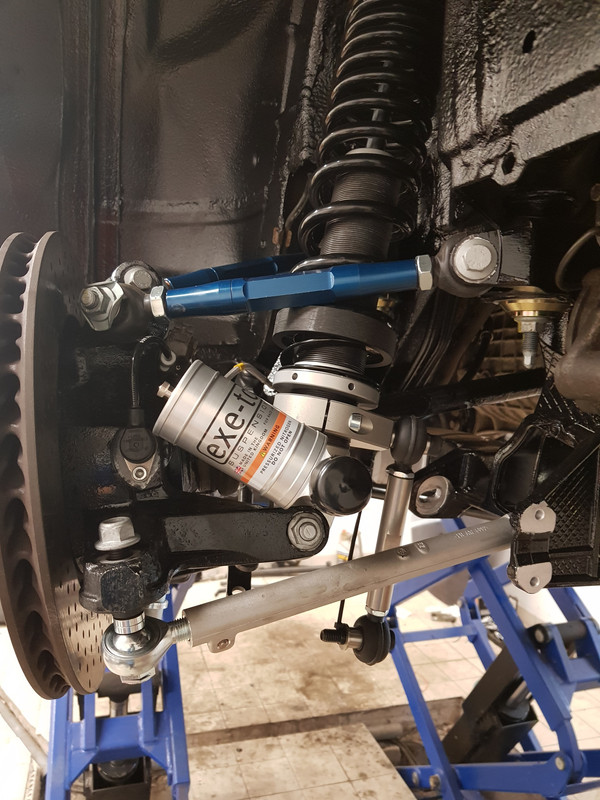
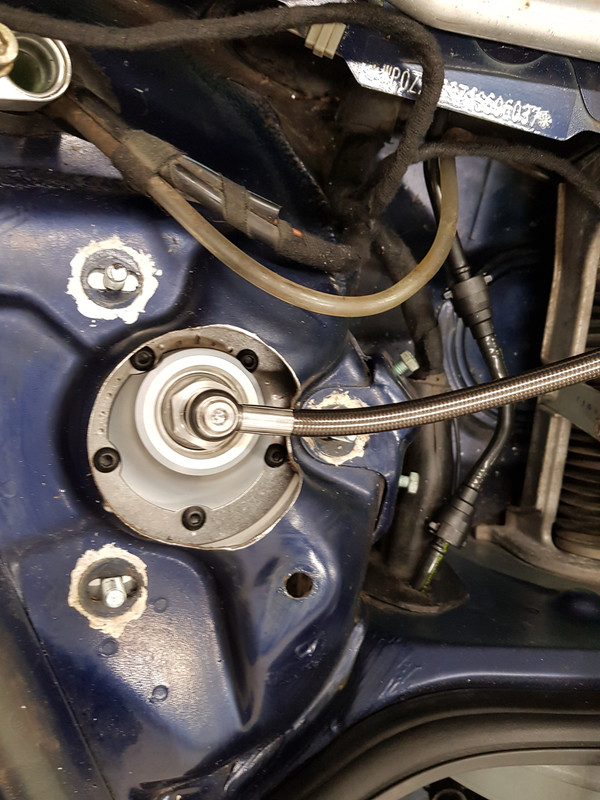
Martin996RSR said:It looks like you hae dry-break joints on the lines coming from the front shocks to the reservoirs, so does that mean you can mount them somewhere near the battery or in the frunk?
Yes, that is the plan. I'll figure out where and get some mountings made once the front struts are in.
I managed to confirm that the rear shock was the wrong one, so that has been swapped over and the other side fitted.
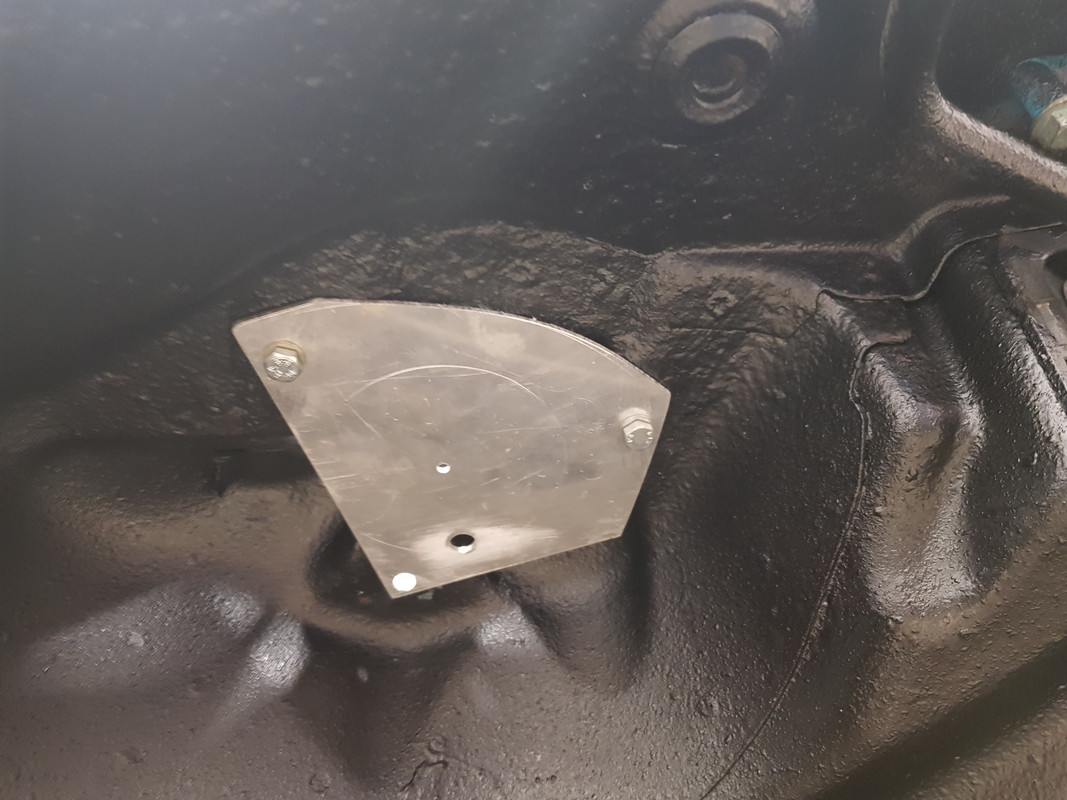
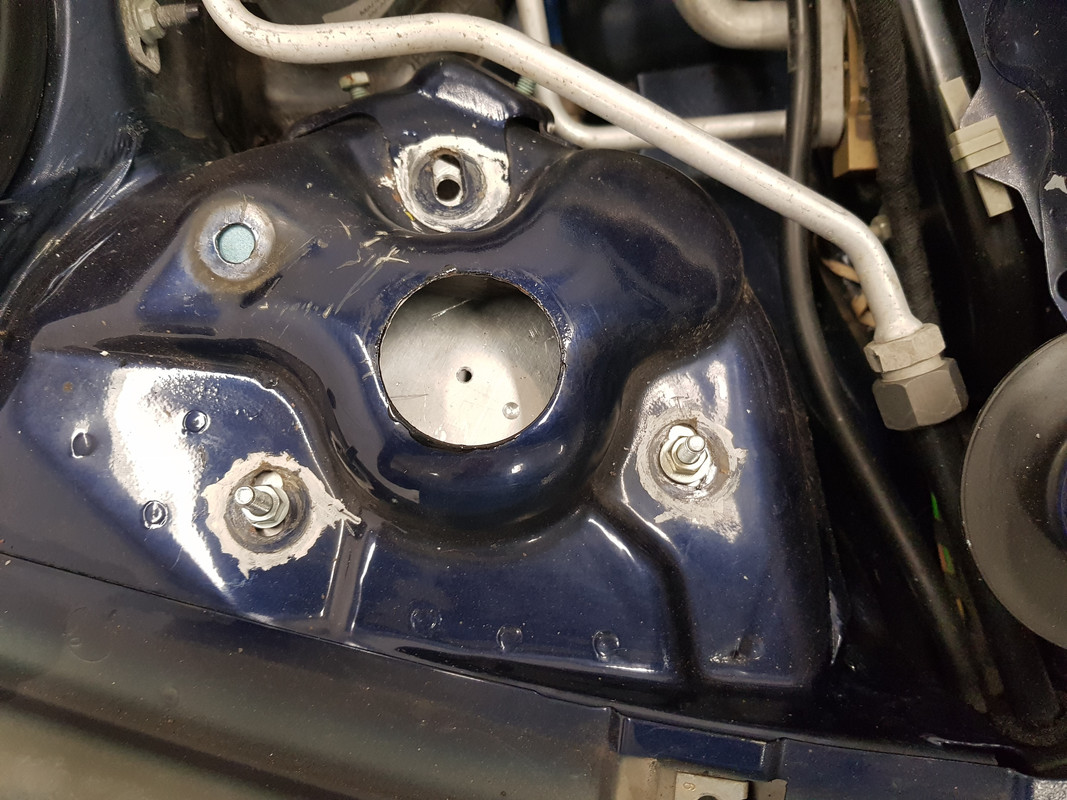
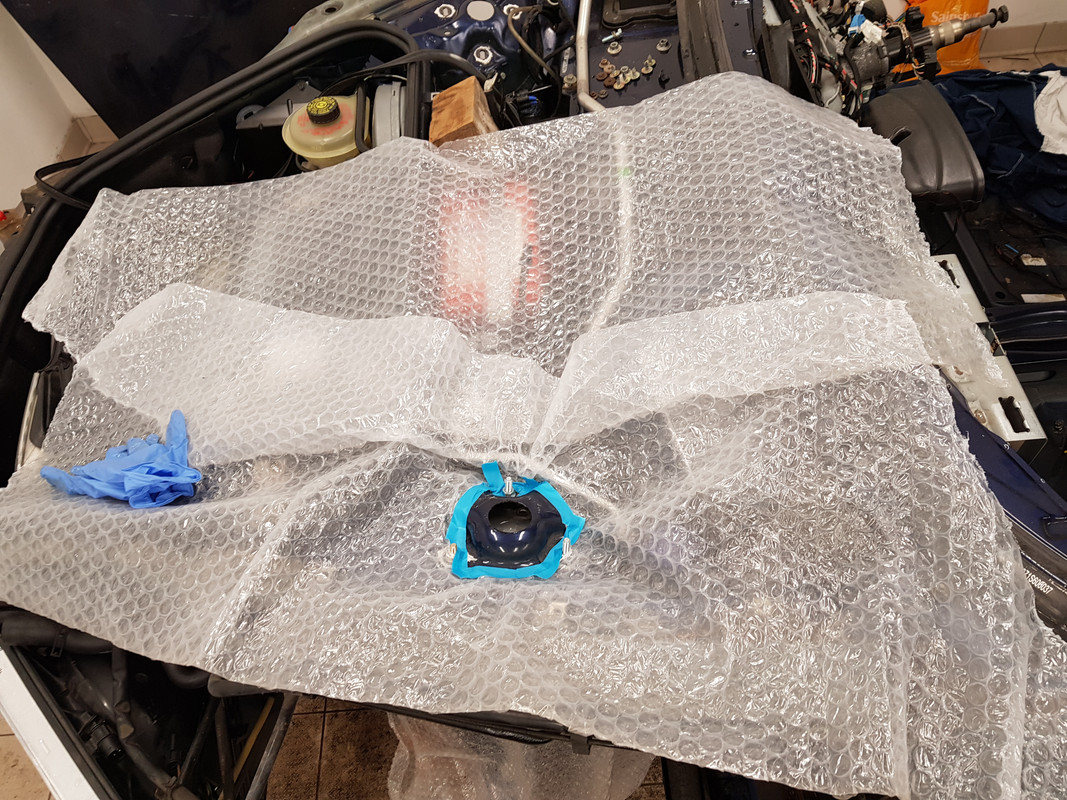
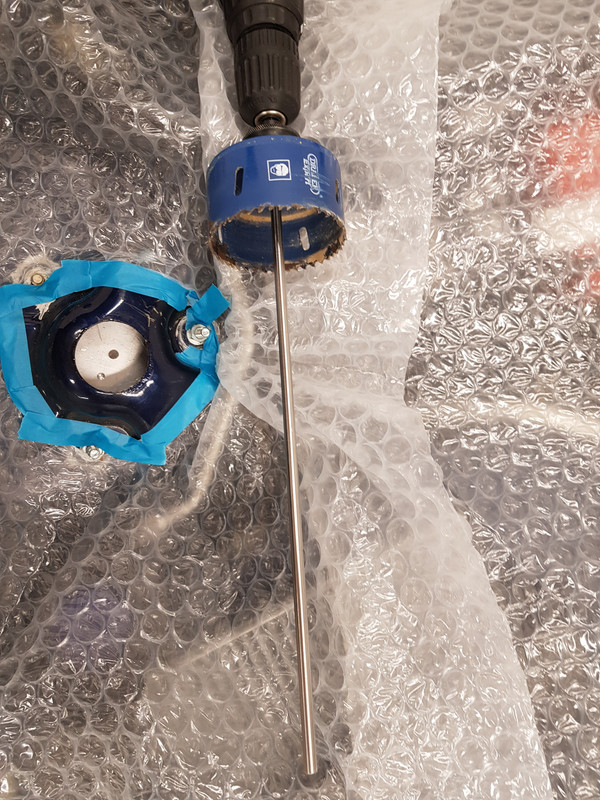
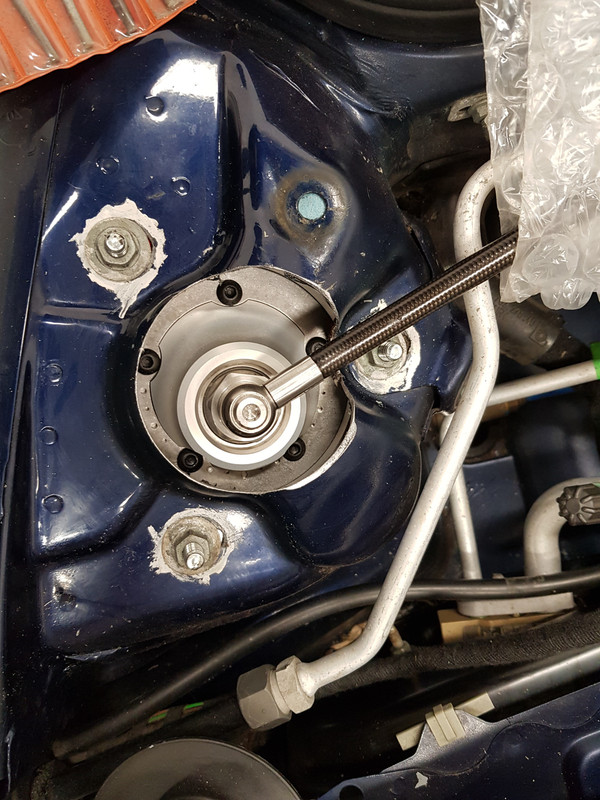
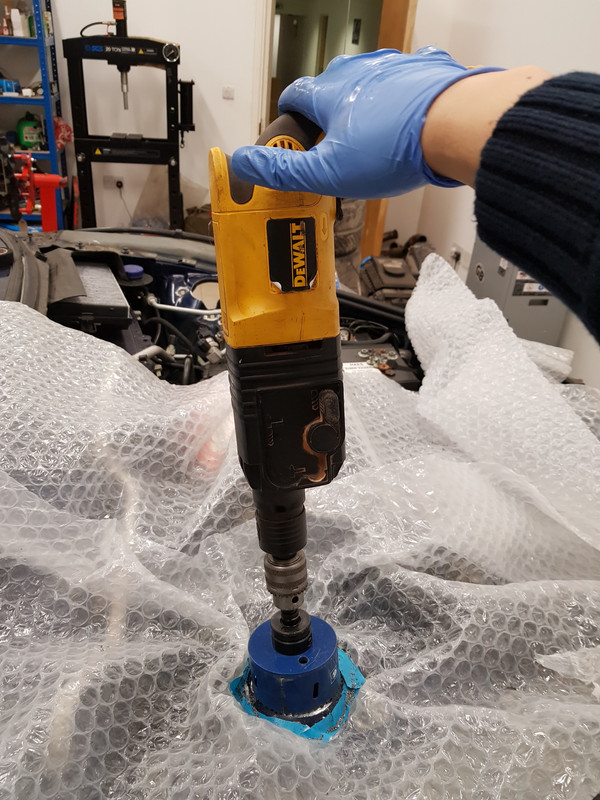
For the front struts I need to open up the top of the strut tower, so I've made up an aluminium template with the centre hole marked in it, in the hope that I can use this as a guide and get in with an 86mm holesaw.
MC


")


")


