Porsche 911 UK Enthusiasts Online Community Discussion Forum GB

Welcome to the @Porsche911UK website. Register a free account today to become a member! Sign up is quick and easy, then you can view, participate in topics and posts across the site that covers all things Porsche.

Already registered and looking to recovery your account, select 'login in' and then the 'forget your password' option.

Project Blue Book

graemeho said:
Top work chief !

Here's me spent the bank holiday Monday tidying out the garage, you've half re-engineered the suspension in that time :thumb:

Respect :worship:

Arh, but at least you were in the garage having a go :thumb:

Dropped off all the plating a powder coating today. A good sense of achievement and a lot less stuff in the garage :grin:
 
WOW ,what a amazing project , this going to be truly stunning :thumbs:
 
:thumb: Great stuff
 
Thank you ever so much for the kind words. I really appreciate it. When you spend as much time in the garage as I get away with, then an age uploading photos and writing this blog it's nice to know people are interested and taking something away from it.
As I have said, this is so not my day job. I just want people to take onboard that it's not rocket science. Have a go, take on a small project, surprise yourself...
 
Absolutely brilliant. I love this kind of thing. Clearly doing it properly.

MC
 
Agree Chief , I just done my brakes myself :grin: .. plus I have a headlight to replace thanks to a Pheasant , they always fly up at the last second, broke the internal adjustment parts as well as the rim etc , somehow the bulb survived.

Chief when I upload a photo I simply open it up in "paint" then adjust the pixels down to 500 and save , don't know if that would be quicker for you .
 
MisterCorn said:
Absolutely brilliant. I love this kind of thing. Clearly doing it properly.

MC

Thanks MC, I try my best. Can't wait until I get it onto the rotisserie :puh:
 
KP964 said:
Agree Chief , I just done my brakes myself :grin: .. plus I have a headlight to replace thanks to a Pheasant , they always fly up at the last second, broke the internal adjustment parts as well as the rim etc , somehow the bulb survived.

Chief when I upload a photo I simply open it up in "paint" then adjust the pixels down to 500 and save , don't know if that would be quicker for you .

As they say Keith "You go girlfriend!"

Yes, I must find an easier way with photos. People seem to like them more than my text :oops: I know Alex said to use Twitter, but as i'm the grey man and do not dwell in such places, Photobucket is my only real option.
I guess is not that bad, but as that chap said, couldn't this site work for the poster as apposed to fighting him.... :?: :?: :?:

SunnyD, how about helping us long time contributors out a little?
 
Some progress I thought i'd share with you...

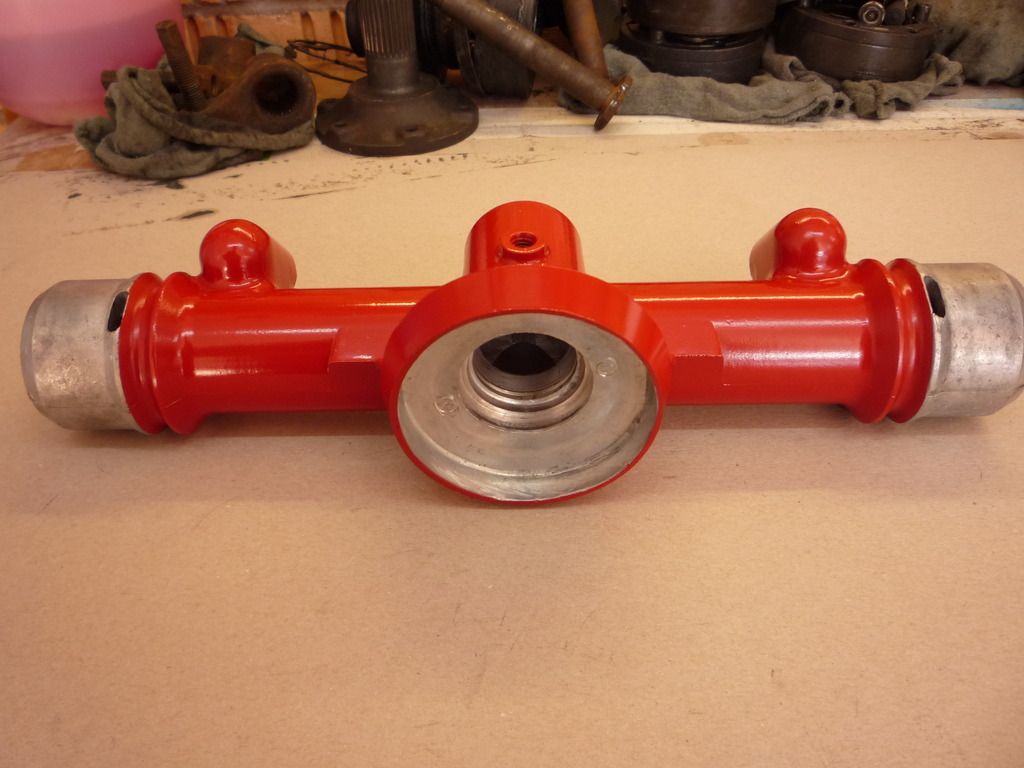
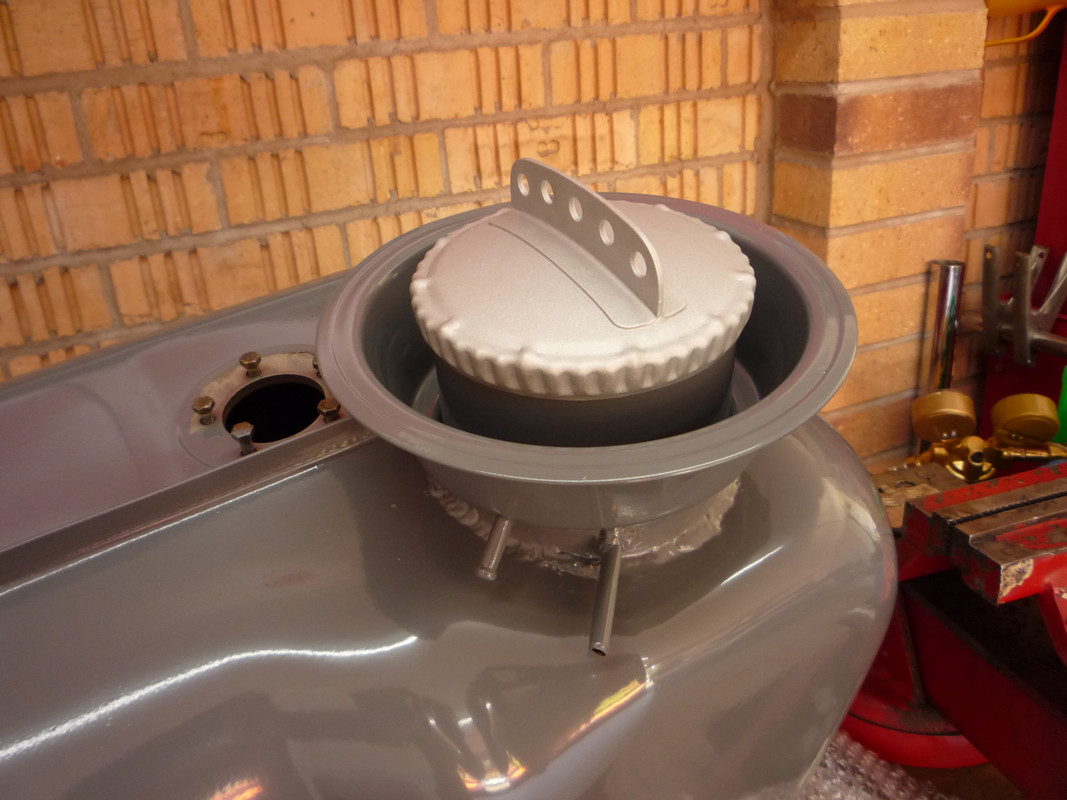
So we left it with the rack painted and drying off. Now time for the re-build.
I had ordered new bearings top and bottom along with a dust seal. These were not OEM supply so less than half the price!

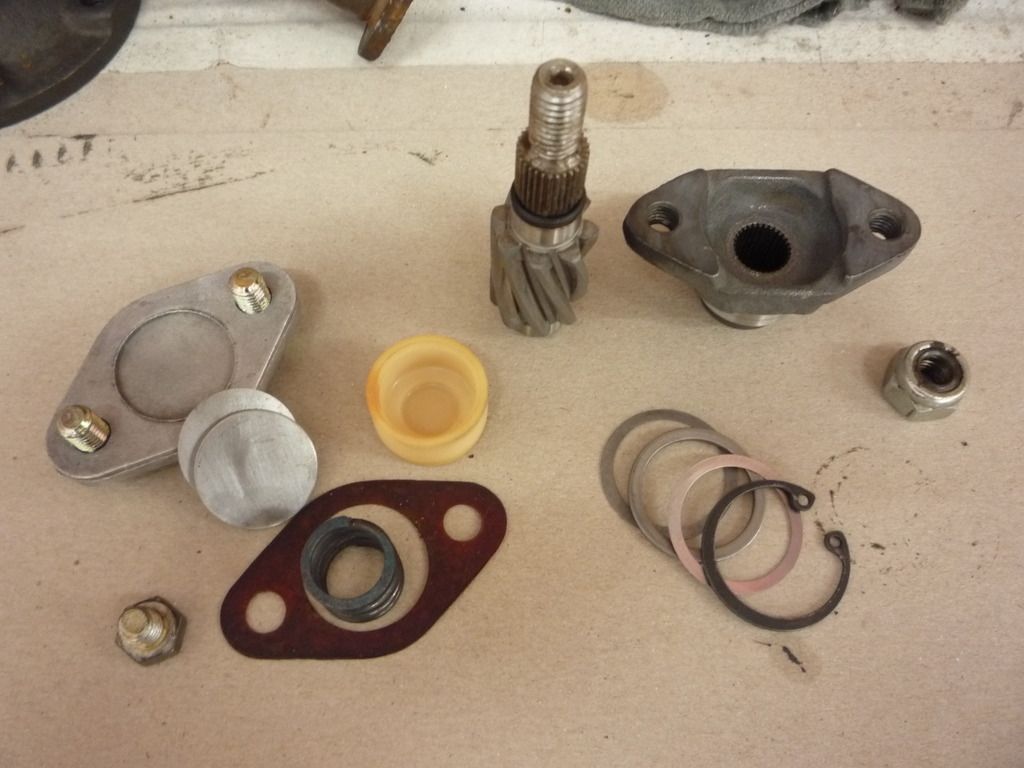
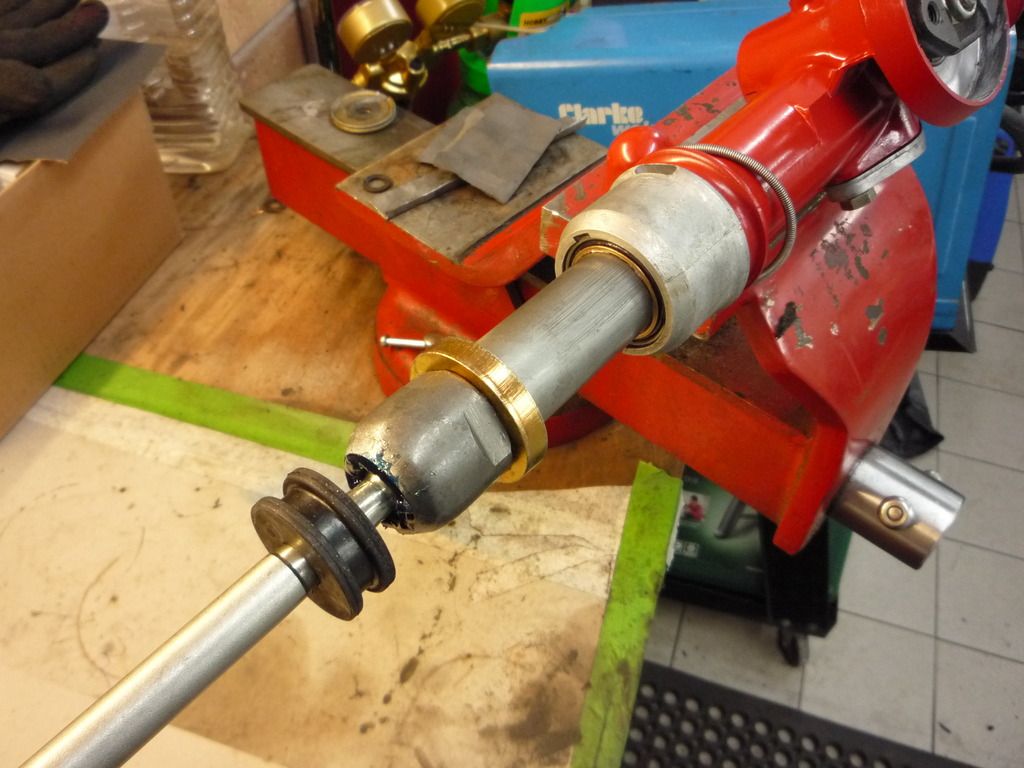
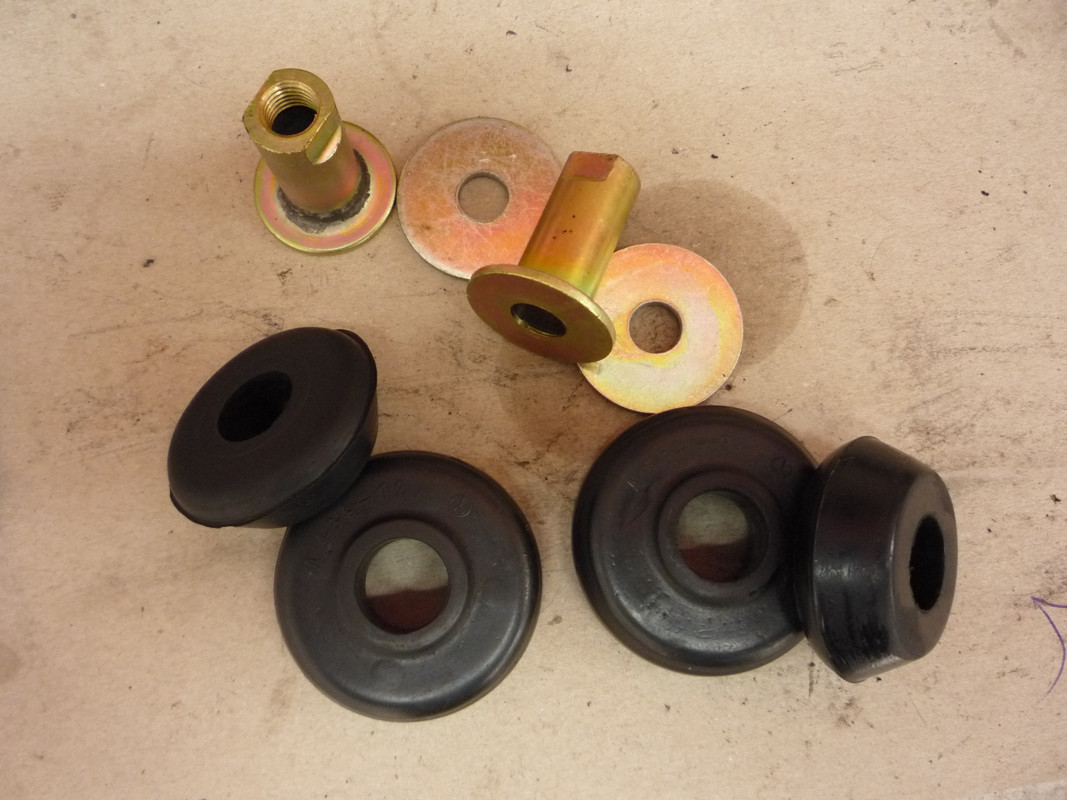
These are the parts you have to get back into the rack and in the right order!

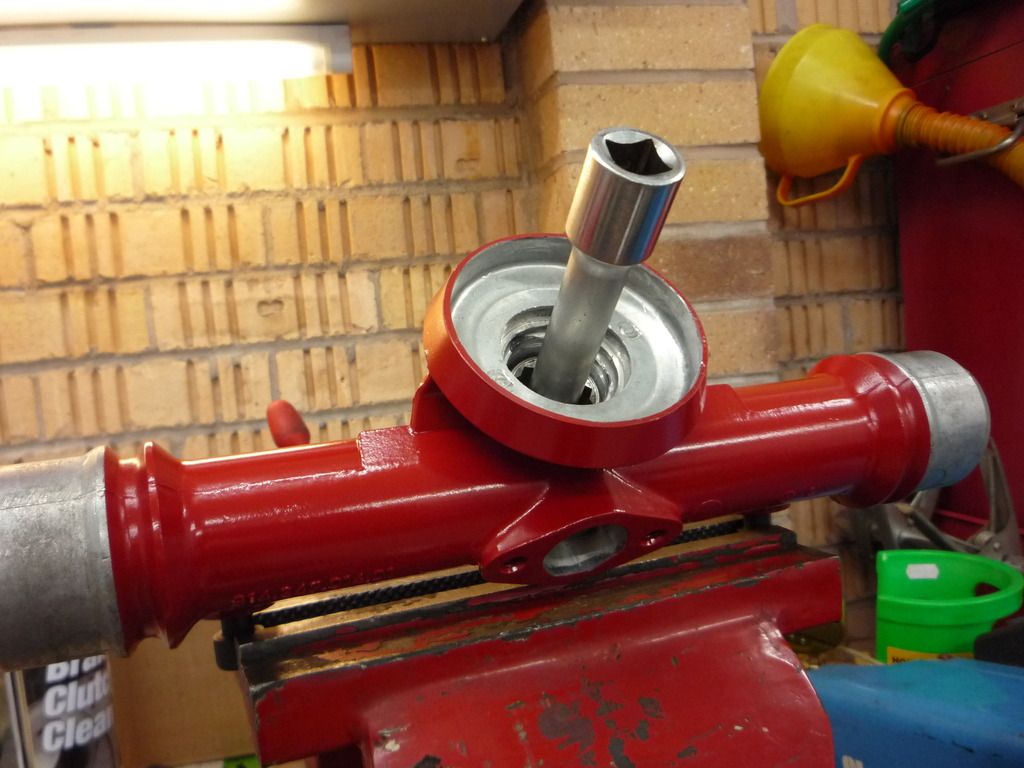
So, the bearings spent the night in the freezer and then the rack went into the oven at 60 degrees fan for 20 minutes or so. This then allowed the bearing to drop straight passed where the top one seats and down into the depths of the rack. A suitable sizes socket reversed with an extention bar allowed me to just tap the bearing into the seat.
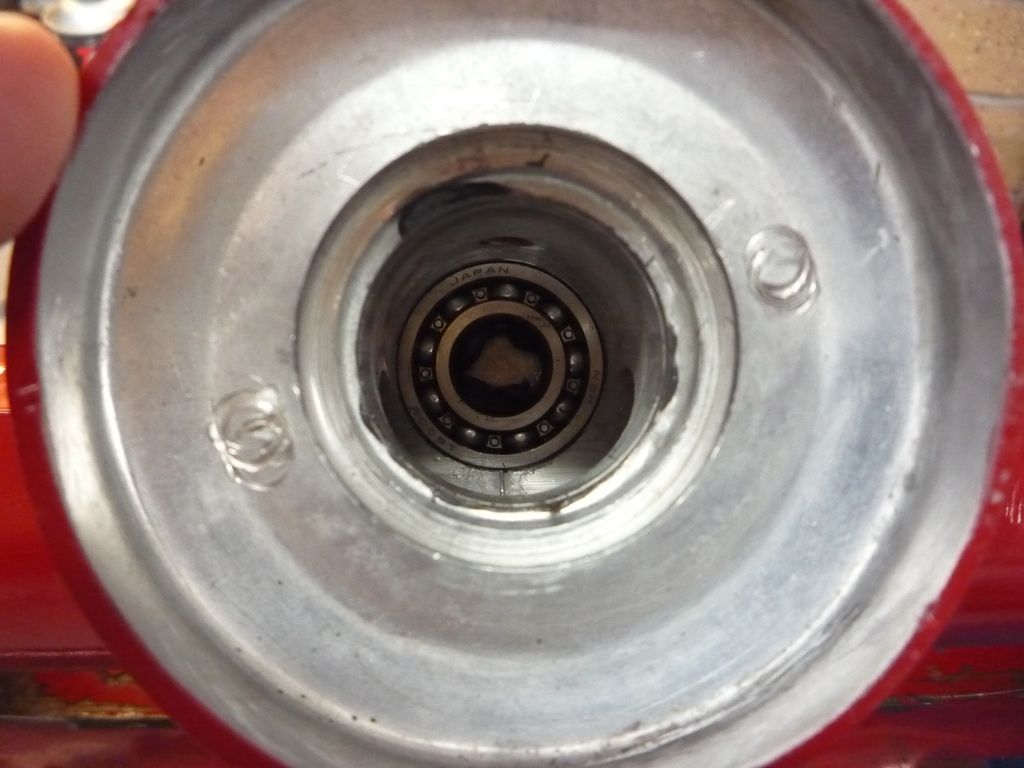
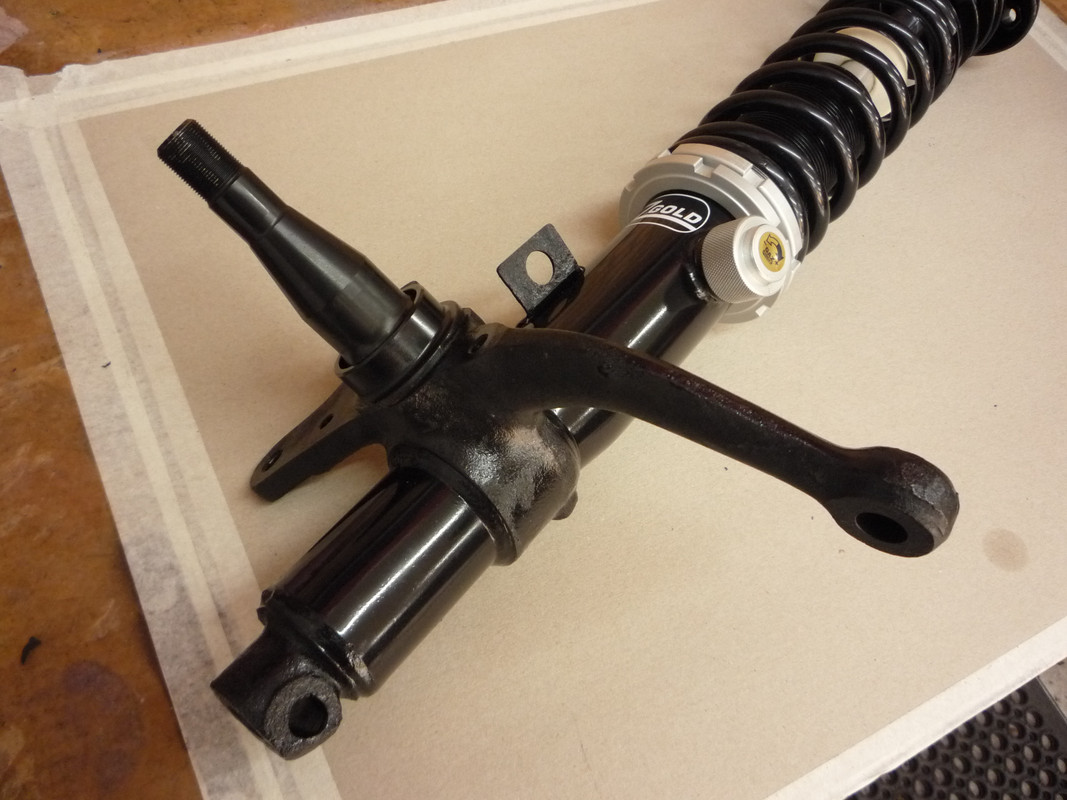
And here he is.
The top bearing was slipped over the wormed drive gear. everything was greased before hand.


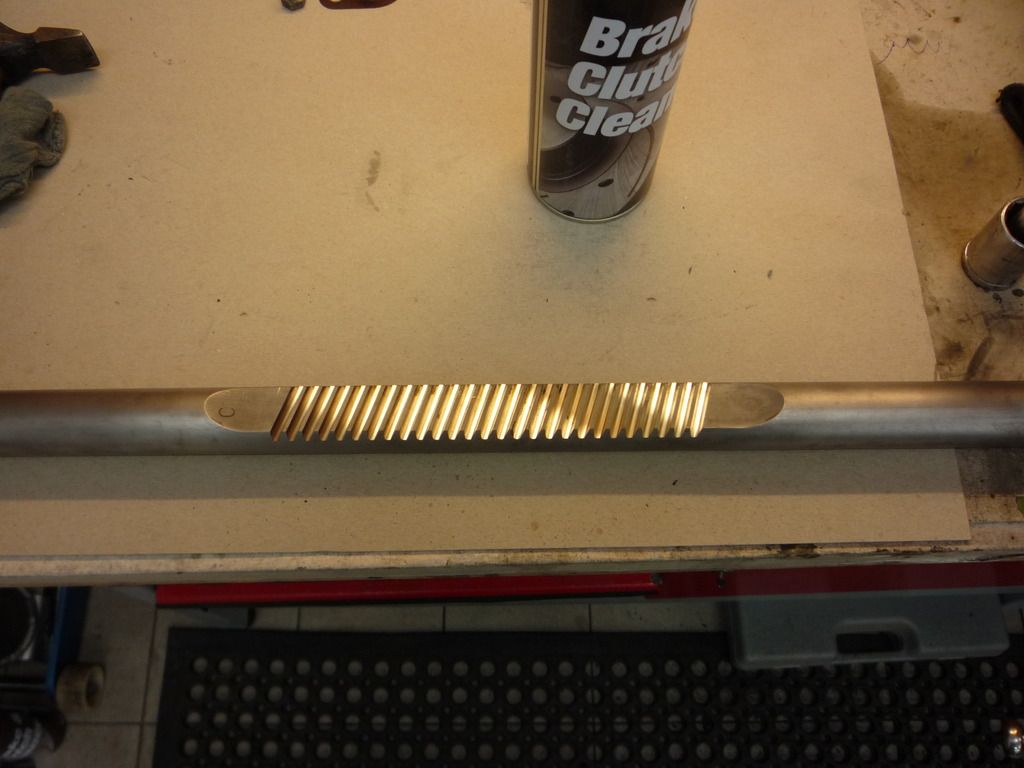
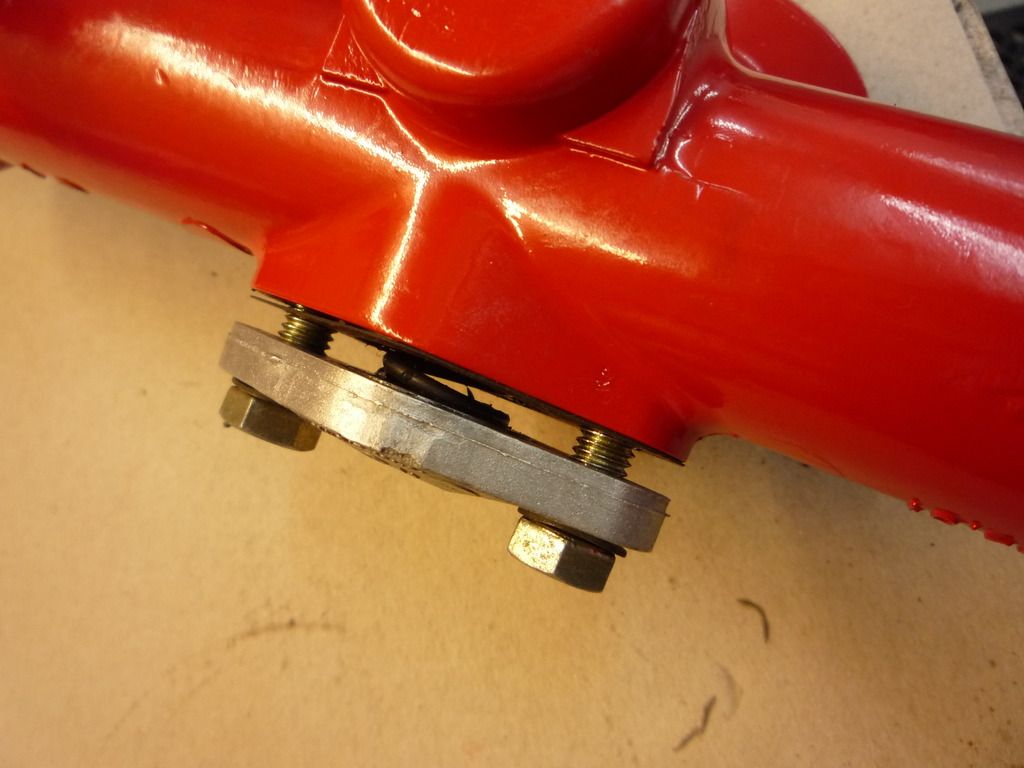
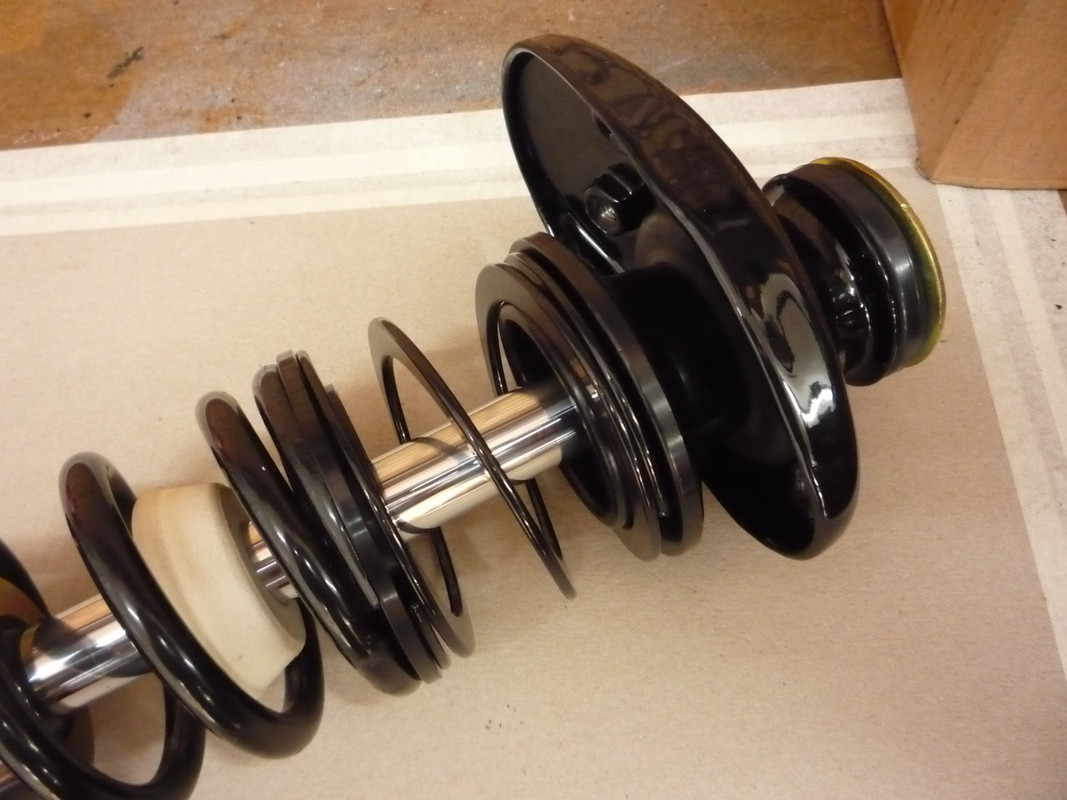
The spring tension applied by this nylon cup, spring and shims give the feel to the rack.

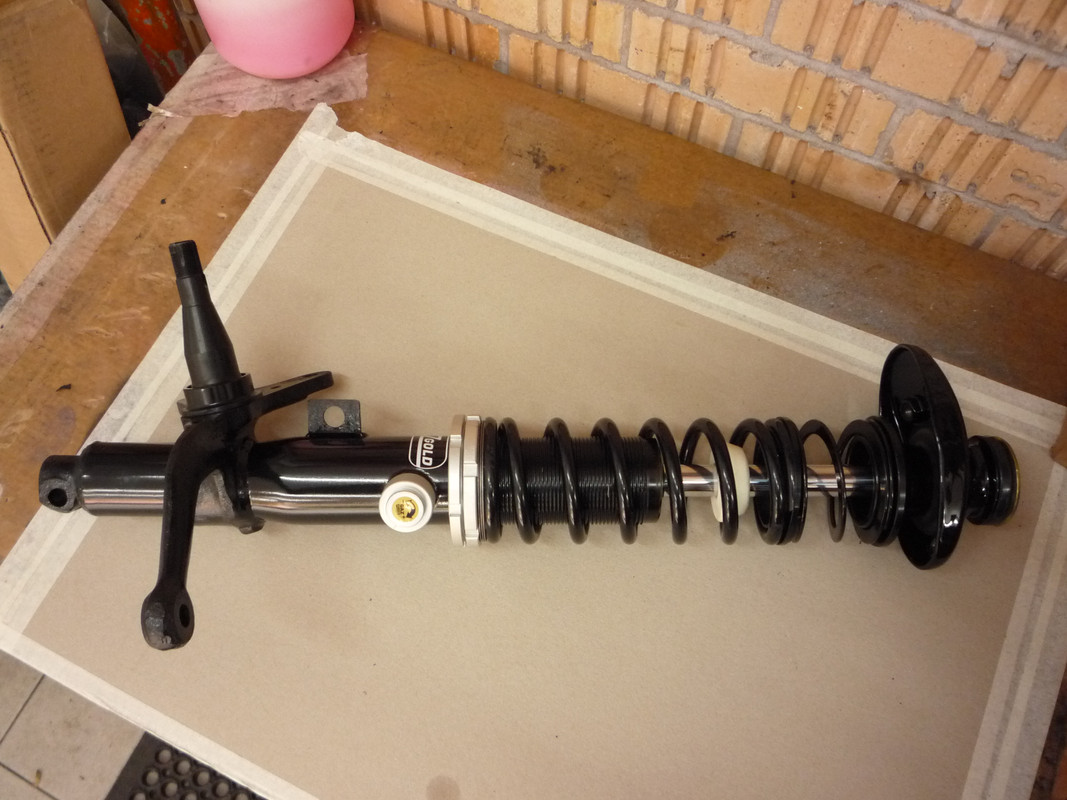
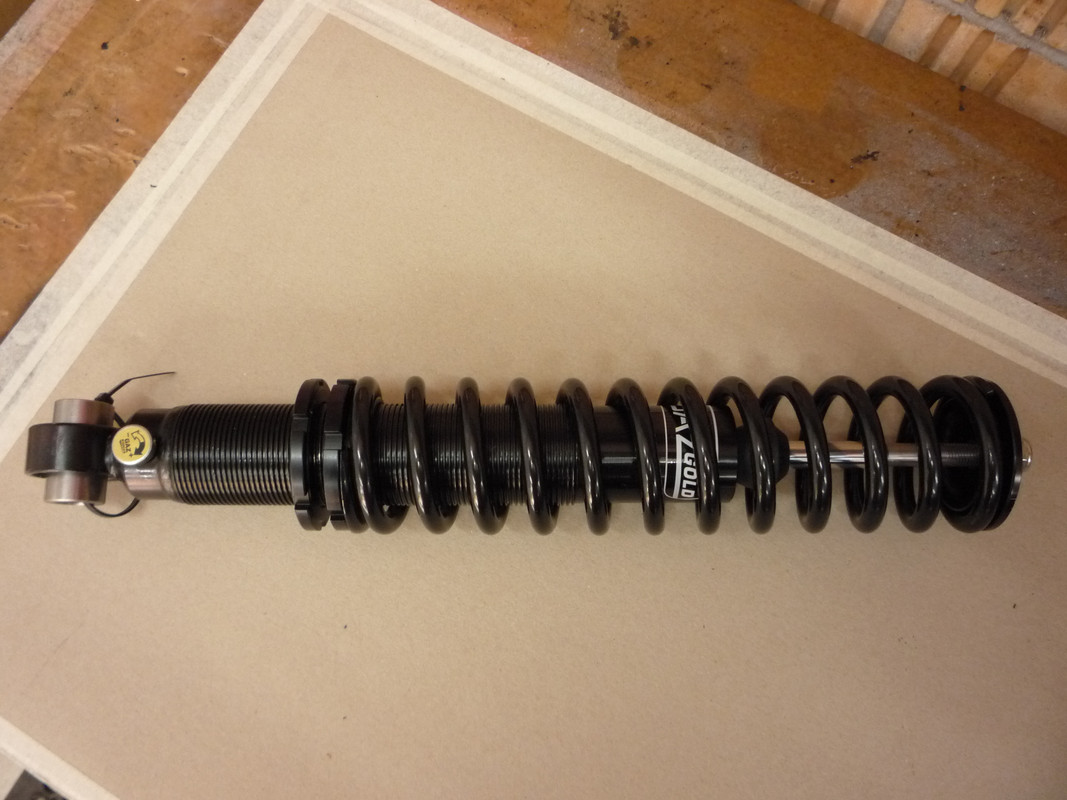
Turbo 930 bars installed which should improve the feel of the steering no end!

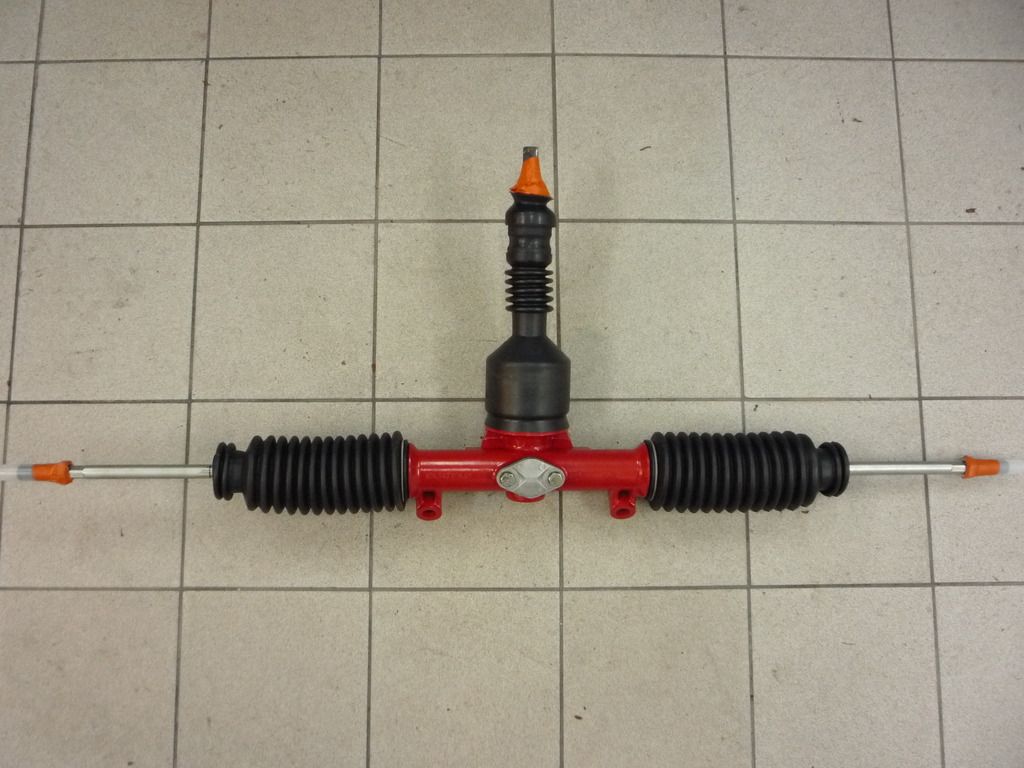
And there we have it, all done bar the modified bump steer ends (more later)...


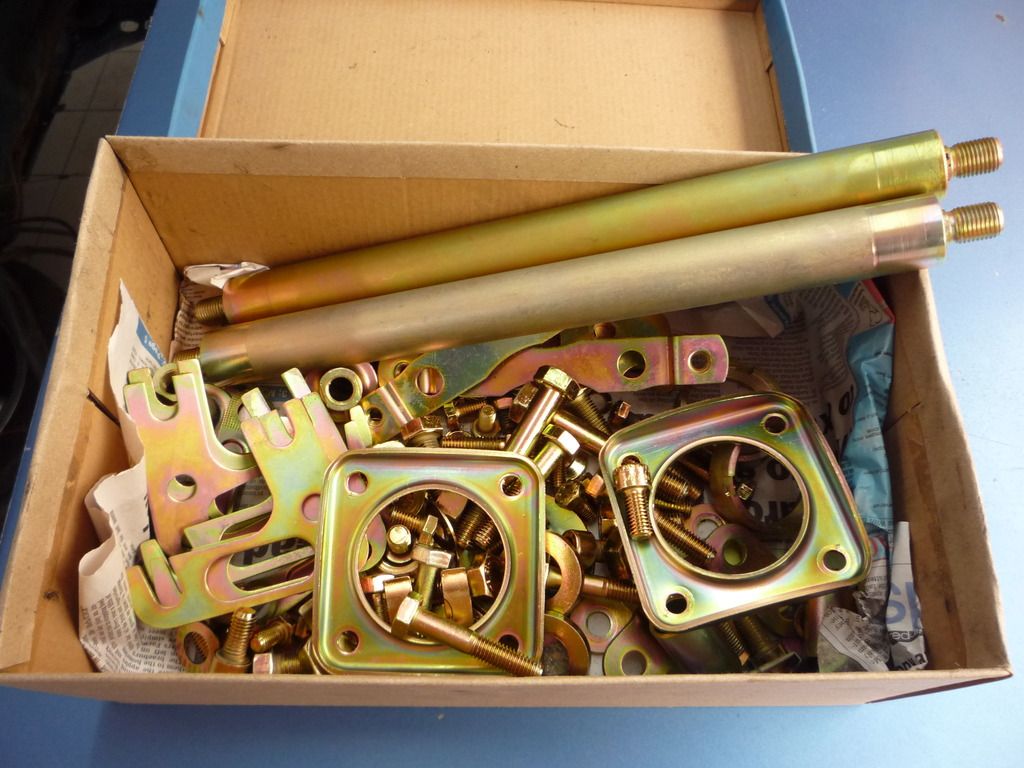
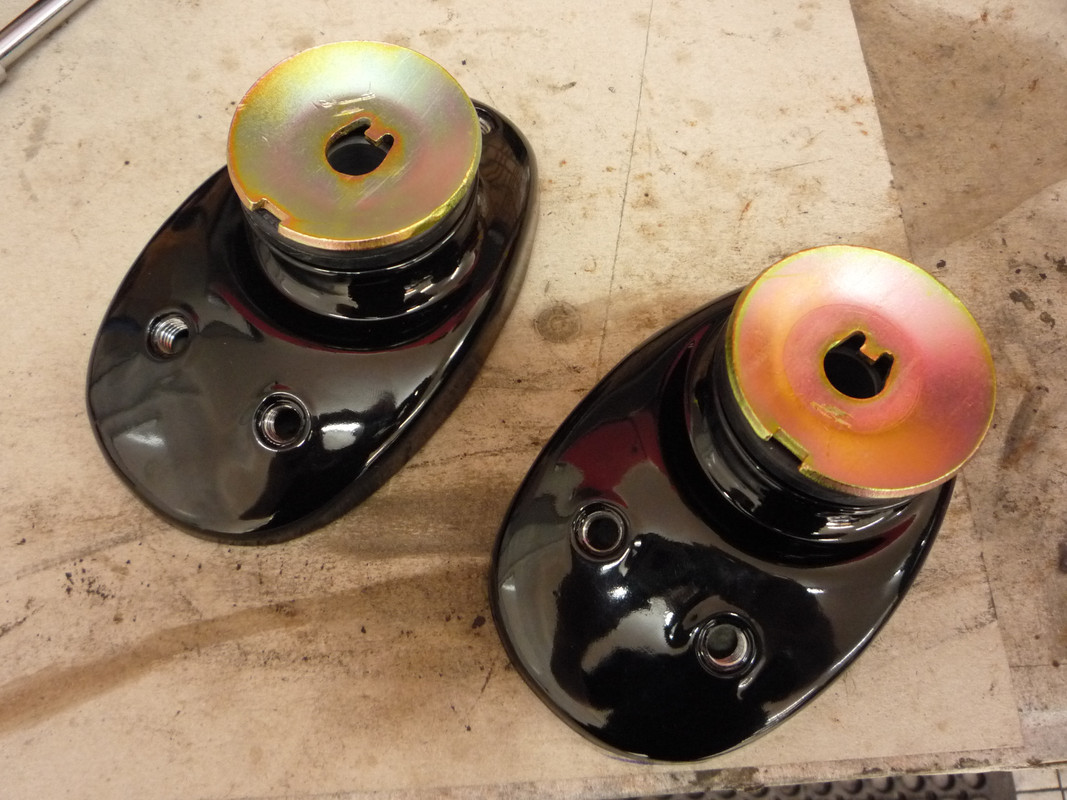
The passive plating all came back!
Very nice and only £20!!! cheapest thing done so far...

And then we're onto the next dirty bit!
The peddle box will be stripped, plated, powder coated and new modified bronze bushes to remove the nylon old wobbly ones....


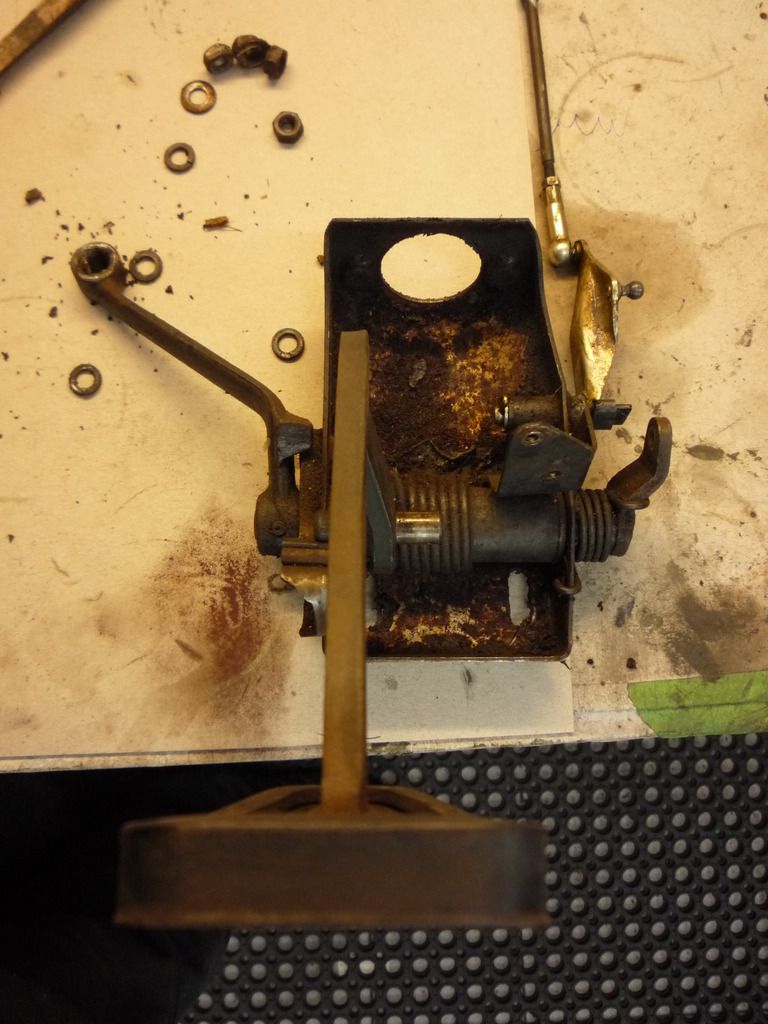
Lots of nasty roll pins and death trap springs on this one, so gloves and goggles are a must.....wish me luck, i'm going in
:eek:

That is all.....Chief out.......
 
So after all the cafuffle with Photobucket and the fact that I have been completely renovating an apartment to put my mother in law in. I thought It was time to bring this thread back to life. I will start with some pictures of kinda where i'm up too, then fill in some of the thread later on.
These give a flavour of what's been going on...


So, I shall move forward from here and post up some more pictures as things have moved on somewhat. Tomorrow will be my first day in the garage for two and a half months. Not sure I can remember how to bash metal as all i've done is work with wood.....
Laters taters,
:bye:
 
Looks the dogs Chief and a very neat job , keep it warm and dry , dont want any rust setting in :roll: will certainly keep you out of trouble over the winter.
Cant see the baron there , hope you're getting some use out of her / him / it :thumb:
 
Chief, fantastic metal work; can't wait to see the finished article :thumb:
 
Thanks fellas, it's good to be back!
So today has been fun if not a little messy!

Time to get cracking on getting this underseal off. Not the most fun of jobs :?


So run out of steam now and thought i'd knock off early!
Here are a few pictures of bits that have been going on in the background.


I've powdercoated the tank from black to the grey to match the filler (ish)
Next is what i'm pretty pleased with. After spending some time figuring out the suspension and finding someone to make it....
I first uprated the bushings in the top mounts. Then powdercoated them along with anodising the hardware.

The rears.

Then the front struts. Converted to coil over with longer top hats, helper springs and lower bearings to help stearing.


Then the rears.


I am adding to this set up both front and rear anti roll bars which will require some body mods and a fare bit of welding. Hopefully it should all work :grin:
So off for a early bath and a curry!
Laters taters :bye:
 
Those struts look the dogs Chief, cleaning that body looks a real ball ache although worth doing properly :thumb:

right that's us up to speed just need to know what Ian`s doing with his 944 he`s been a bit quite lately probably knee deep in 928 electrics :D
 
Hi Gaz,
I don't fancy a wiring loom like Ian's!!!!
Mine has so few wires I can actually remember what each one does and what colour it is :grin:
 

New Threads

Forum statistics

Threads
124,563
Messages
1,441,541
Members
48,978
Latest member
Timjar
Back
Top