

Thought I would put up a guide to my 993 RS steering wheel install in my 993 Carrera 2. The original wheel felt clunky and slightly overlarge - the 993 RS wheel looked like the business for a change. Inspired by Jackal (as usual) I set off on this project.
I bought the wheel, which came with the 964 horn contact pad & 2.8 ohm resistor from type 911, as a mini kit for the install:

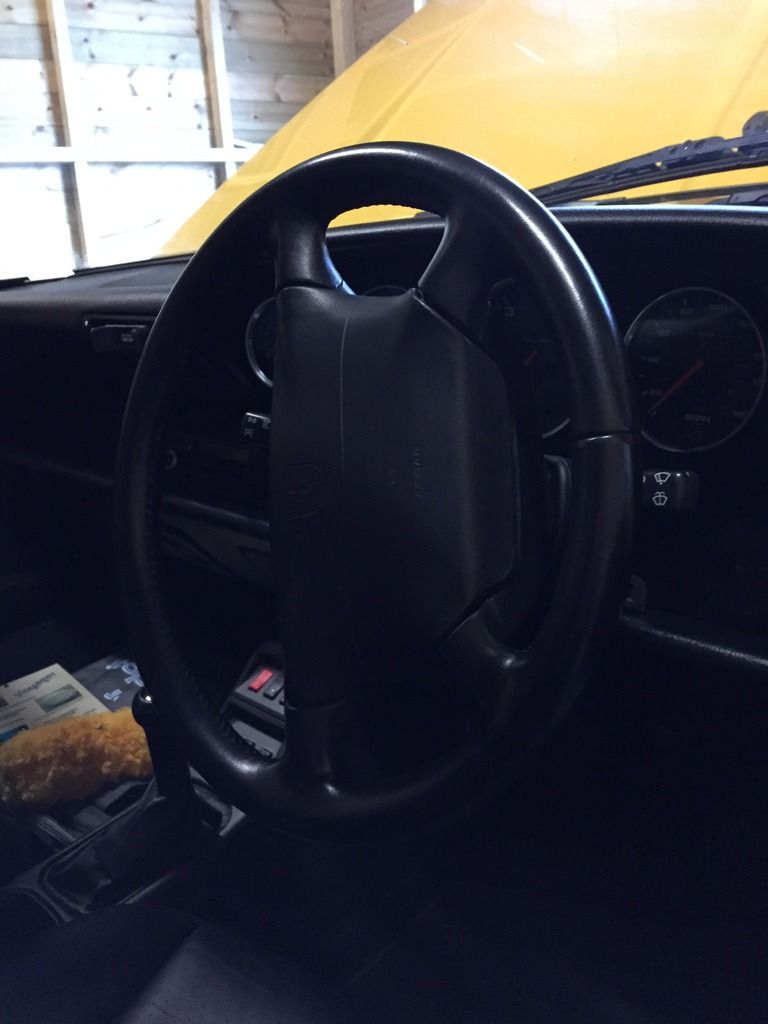
The airbag original wheel in the car:
I also found a 964 steering cowling on eBay, which was fortunate, but remember to buy the correct version to accomodate your stalks & cruise control etc.
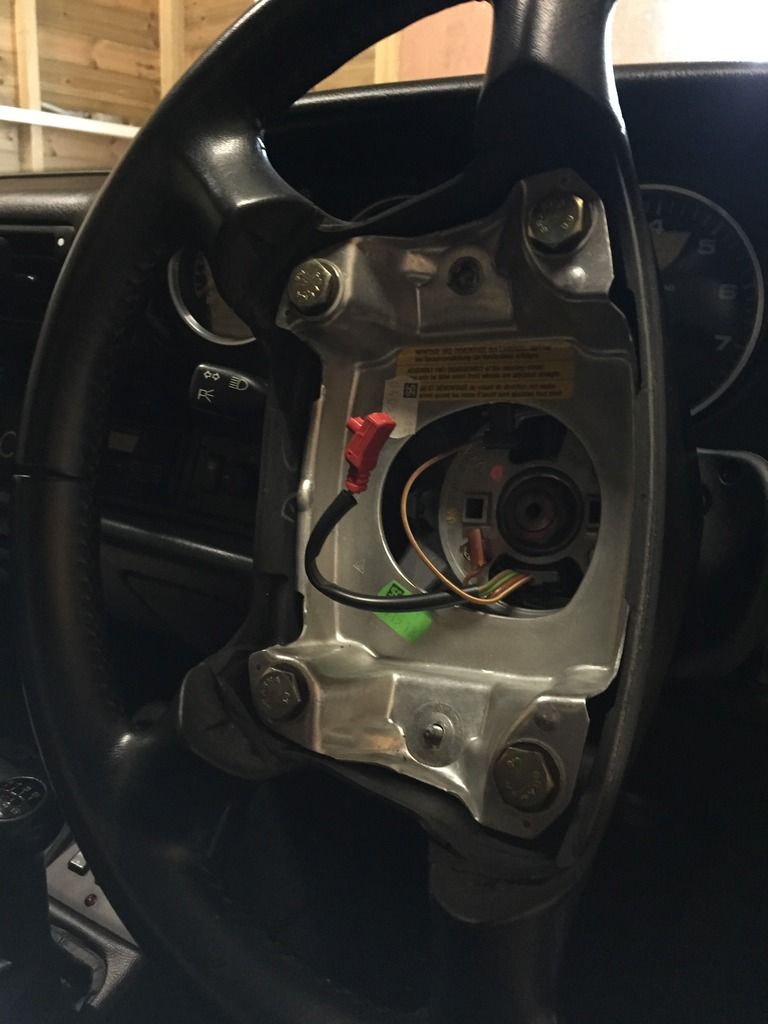
First things first: disconnect the battery & go and have a cup of tea for at least half an hour. This will dissipate any charge left in the airbag circuit. Turn the wheel 90 degrees (make sure the car is positioned somewhere sensible because you are about to immobilise the car), and remove the two star headed screws at the back of the original wheel - they are sat deeper than expected, but you will know when you get a bite on them. Undo them both and gently remove the airbag pad by disconnecting the red plug at the back - put it well out of the way.
Things will now look like this:
Time to remove the steering wheel. Find a 24mm socket & socket extension and loosen the nut. Remove along with the washer, and keep safe you will need these again. Tug on the wheel and remove. Remove the 993 black plastic cowling (4 screws), now you have full access to the clock spring. I pulled it gently forwards and secured it with a couple of cable ties for good measure.
Here goes:
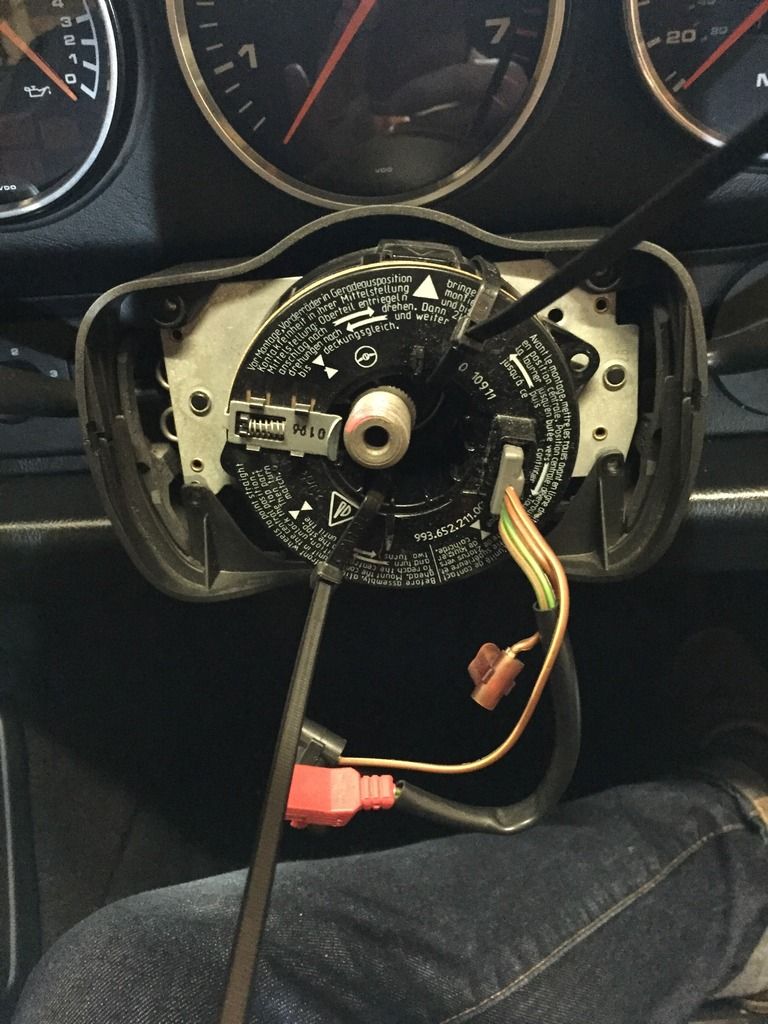
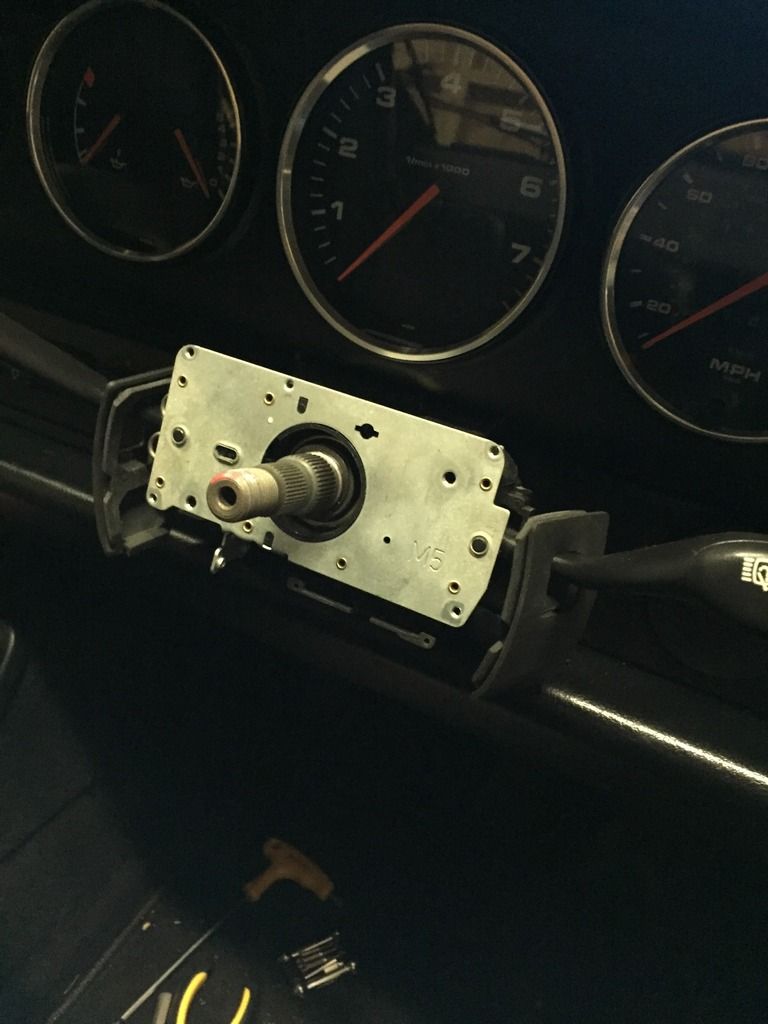
Unplug the clockspring connectors down in the dash - 2 orange connectors which you can find by putting your head under the dash. Remove the clock spring assembly & keep safe. Remove the rear of the 993 cowling.
You should now be looking like this:
Remove the rubber side grommets sitting on the stalks - I didn't need these again.
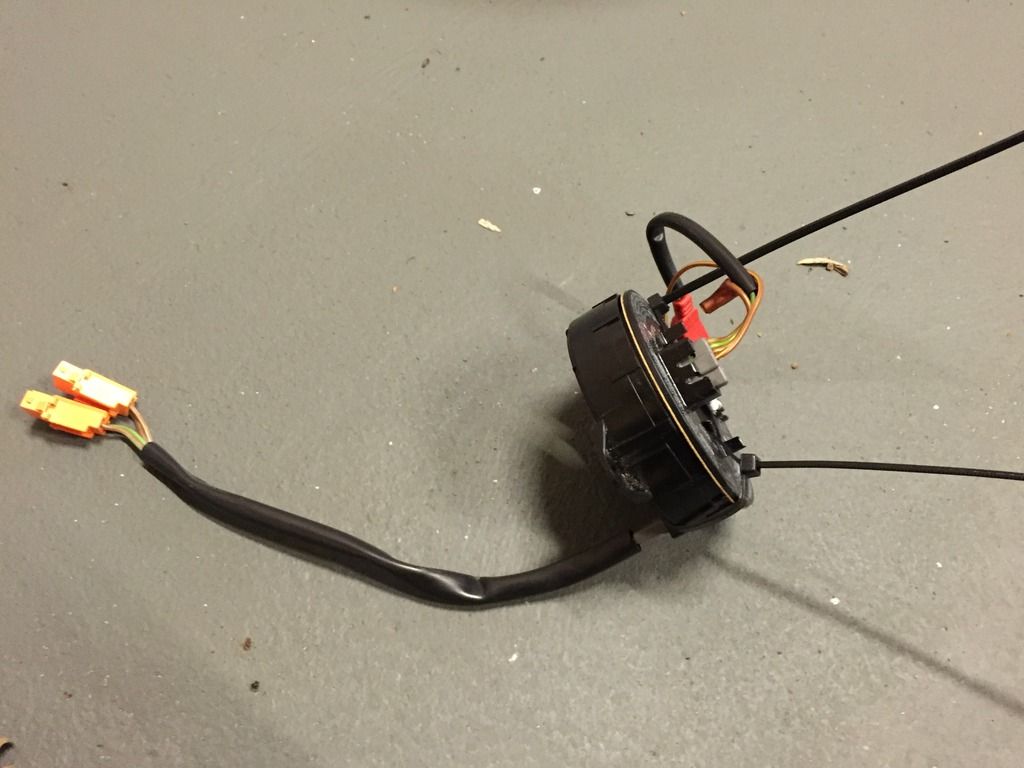
And the clockspring on the floor, secured with the orange connectors like this:
Time for another cup of tea, and off to do some wiring.
For this step I bought a soldering iron, some heat shrink tubing, some solder & flux and a multimeter, along with a helping hands device. Everything was from Maplin. Order online & collect in store. The resistor came with the mini kit, but I'm sure the same could be had from Maplin, or RS Components.
First task was to cut the orange connectors off the clockspring, in effect ruining the clockspring. I had a quick look on eBay but decided to butcher what I had. I think you could find a one to buy, and I think the 996 & 986 shared the same clockspring so they should be commonly available.
Time to make up the resistor airbag fooling loop. Using the helping hands device I used flux and solder, and a steady hand to solder the resistor into the loop. Remember to slide your piece of cut heat shrink tubing onto the wire before you commit to solder. Check the pins inside the orange connector for continuity with your multimeter, then slide the tubing over the resistor and warm with a hairdryer to give a nicely sealed in resistor. All nice and neat and ready to fool the airbag. I didn't take any photos of this but Jackal will keep you right. I took time to do this neatly.
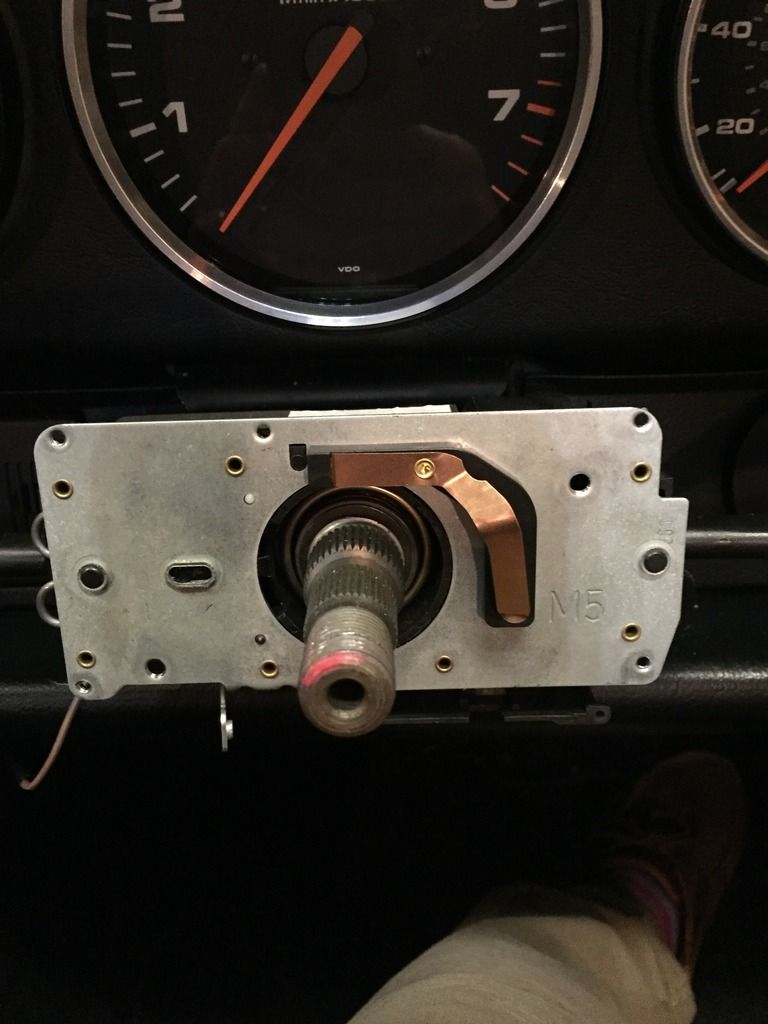
Next is to install the revised horn circuitry. Fit the 964 contact plate into the housing as such:
I found a little thump with a hammer got it to sit in correctly. Now things got a bit more tricky but only down to the fact I needed this:
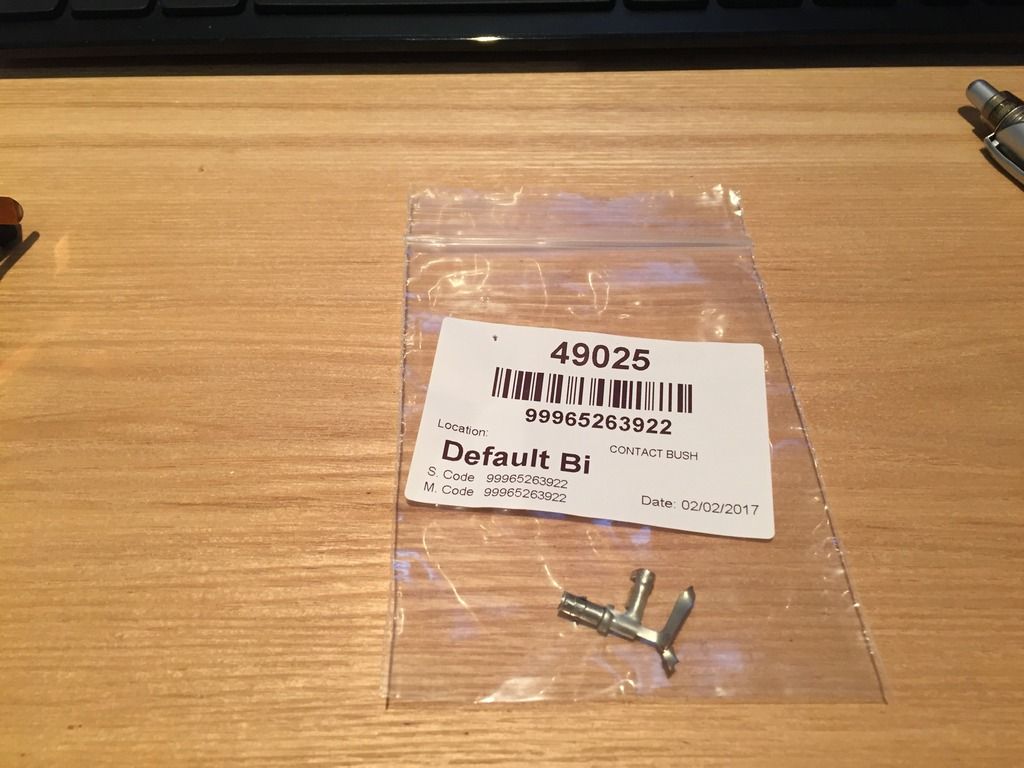
I tried to make my own brass contact bush but failed, and eventually found this Porsche Contact Bush was the answer.
Pulling the connector box off the back of the stalk assembly and carefully opening the plastic hinge revealed the position to connect up the horn circuit. Taking the other orange connector and using only one of the wires I soldered the contact bush to this cable and fitted it into the long arm space in the connector block - this is where the 964 contact plate pokes through to make the connection. Feed the wire into its guides and close the connector block and reattach it to the back of the stalk column. Nearly there.
Time to install your new 964 cowling:

I used new screws to keep it all nice and tidy, and also took time to clean out all the hard to reach bits in there and around the dash pad area.
Time to go upside down again and connect up the orange connectors under the dash. I also used some cable ties to keep it neat down below.
Time to slide the new wheel all the way down the splines and make sure it all lines up correctly. Install the washer & nut, and retighten. Give a pull & a push to check it feels right. Check that the copper connection at the back of the wheel connects with & brushes the copper contact pad - I gave it a little prise with a screwdrive to make sure it keeps contact. Side on you can see the gap.
Wrestle the pad onto the wheel - this took a bit of persuasion but you know when you've got it right:
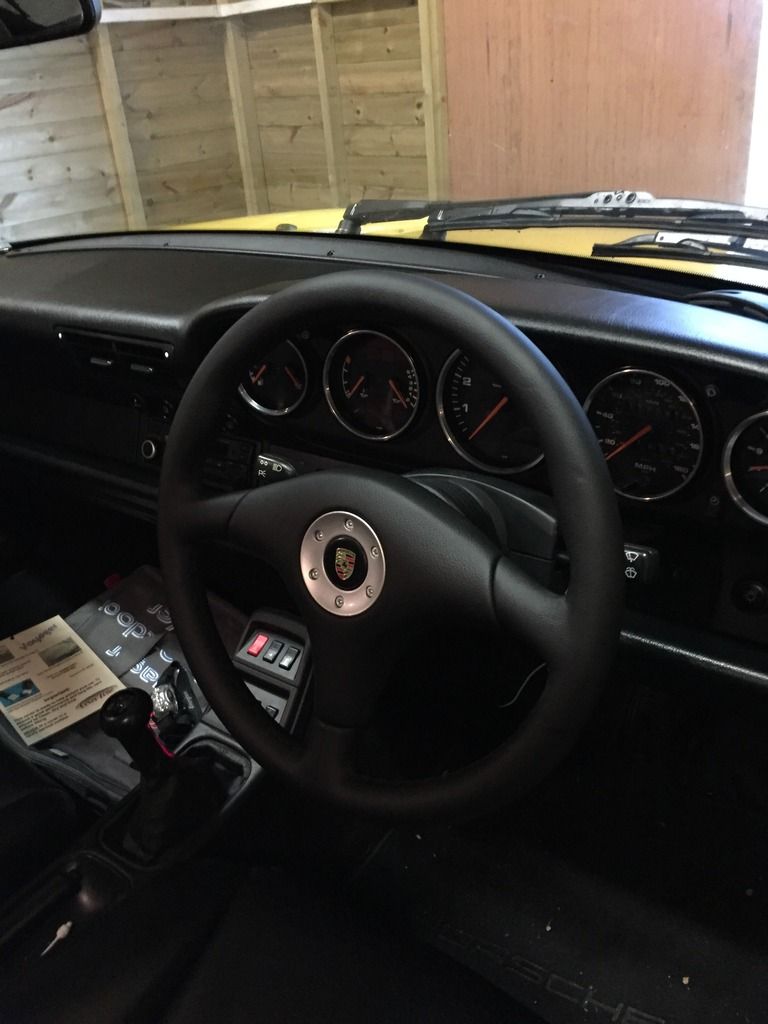
Turn on the ignition - note no airbag warning light and check the horn works. Success!
Inspired by the following:
http://www.jackals-forge.com/lotus/
And,
http://rennlist.com/forums/993-forum/667291-993-rs-steering-wheel-installed-wiring-photos.html
I bought the wheel, which came with the 964 horn contact pad & 2.8 ohm resistor from type 911, as a mini kit for the install:
The airbag original wheel in the car:

I also found a 964 steering cowling on eBay, which was fortunate, but remember to buy the correct version to accomodate your stalks & cruise control etc.
First things first: disconnect the battery & go and have a cup of tea for at least half an hour. This will dissipate any charge left in the airbag circuit. Turn the wheel 90 degrees (make sure the car is positioned somewhere sensible because you are about to immobilise the car), and remove the two star headed screws at the back of the original wheel - they are sat deeper than expected, but you will know when you get a bite on them. Undo them both and gently remove the airbag pad by disconnecting the red plug at the back - put it well out of the way.
Things will now look like this:

Time to remove the steering wheel. Find a 24mm socket & socket extension and loosen the nut. Remove along with the washer, and keep safe you will need these again. Tug on the wheel and remove. Remove the 993 black plastic cowling (4 screws), now you have full access to the clock spring. I pulled it gently forwards and secured it with a couple of cable ties for good measure.
Here goes:

Unplug the clockspring connectors down in the dash - 2 orange connectors which you can find by putting your head under the dash. Remove the clock spring assembly & keep safe. Remove the rear of the 993 cowling.
You should now be looking like this:

Remove the rubber side grommets sitting on the stalks - I didn't need these again.
And the clockspring on the floor, secured with the orange connectors like this:

Time for another cup of tea, and off to do some wiring.
For this step I bought a soldering iron, some heat shrink tubing, some solder & flux and a multimeter, along with a helping hands device. Everything was from Maplin. Order online & collect in store. The resistor came with the mini kit, but I'm sure the same could be had from Maplin, or RS Components.
First task was to cut the orange connectors off the clockspring, in effect ruining the clockspring. I had a quick look on eBay but decided to butcher what I had. I think you could find a one to buy, and I think the 996 & 986 shared the same clockspring so they should be commonly available.
Time to make up the resistor airbag fooling loop. Using the helping hands device I used flux and solder, and a steady hand to solder the resistor into the loop. Remember to slide your piece of cut heat shrink tubing onto the wire before you commit to solder. Check the pins inside the orange connector for continuity with your multimeter, then slide the tubing over the resistor and warm with a hairdryer to give a nicely sealed in resistor. All nice and neat and ready to fool the airbag. I didn't take any photos of this but Jackal will keep you right. I took time to do this neatly.
Next is to install the revised horn circuitry. Fit the 964 contact plate into the housing as such:

I found a little thump with a hammer got it to sit in correctly. Now things got a bit more tricky but only down to the fact I needed this:

I tried to make my own brass contact bush but failed, and eventually found this Porsche Contact Bush was the answer.
Pulling the connector box off the back of the stalk assembly and carefully opening the plastic hinge revealed the position to connect up the horn circuit. Taking the other orange connector and using only one of the wires I soldered the contact bush to this cable and fitted it into the long arm space in the connector block - this is where the 964 contact plate pokes through to make the connection. Feed the wire into its guides and close the connector block and reattach it to the back of the stalk column. Nearly there.
Time to install your new 964 cowling:

I used new screws to keep it all nice and tidy, and also took time to clean out all the hard to reach bits in there and around the dash pad area.
Time to go upside down again and connect up the orange connectors under the dash. I also used some cable ties to keep it neat down below.
Time to slide the new wheel all the way down the splines and make sure it all lines up correctly. Install the washer & nut, and retighten. Give a pull & a push to check it feels right. Check that the copper connection at the back of the wheel connects with & brushes the copper contact pad - I gave it a little prise with a screwdrive to make sure it keeps contact. Side on you can see the gap.
Wrestle the pad onto the wheel - this took a bit of persuasion but you know when you've got it right:

Turn on the ignition - note no airbag warning light and check the horn works. Success!
Inspired by the following:
http://www.jackals-forge.com/lotus/
And,
http://rennlist.com/forums/993-forum/667291-993-rs-steering-wheel-installed-wiring-photos.html
")


")


